
Another misstep was not letting my cream cheese soften enough. If it’s too cold, it won’t blend well, leading to lumps in your filling. I usually take it out about 30 minutes before I start prepping, so it’s soft enough to whip right up.
Sometimes, folks worry about the heavy cream and don’t whip it enough, leading to a heavy filling. You want soft peaks, not stiff peaks! If you whip it too long, it can become over-whipped and turn grainy. This fluffy texture is key to the lightness of the pie.
Lastly, don’t skip the chill time! I know it’s tough to wait, but allowing it to set in the fridge is crucial for the pie to hold its shape. Plus, the flavors deepening with time really enhances the whole experience, and I promise, the wait is worth it.
Serving Suggestions
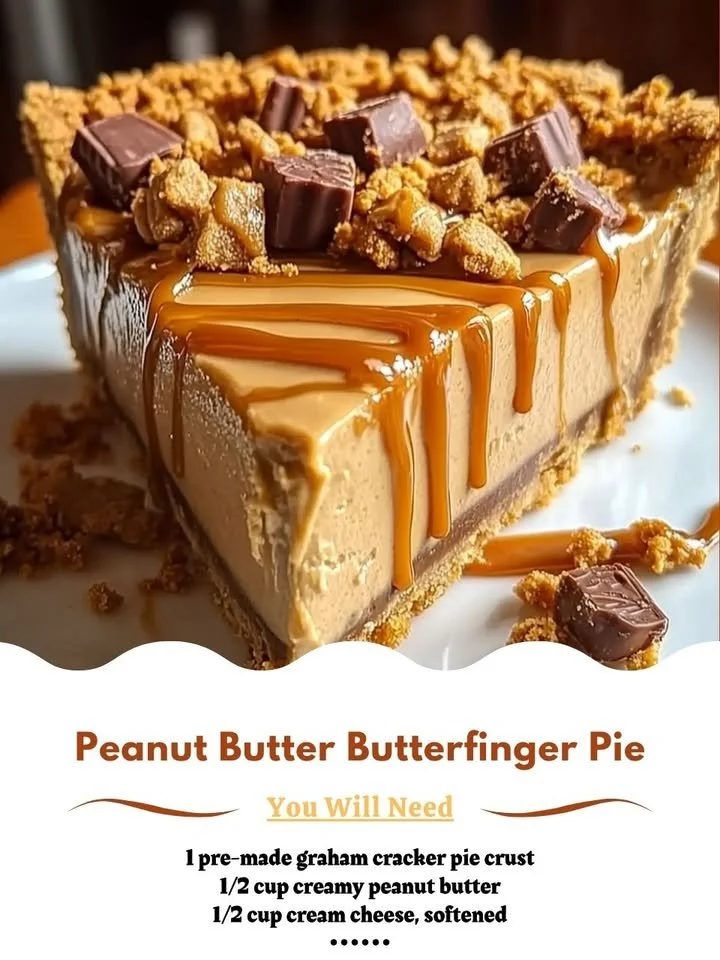
When it’s finally time to serve my Peanut Butter Butterfinger Pie, I love to cut generous slices and garnish each with an extra dollop of whipped cream. Sometimes, I’ll even drizzle a little chocolate sauce over the top—because, why not make it a little extra indulgent?
For a fun touch, I like to put out some mini Butterfinger bits or chocolate sprinkles that guests can add on top for a little DIY flair. It’s a fun way to let everyone customize their slice exactly how they like it!
Lastly, I find that this pie pairs beautifully with a nice cup of coffee or a tall glass of milk. The richness of the pie combined with a warm beverage creates a comforting moment that is perfect for any gathering, whether it’s casual or a special occasion.
Variations & Customizations
If you’re like me and love experimenting, there are plenty of ways to customize this recipe! One variation I’ve tried is adding a layer of chocolate pudding beneath the peanut butter filling. It adds another layer of flavor that chocolate lovers will appreciate. I just spread the pudding in the crust before pouring in the peanut butter mixture, and it turns into a delightful surprise with each slice.
Another twist I’ve enjoyed is mixing in some crushed Oreos or graham crackers with the Butterfinger topping. It adds an interesting texture that goes perfectly with the creamy filling. Plus, who doesn’t love Oreos?
For those who prefer a healthier spin, you could swap out the heavy cream for whipped coconut cream. The flavor is somewhat different but still tasty, and it reduces some of the calories while keeping it delicious. It’s a lovely option for those dairy-free guests!
How to Store, Freeze & Reheat
Storing this Peanut Butter Butterfinger Pie is super easy—just cover it tightly with plastic wrap and keep it in the fridge. It will stay fresh for up to five days, but let’s be real: it rarely lasts that long in my house!
If you have leftovers or want to make it ahead of time, you can freeze the pie as well. Just make sure to wrap it tightly with plastic wrap, then aluminum foil, to prevent freezer burn. It can be frozen for up to three months. When you’re ready to enjoy it again, let it thaw in the fridge overnight before slicing.
Reheating is not typically necessary, as this pie is best served chilled. However, if you prefer a warm treat, I recommend microwaving a slice for about 10-15 seconds until it’s just slightly warm. Just be cautious, as you don’t want the filling to get too warm and lose its lovely texture!
Conclusion
I hope you give this delightful Peanut Butter Butterfinger Pie a try! It’s one of those recipes that always brings joy, whether you’re serving it at a party or enjoying it on a cozy night at home. The combination of flavors and textures has a way of making anyone’s day a little brighter, and it’s sure to become a cherished recipe in your family as much as it is in mine. Happy baking!