
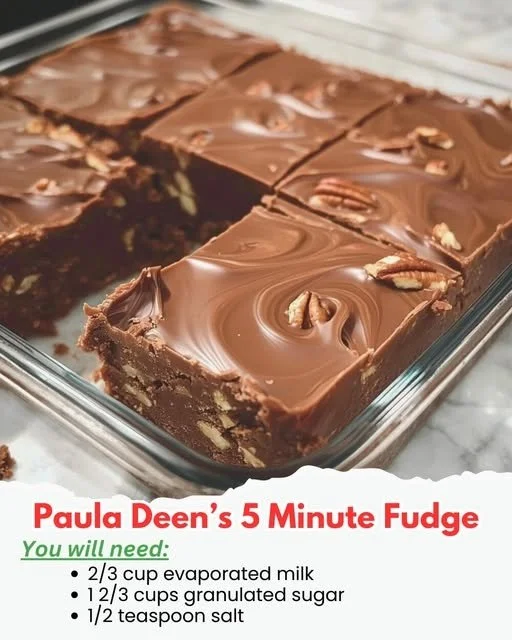
Once melted, stir in the vanilla extract and a pinch of salt to enhance the flavors. If you’re feeling adventurous and love a little crunch in your fudge, this is the perfect time to fold in the chopped nuts of your choice—walnuts or pecans work wonderfully! Now, pour the mixture into your prepared baking dish and spread it out evenly. The mixture will be warm and sticky, but that’s just part of the fun!
Let your fudge cool at room temperature for about an hour before placing it in the refrigerator to speed up the setting process. After another hour or so, it should be nicely firm. Once set, I love to cut it into bite-sized squares and serve it to my family—watching their eyes light up as they take their first bite is just the best!
Pro Tips for Best Results
One of my favorite tips after trying this recipe several times is to use high-quality chocolate chips. I’ve found that premium chips really enhance the flavor and texture of the fudge. Last time, I used a brand that had a rich cocoa flavor, and it made a noticeable difference in the end result.
For a smooth finish, be careful not to overheat the chocolate mixture in the microwave; stirring frequently helps to gently distribute the heat. I’ve learned the hard way that scorched chocolate leads to a grainy texture, which is such a disappointment!
Lastly, if you’re making this fudge for a special occasion or as a gift, try packaging it beautifully in a cute box or tin. It’s a great way to share this tasty treat and show someone you care!
Common Mistakes to Avoid
One common mistake I’ve made in past attempts is not calibrating my microwave correctly. Every microwave is different, so it’s worth testing the chocolate in smaller increments to avoid burning it. A good rule of thumb is to start low and slow, rather than rushing the process. (See the next page below to continue…)