
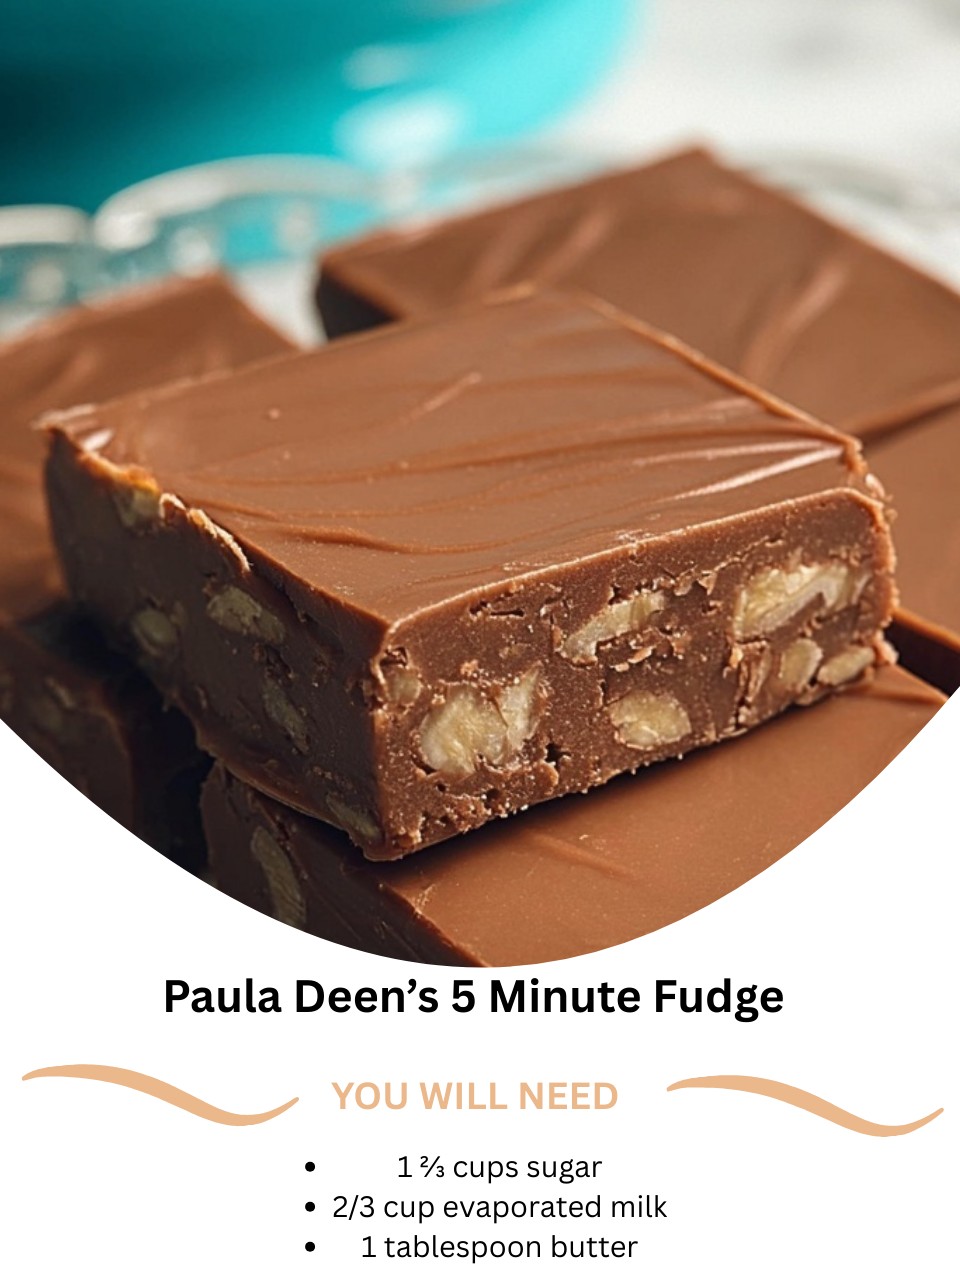
There’s something almost magical about the rich, sweet scent of chocolate and sugar wafting through my kitchen. It’s a scent that promises pure, unadulterated joy, and I first discovered it in its most perfect form when I tried Paula Deen’s 5 Minute Fudge for the first time. I was looking for a last-minute holiday treat that wouldn’t keep me chained to the stove for hours, and this recipe felt like finding a culinary secret. From the first moment I stirred that glossy, bubbling pot to the satisfying thump of the pan on the counter to set it, I was hooked. This fudge isn’t just a candy; it’s a fast-track to creating sweet memories with minimal fuss, and my family now considers it a non-negotiable part of our celebrations. The entire process, from cabinet to counter, truly feels like a little bit of kitchen wizardry.
Why You’ll Love This Recipe
You will adore this recipe because it hands you the confidence of a seasoned candy maker without the typical stress. It bypasses the finicky temperature checks of traditional fudge for a straightforward, boil-and-stir method that delivers unbelievably creamy, decadent results every single time. In just about the time it takes to sort through your mail, you can have a pan of rich, classic fudge setting up, ready to impress neighbors, friends, or simply satisfy that urgent chocolate craving. It’s the ultimate “cheat” that doesn’t taste like one, and it frees you up to actually enjoy the party you’re baking for.
Ingredients
- 1 ½ cups granulated sugar
- 2/3 cup evaporated milk (not sweetened condensed milk—this is crucial!)
- 2 tablespoons butter (I use salted, but unsalted works fine)
- ¼ teaspoon salt
- 2 cups mini marshmallows
- 1 ½ cups semi-sweet chocolate chips
- 1 teaspoon pure vanilla extract
- 1 cup chopped nuts, like walnuts or pecans (optional, but highly recommended) (See the next page below to continue…)
Equipment Needed
- A heavy-bottomed, medium-sized saucepan (This is my #1 tip for even heating)
- A sturdy wooden spoon or heatproof spatula
- A digital candy thermometer (Helpful, but not absolutely mandatory with my tips)
- An 8×8 inch baking pan
- Parchment paper or aluminum foil
- A measuring cup and spoons
Step-by-Step Instructions
My heart always gives a little flutter of excitement when I pull out my favorite heavy-bottomed saucepan. I begin by combining the sugar, evaporated milk, butter, and salt right in the pot. I turn the heat to medium and stir it constantly until the butter melts and the mixture comes to a full, rolling boil. This is where patience is your friend. Once it’s boiling vigorously, I set my timer for exactly five minutes, continuing to stir the entire time to prevent any scorching on the bottom. The mixture will bubble up and thicken slightly, turning a lovely pale caramel color, and your kitchen will start to smell like sweet, buttery promise.
The moment the timer beeps, I immediately remove the pan from the heat. This is critical—no “just one more minute!” Now, I swiftly stir in the mini marshmallows, chocolate chips, and vanilla extract. The heat from the syrup will melt everything into a glorious, thick, glossy river of fudge. I stir vigorously until every last marshmallow bit has dissolved and the chocolate is fully incorporated into a smooth, homogenous mixture. If I’m using nuts, I fold them in at this very last second. The transformation is instant and incredibly satisfying.
Now, for the pan. I always, always line my 8×8 pan with parchment paper, leaving some overhang on the sides. I’ve tried just buttering the pan, and trust me, the parchment paper is a non-negotiable game-changer for clean, easy removal. I quickly scrape every last bit of that warm, fragrant fudge into the prepared pan and spread it into an even layer with my spatula. It sets fast, so I work quickly but gently.(See the next page below to continue…)
Here comes the fun, slightly cathartic part. I don’t just let it sit. I lift the pan about six inches off the counter and let it drop straight down onto the surface with a firm thump. I do this a few times across the pan. This helps settle the fudge, pushes out any air bubbles, and gives it that perfect, smooth top. Then, I walk away. I resist every urge to cut into it for at least two hours, letting it set at room temperature until it’s completely firm.
Pro Tips for Best Results
First, your saucepan matters more than you think. A thin, cheap pot will conduct heat too aggressively and likely scorch the milk and sugar mixture before your five minutes are up. I use my sturdy, medium-weight saucepan every single time, and I’ve never had a scorched batch. It’s worth digging out the good one from the back of the cabinet.
While a candy thermometer isn’t strictly required, I find it gives me perfect peace of mind. After the five-minute boil, the mixture should reach right around 234°F to 236°F, which is the soft-ball stage. I tested this three different ways: by time alone, by temperature, and once by dropping a bit into cold water. The temperature method was the most consistently reliable for that ideal creamy-yet-firm texture.
Finally, be an anticipatory cook. Have all your ingredients measured and ready to go next to the stove before you even turn on the burner—this is called your mise en place. Once that boiling starts, you won’t have a free second to hunt for the vanilla extract or tear open the marshmallow bag. Having everything at your fingertips makes the process seamless and stress-free.
Common Mistakes to Avoid
The most common pitfall, and one I made the first time, is confusing evaporated milk with sweetened condensed milk. They are not the same! Sweetened condensed milk is much thicker and sweeter and will result in a cloyingly sweet, grainy fudge that may not set properly. The evaporated milk provides the perfect liquid-to-sugar ratio for the syrup to crystallize correctly. Don’t do what I did—double-check the can!(See the next page below to continue…)
Don’t try to multitask during the five-minute boil. I learned this the hard way while answering a text message. I turned my back for what felt like 30 seconds, and the mixture boiled over in a furious, sticky volcano all over my stovetop. It was a heartbreaking, sugary mess to clean up. Stay present, keep stirring gently but constantly, and keep the heat at a steady medium.
Another mistake is under-stirring once you add the chocolate and marshmallows. You might see a few stubborn bits of marshmallow clinging to your spoon and think, “Eh, good enough.” But those little bits will create weird, chewy pockets in your finished fudge. Take the extra thirty seconds to stir vigorously until the mixture is utterly smooth and silky. It makes a huge difference in the final mouthfeel.
Finally, do not refrigerate the fudge to speed up setting. I know the temptation is real, but putting the warm pan in the fridge causes condensation to form on the surface and can lead to a sticky, damp top layer and a texture that’s too hard. Letting it set slowly at room temperature is the key to that classic, melt-in-your-mouth fudge consistency. Trust me, the wait is worth it.
Serving Suggestions
I love serving this fudge cut into small, elegant squares on a vintage ceramic plate. For the holidays, I might dust the top with a little flaky sea salt right after pouring it into the pan, or sprinkle on some festive red and green sprinkles before it sets. The salty-sweet combination is absolutely divine and elevates it from simple to spectacular.
For a casual gathering, I often pile the fudge squares into a rustic mason jar or a simple bowl lined with a checkered napkin. It feels homey and inviting. I always keep a separate plate for any nut-free pieces, clearly marked, so everyone can enjoy it without worry. It’s such a thoughtful touch that guests really appreciate.
Paired with a strong cup of black coffee or a glass of cold milk, this fudge is the perfect end to a meal. I’ve also been known to crumble a square over a bowl of vanilla ice cream for an ultra-indulgent sundae. It’s so versatile, and its rich flavor stands up beautifully to other desserts.
Variations & Customizations
The beauty of this base recipe is how easily it bends to your whims. I’ve swapped the semi-sweet chocolate chips for peanut butter chips to make a phenomenal peanut butter fudge—just reduce the vanilla to ½ teaspoon. My family goes wild for this version, and I sometimes swirl a couple tablespoons of creamy peanut butter into the mixture at the very end for a marbled effect.
For a Rocky Road twist, I fold in the nuts as usual, but also add a full cup of mini marshmallows after the initial ones have melted and the fudge has slightly cooled. This gives you those classic, soft, gooey marshmallow bites throughout. I’ve seen friends add a handful of crushed peppermint candies during the holidays for a cool, festive kick, or even stir in a tablespoon of instant espresso powder with the dry ingredients for a mocha flavor.
If you’re a purist like I am sometimes, you can absolutely leave the nuts out for a smooth, velvety classic chocolate fudge. But playing with different nut combinations is fun, too. Toasted pecans add a buttery depth, while walnuts provide a more earthy crunch. I once used toasted hazelnuts and it tasted like a homemade Nutella bar.
How to Store, Freeze & Reheat
Once fully set and cut, I store my fudge in an airtight container at room temperature, with layers separated by parchment paper. It keeps beautifully for about one to two weeks this way. I’ve found that refrigerating it makes it too hard and can dull the chocolate flavor, so I only do that if my kitchen is particularly warm. The texture is best enjoyed at room temperature.
Yes, you can absolutely freeze this fudge! I wrap individual squares or the whole block tightly in plastic wrap, then place them in a heavy-duty freezer bag, pressing out all the air. It will keep for up to three months frozen. To thaw, I simply move the desired amount to the counter and let it come to room temperature slowly, still wrapped, to prevent condensation. It tastes just as fresh as the day I made it.
“Reheating” isn’t quite the right term, but if your fudge ever dries out a bit (which is rare), or if you want to repurpose leftovers, you can gently melt squares in a double boiler to use as a hot fudge sauce over ice cream. Do not try to microwave it to soften the whole batch—it will melt unevenly and seize. The room-temperature storage method is truly the best for maintaining that perfect, creamy bite.
Conclusion
Paula Deen’s 5 Minute Fudge has become more than just a recipe in my home; it’s a reliable little spark of happiness. It has saved me during countless potlucks, become a cherished gift for new neighbors, and never fails to bring smiles to my family’s faces. It proves that sometimes, the most decadent treats come from the simplest processes. I hope you’ll give it a try in your own kitchen, making it your own with your favorite add-ins. Trust me, once you experience that magic for yourself, you’ll understand why it’s my forever favorite. Happy cooking, and enjoy every sweet, chocolatey bite