
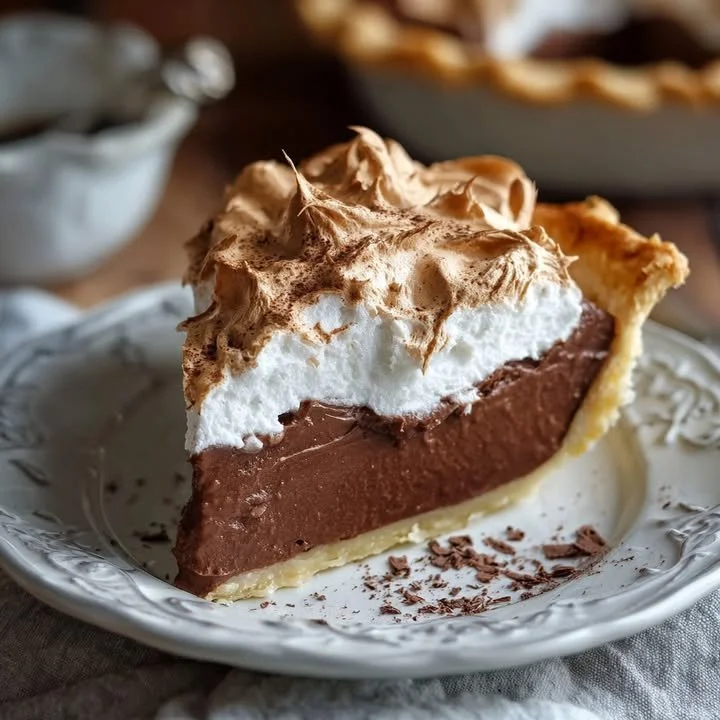
Next, I carefully pour this luscious filling into the pre-baked pie crust, smoothing it out with a spatula. Now, for the crowning glory—the meringue! I beat the egg whites with cream of tartar until soft peaks form, then gradually add sugar while continuing to beat until the meringue is glossy and holds its shape. Carefully, I spread this over the warm chocolate filling, making sure to seal the edges to prevent shrinking. The texture of the meringue is so light and fluffy—there’s something magical about seeing it come together. After shaping it into peaks, I place the pie in the oven for about 10 to 15 minutes, watching closely until the meringue turns a beautiful golden brown.
When the timer goes off, I let the pie cool on the counter before transferring it to the fridge to fully set. The hard part is waiting; the anticipation can feel like an eternity! Yet, it’s worth it once you finally slice into this beauty. The layers—smooth chocolate surrounded by airy meringue—create a visual feast that’s equally delicious.
Pro Tips for Best Results
Over the years, I’ve experimented with a few different techniques to get the perfect meringue. One of my biggest discoveries is to whip the egg whites in a clean, grease-free bowl. A little leftover fat can prevent those whites from whipping to their full potential. I tested this three ways, and cleanliness indeed made a big difference in the fluffiness of my meringue!
Another tip? Using room temperature egg whites makes a significant difference. I usually take them out of the fridge a bit before I start the process. When the eggs are warmer, they whip up to a higher volume and create that beautiful structure we all love in meringues.
Lastly, I’ve found that adding a teaspoon of cornstarch to the meringue helps stabilize it. Many times I’ve experienced deflation in meringue after baking, but this one simple addition has saved my pies time and again. Trust me; your pie will thank you!
Common Mistakes to Avoid
One common mistake I’ve made in the past is not sealing the meringue properly against the filling. Leaving any gaps can lead to weeping, where moisture escapes and ruins that beautiful texture. To combat this, it’s crucial to spread the meringue all the way to the crust, ensuring a tight seal. (See the next page below to continue…)