
Next, I cover the bowl with plastic wrap and let it sit at room temperature for about 12 to 18 hours. This is the part where I practice patience! During this time, the dough rises beautifully, becoming bubbly and almost doubling in size. It’s worth taking a peek now and then—it’s such a satisfying sight! After the long wait, I sprinkle some flour on the counter to prevent sticking and turn the dough onto it. I gently shape it into a round loaf, being careful not to deflate it too much.
Then, I place it on a piece of parchment paper, cover it with a towel, and let it rest for another 30 minutes. While waiting, I preheat my oven to 450°F (232°C) and place my Dutch oven inside to heat as well. Once everything is hot and ready, I carefully remove the pot from the oven (making sure to use oven mitts!) and lift the parchment paper with the dough into the pot. I cover it with the lid and pop it back into the oven, where it bakes for 30 minutes. The smell begins to fill my kitchen, making it hard to wait! After 30 minutes, I remove the lid and bake for another 15 minutes until the crust is beautifully golden brown.
Pro Tips for Best Results
One important tip I learned while experimenting with this recipe is to use a kitchen scale for measuring flour. I tested this three ways—by volume and by weight—and found that weighing gives me the best and most consistent results. Accurate measurements really do make a difference in the texture of the final loaf!
Another pro tip is to let the dough rise in a slightly warm environment. I often turn my oven to the lowest setting for just a minute, then turn it off before placing the dough inside. The gentle heat creates an ideal rising atmosphere.
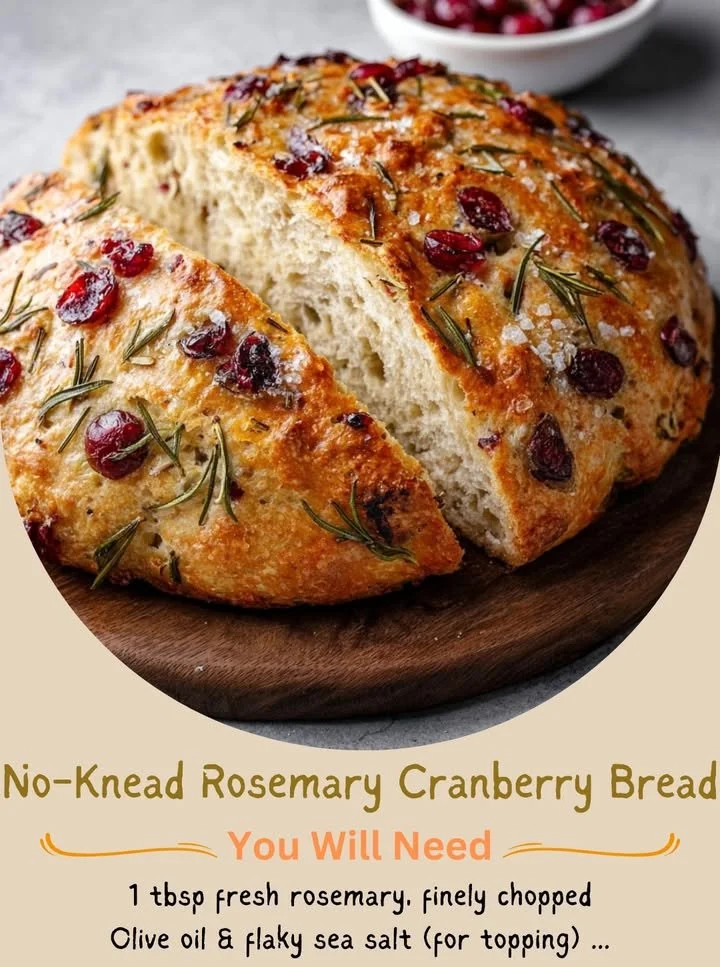
Lastly, I love sprinkling a bit of sea salt on top of the loaf just before baking. It enhances the flavor and adds a delightful contrast to the sweet cranberries. When I do this, I can’t help but admire the crispy, salted crust that forms as it bakes!
Common Mistakes to Avoid
One mistake I made early on was not allowing the dough enough time to rise. If you rush this step, your bread may end up dense and heavy instead of light and airy. Remember, patience is key! (See the next page below to continue…)
Another pitfall I stumbled into was using too much flour during shaping. I got a little heavy-handed with the flour, thinking it would help, but it ended up making the dough tougher. A light dusting is perfect—just enough to prevent sticking without compromising the dough’s moisture.
Also, be cautious when preheating your Dutch oven. If it’s too hot when you add the dough, it can lead to scorching the bottom while leaving the top undercooked. I always preheat it carefully, keeping an eye on the temperature.
Finally, don’t skip the parchment paper! It makes transferring the dough into the hot pot so much easier and helps prevent sticking. Trust me, using parchment has saved me from a lot of frustrations.