
Another pitfall I encountered was not measuring the whipped topping correctly. Too much whipped cream can make the pie too airy and light, while too little makes it dense. I learned that the balance of creamy texture is essential, and sticking to the recommended amount makes all the difference!
Lastly, don’t skimp on the chilling time. It’s tempting to dig in right away, but this pie is made for patience. Allowing it to chill properly helps all those lovely flavors meld together, creating a rich, beautiful dessert. I’ve rushed it before, and while it was still delicious, the texture just wasn’t the same!
Serving Suggestions
When it’s finally time to serve, I love to slice the pie into wedges and top each slice with a dollop of whipped topping and a sprinkle of chopped peanuts. For a fun twist, I sometimes add a drizzle of chocolate syrup. The combination of creamy, crunchy, and sweet makes each bite pure bliss!
This pie pairs wonderfully with a scoop of vanilla ice cream on the side, especially if you’re serving it during the warmer months. The cold ice cream contrasts beautifully with the creamy pie, bringing an extra layer of fun to every dessert plate.
If I’m having friends over, I often prepare a little dessert bar where guests can personalize their slices with toppings like crushed Oreos, or colorful sprinkles. It’s such a delight to see everyone get creative with their slices!
Variations & Customizations
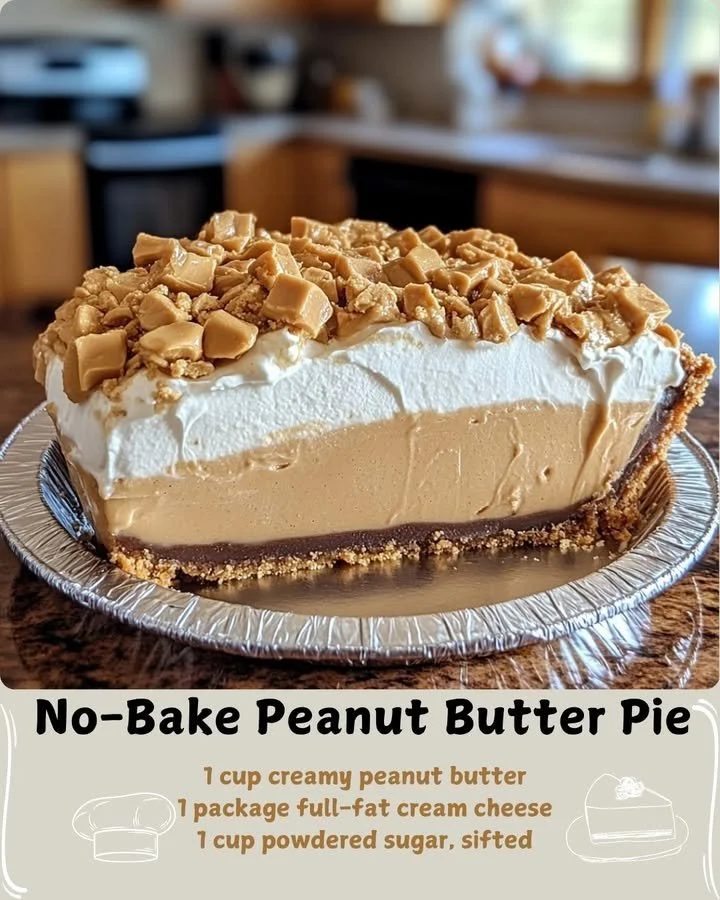
One of the great things about this No-Bake Peanut Butter Pie is its versatility. For those who might be looking for a chocolate twist, you can easily add melted chocolate into the filling for a decadent peanut butter chocolate pie. Just be sure to adjust the sugar slightly since chocolate adds its own sweetness.
If you’re a bit adventurous, try swapping out the peanut butter for almond butter or sun butter. Each alternative creates a unique flavor profile, and it’s fun to discover new favorites! I have a friend who’s nut-free, and using sunflower butter gives her pie just as much joy.
For a bit of an exotic flair, consider adding a touch of coconut or sprinkling toasted coconut flakes on top before serving. It adds delightful texture and an interesting flavor that’s a departure from the usual. I think it gives the pie an almost tropical vibe, which is perfect for summer!
How to Store, Freeze & Reheat
Once you’ve made this delicious pie, you can store leftovers in the refrigerator, where it will keep well for about 3-5 days. Just be sure to cover it with plastic wrap to prevent it from drying out or picking up any fridge odors.
If you find yourself with extra pie or want to prepare ahead of time, this dessert freezes beautifully! I usually slice the pie first, wrap each piece well in plastic wrap, and then tuck it in a freezer-safe container. When I’m ready for a sweet treat, I pull a slice out and let it thaw in the fridge for a few hours or at room temperature for about 30 minutes.
Reheating is not usually required for this pie since it’s meant to be enjoyed chilled. However, if you’d like to pop it in the microwave for just a few seconds, it can soften the filling a bit, creating a different texture experience, just remember not to overdo it!
Conclusion
Making a No-Bake Peanut Butter Pie is an experience filled with delicious aromas and lovely textures. It’s one of those desserts that brings joy not just from eating it but from creating it as well. Whether you’re enjoying it at a family gathering, serving it at a festive party, or simply indulging during a cozy night in, I hope this recipe brings as much happiness to your kitchen as it does to mine. Happy baking, or should I say, happy no-baking!