
Next, I took my chilled heavy cream and, using my electric mixer, whipped it until soft peaks formed. Carefully, I folded the whipped cream into the cheesecake mixture, ensuring it was well blended but still light and airy. You want that creamy texture without losing the fluffiness! Once everything was combined, I spread this heavenly filling over my chilled crust, smoothing the top with a spatula. It looked absolutely delectable!
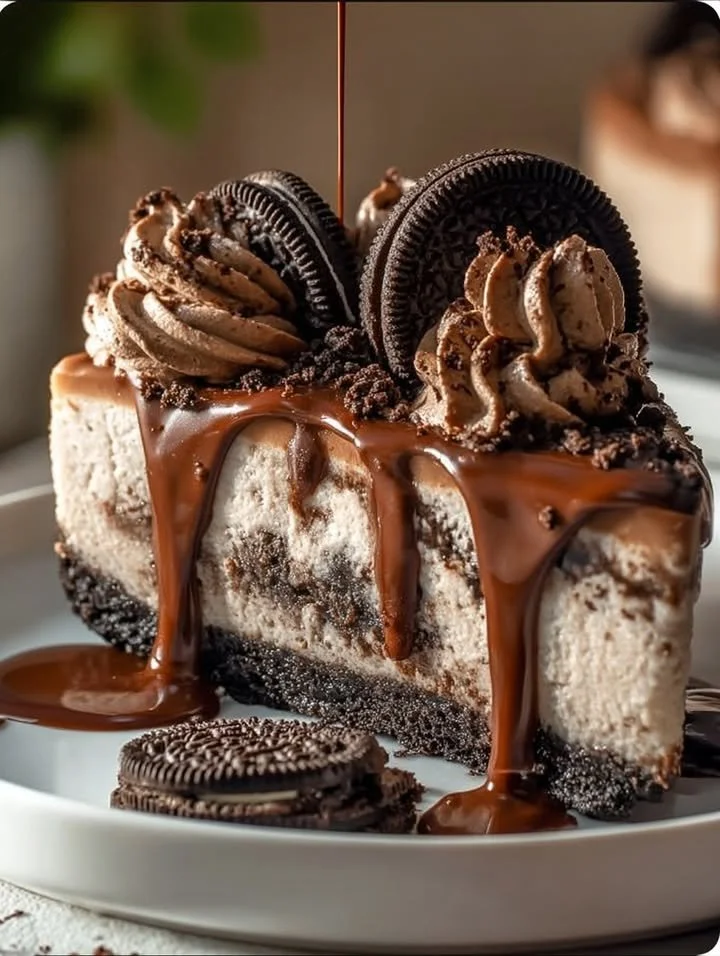
For the chocolate frosting, I melted the semi-sweet chocolate chips in a microwave-safe bowl, stirring every 30 seconds until smooth. Once melted, I mixed in the additional 1/4 cup of heavy cream until it was silky and glossy. Drizzle this over the cheesecake, letting it flow down the sides for a gorgeous presentation. Then, I topped it off with some crushed Oreos for that extra crunch and wow factor!
Finally, I covered the cheesecake with plastic wrap and placed it in the refrigerator for at least four hours, but overnight is even better. Patience is key here! The longer it chills, the better it sets and solidifies into that iconic cheesecake texture that everyone loves.
Pro Tips for Best Results
When I first made this dessert, I found that using room temperature cream cheese made all the difference. It mixes more easily and creates that dreamy, creamy filling we love. If you’re short on time, let your cream cheese sit out for about 30 minutes before you start or microwave it for just a few seconds until slightly softened.
I also recommend making the crust as firm as possible by really pressing the Oreo mixture into the pan. It might seem like a small detail, but a solid crust holds up beautifully when slicing the cheesecake and prevents it from crumbling or falling apart on your plate.
Lastly, don’t skip the chilling time! I discovered that letting it sit overnight in the fridge not only improves the texture but enhances the flavors too. It’s so worth the wait when you finally cut into that first slice!
Common Mistakes to Avoid
One common mistake I made on my first try was not crushing the Oreos finely enough for the crust. Larger pieces resulted in a crumbly mess that didn’t hold together well. Now, I use a food processor, but if you don’t have one, just place them in a zip-top bag and crush them with a rolling pin until finely ground.
Another error is not letting your cream cheese soften enough. If it’s too cold, you’ll end up with lumps in your mixture, and trust me, no one wants that in a creamy cheesecake! Ensure it’s soft enough to mix smoothly for that perfect texture.
As for the heavy cream, make sure it’s cold when whipping. If it’s at room temperature, you won’t achieve those lovely soft peaks. I learned the hard way that cold heavy cream whips up much better. Plus, it adds that delightful lightness to the cheesecake!
Lastly, be careful not to overmix your whipped cream when folding it into the cream cheese mixture. You want it to remain fluffy, not dense. I’ve found that gently folding it in with a spatula works wonders to keep all that air in.
Serving Suggestions
When it comes time to serve this delicious creation, I like to pair each slice with a dollop of whipped cream and a sprinkle of crushed Oreos on top. It adds a lovely visual element and extra flavor. You could even offer a side of chocolate sauce for drizzling—who can resist a little extra chocolate?
I also enjoy serving this cheesecake with fresh berries like raspberries or strawberries. The tartness of the berries cuts through the richness of the cheesecake perfectly, making for an extraordinary flavor combination. Plus, they make the presentation pop with vibrant color!
Lastly, this cheesecake is fantastic with a cup of coffee or a scoop of vanilla ice cream on the side. The contrast of hot and cold adds an exciting twist to each bite, and I always find it hard to resist when I set a slice down next to my favorite mug of coffee.
Variations & Customizations
If you want to switch things up, try adding different flavors to the cheesecake filling! I’ve experimented with adding a tablespoon of peppermint extract during the mixing process for a festive holiday twist. Trust me, it’s a hit!
Another fun variation is to incorporate other cookies. Instead of Oreo cookies, try using chocolate wafer cookies or even vanilla cookies to create a lighter version of this dessert. You can even mix in some mini chocolate chips into the cheesecake filling for added texture and flavor!
Lastly, if you have a nut allergy or prefer a gluten-free option, you can substitute the Oreo crust with crushed gluten-free cookies or even use ground nuts like almonds or pecans for a delicious crust alternative. The possibilities are endless!
How to Store, Freeze & Reheat
I always store my No-Bake Oreo Cheesecake in the refrigerator, covered with plastic wrap or in an airtight container, where it will last for about 5-7 days. Just be mindful to keep it chilled until you’re ready to serve for the best texture and flavor.
If you want to make this dessert ahead of time, you can absolutely freeze it! Just make sure it’s well wrapped in plastic wrap followed by aluminum foil. When you want to enjoy it, let it thaw in the refrigerator overnight. I’ve found that the texture remains wonderfully creamy after freezing, which is a win-win!
Reheating is not necessary with this no-bake cheesecake, as it’s best served chilled. However, if you want to enjoy a warmed slice, just pop it in the microwave for a few seconds—but be cautious not to heat it too much, as you want to preserve that delightful texture and flavor.
Conclusion
I genuinely hope you get as much joy from making and tasting this No-Bake Oreo Cheesecake with Chocolate Frosting as I do! It’s a simple, decadent dessert that brings smiles to everyone around the table. So gather your ingredients, roll up your sleeves, and jump into this fun recipe. Happy baking, or rather, happy chilling! Enjoy every creamy, chocolaty bite!