
Next, while your crusts are cooling, in another bowl, beat the light cream cheese until it’s smooth and creamy. Gradually add in the 1/2 cup sugar and vanilla, mixing well until it’s all incorporated. Then, add the eggs one at a time, mixing on low speed between each addition. Finally, fold in the sour cream gently to keep that light texture intact. This mixture should be fluffy and deliciously inviting!
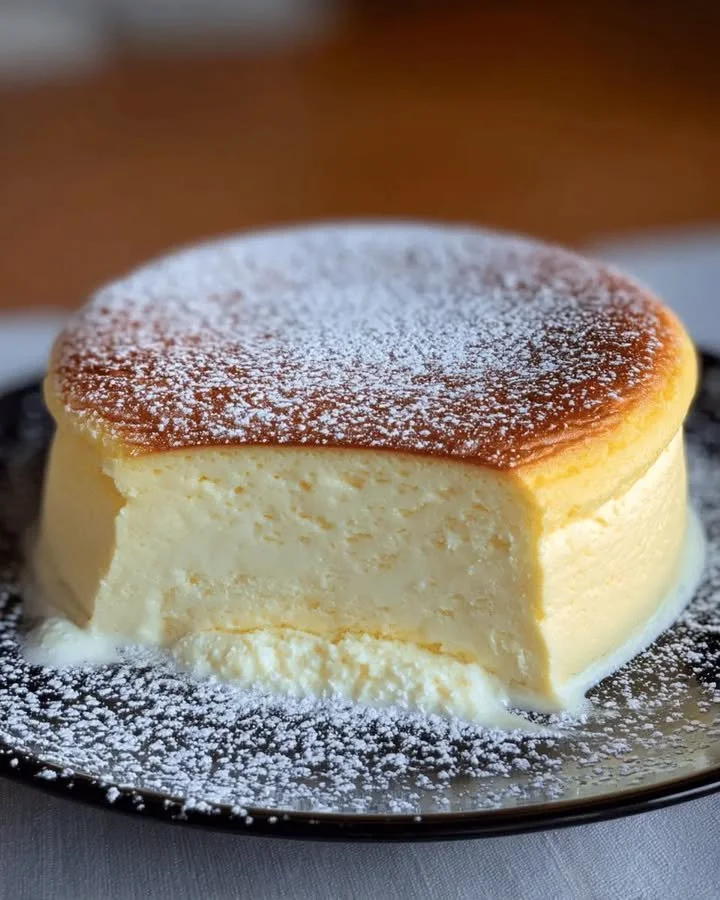
Now, it’s time to fill those crusts! Spoon the cheesecake filling evenly into each prepared crust, ensuring that you don’t overfill. Bake for another 15-18 minutes, and remember that they will puff up slightly but will settle as they cool. You’ll know they’re done when they wobble slightly in the middle—just perfect! After baking, let them cool in the pan for about 10 minutes before transferring them to a cooling rack to cool completely.
Once they are at room temperature, I recommend chilling them in the refrigerator for at least four hours (or overnight if you can resist!). This chilling time not only helps set the cheesecake but allows all those creamy flavors to meld together beautifully. I often find that they taste even better the next day!
Pro Tips for Best Results
As I’ve experimented with this recipe, I found that using room-temperature cream cheese is crucial in avoiding lumps in your batter. I tested this three ways, and the smoothest texture always came from letting the cream cheese soften for a while before beating it.
Another tip is to use an electric mixer at a low speed to incorporate the eggs. This helps maintain that luscious lightness. If you mix too aggressively, you might introduce too much air, and that can lead to cracks while they bake. Remember, we want them fluffy, not airy!
Lastly, let your cheesecakes cool down in the oven with the door slightly ajar after baking. It’s a small hack that helps prevent cracking due to rapid temperature changes. I’ve saved many a cheesecake this way!
Common Mistakes to Avoid
One common mistake I’ve made in the past is overfilling the cups. It can be tempting, especially when that creamy mixture looks so delicious! But trust me, keeping to the filling recommended will prevent messy overflow and keep your cheesecakes looking beautifully crafted. A little goes a long way! (See the next page below to continue…)