Equipment Needed
Step-by-Step Instructions
- When I start making this chocolate, the first thing I do is melt the coconut oil if it’s solid. I usually do this gently so it becomes fully liquid but not too hot.
- Next, I add the cocoa powder to the melted coconut oil and stir until it becomes smooth and glossy. At this stage, it already smells like real chocolate.
- Then I mix in the honey, vanilla extract, and a pinch of sea salt. I always taste the mixture here to adjust the sweetness if needed. It should be rich and slightly sweet with a balanced flavor.
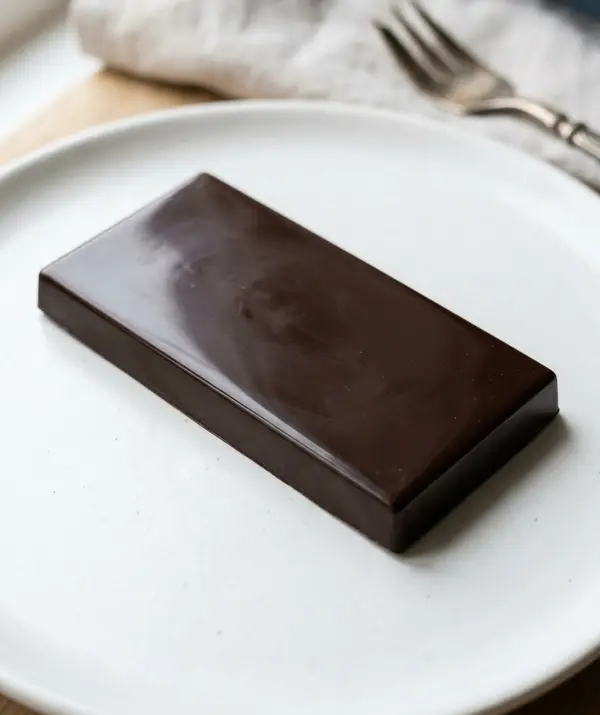
- Finally, I pour the mixture into a mold or small tray and place it in the refrigerator for about 30–60 minutes until fully set. Once firm, I break it into pieces and enjoy.
Pro Tips for Best Results
One thing I’ve learned after making this a few times is to sift the cocoa powder before mixing. It helps avoid lumps and creates a smoother texture. Another tip is to mix thoroughly so the honey blends evenly into the chocolate. This keeps the texture consistent. I also like letting it set fully in the fridge before cutting—it makes cleaner, firmer pieces.
Common Mistakes to Avoid
The first mistake I made was adding too much honey at once. It made the chocolate too soft and overly sweet. Another mistake is not mixing well enough. The cocoa can clump if it’s not fully incorporated.
I also learned not to skip the salt. Even a small pinch enhances the chocolate flavor. Finally, avoid using very hot coconut oil. It can affect the texture and flavor balance.
Serving Suggestions
When I serve this chocolate, I like breaking it into small pieces and enjoying it straight from the fridge. Sometimes I add toppings like nuts, dried fruit, or coconut flakes before it sets for extra texture. I also love pairing it with coffee or tea for a simple treat.
Variations & Customizations
One variation I enjoy is adding chopped almonds or hazelnuts for crunch. I’ve also tried mixing in a little peanut butter for a chocolate-peanut flavor. Another version I like is adding a pinch of cinnamon for a warm twist.
How to Store, Freeze & Reheat
Whenever I make this chocolate, I store it in an airtight container in the refrigerator to keep it firm. I’ve also frozen it before, which gives it a slightly firmer bite. There’s no reheating needed—just keep it chilled and enjoy.
Conclusion
Every time I make this homemade healthy chocolate, I’m reminded how easy it is to create something delicious with simple ingredients. The rich flavor, smooth texture, and natural sweetness make it a perfect clean treat. I love how customizable it is and how quickly it comes together. Once you try it, you might never go back to store-bought chocolate.