Equipment Needed
Step-by-Step Instructions
- I start by heating the milk until it’s very hot but not boiling. I’ve found that milk that’s too hot can sometimes affect the chocolate’s texture, so I remove it from the heat just before it begins to simmer. Meanwhile, I finely chop the dark chocolate so it melts quickly and evenly.
- Next, I pour the hot milk into a bowl and immediately add the chopped chocolate. If I want a slightly sweeter mousse, I stir in a teaspoon or two of honey at this stage. I let everything sit for about a minute before stirring so the chocolate has time to soften.
- Then, I whisk the mixture until it becomes completely smooth and glossy. Watching the chocolate melt into the warm milk is my favorite part of the recipe. I make sure there are no small chocolate pieces left because a silky texture makes all the difference.
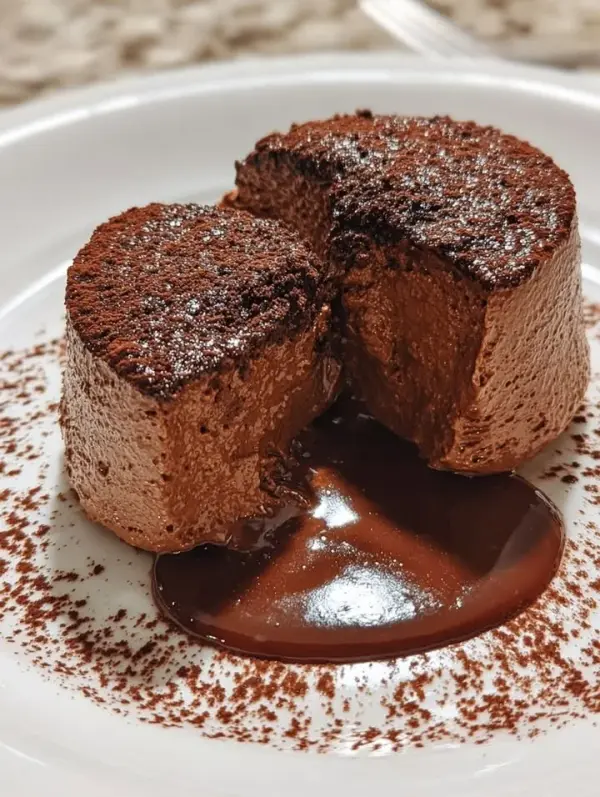
- Finally, I pour the mousse into serving cups and place them in the refrigerator for at least two to four hours. As it chills, the mixture firms up beautifully and develops a rich, creamy consistency that’s perfect for dessert.
Pro Tips for Best Results
I’ve tested this recipe with different types of chocolate, and dark chocolate with around 60–70% cocoa gives the best balance between sweetness and richness.
One thing I learned early on is to chop the chocolate into very small pieces. It melts much faster and creates a smoother mousse.
If you have time, let the mousse chill overnight. The flavor becomes deeper, and the texture turns even creamier.
Common Mistakes to Avoid
The first mistake I made was using milk that wasn’t hot enough. The chocolate didn’t melt completely, leaving tiny lumps throughout the mousse.
Another common mistake is rushing the stirring process. I always whisk until the mixture is perfectly smooth and glossy.
I also avoid using chocolate with an extremely high cocoa percentage because it can make the mousse slightly bitter.
Finally, don’t skip the chilling time. The mousse needs several hours in the refrigerator to develop its signature texture.
Serving Suggestions
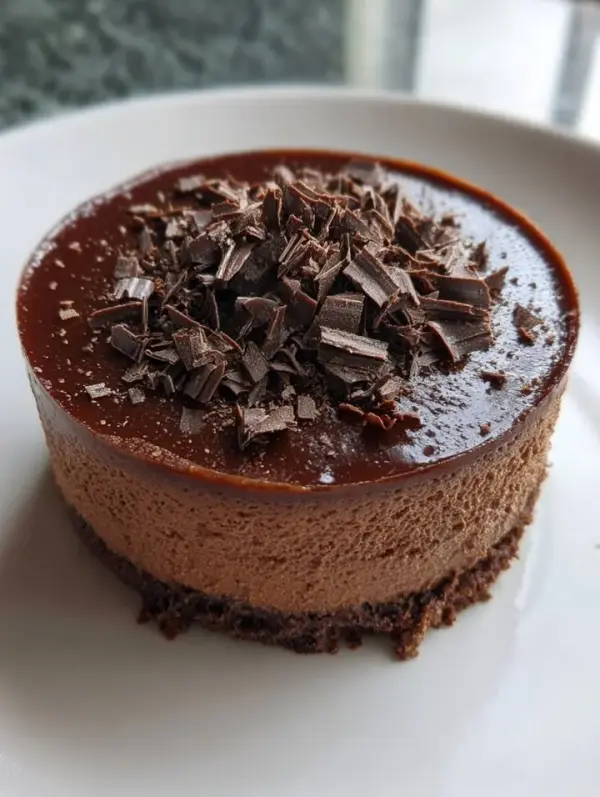
I love serving this mousse straight from the refrigerator with a few chocolate shavings sprinkled on top.
Sometimes I add fresh berries, such as raspberries or strawberries, because their tartness pairs beautifully with the rich chocolate.
For special occasions, I garnish each serving with a small drizzle of honey and a pinch of cocoa powder.
Variations & Customizations
I’ve added a splash of vanilla extract before chilling, and it gives the mousse a lovely depth of flavor.
Another variation I enjoy includes adding a pinch of cinnamon for a subtle warmth that complements the chocolate.
Sometimes I top the mousse with crushed nuts for extra crunch and texture.
How to Store, Freeze & Reheat
From my experience, this mousse keeps well in the refrigerator for up to three days when covered tightly.
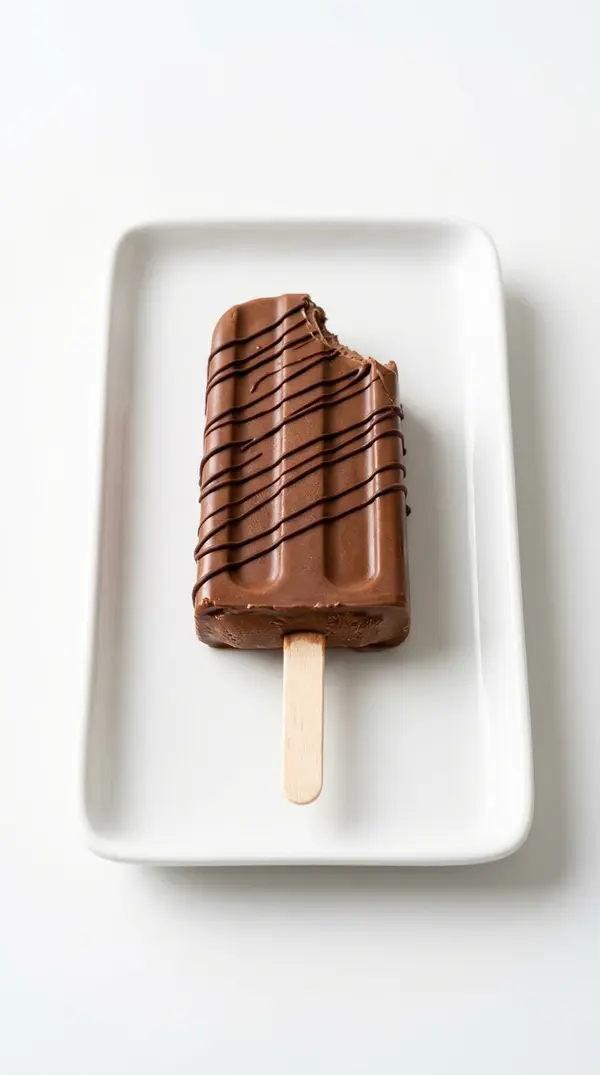
I’ve frozen small portions before, and they turn into a delicious frozen chocolate treat after thawing slightly.
Since this dessert is meant to be served cold, I don’t recommend reheating it. Instead, I remove it from the refrigerator a few minutes before serving.
Conclusion
This Homemade Chocolate Mousse proves that you don’t need a complicated recipe to create an impressive dessert. With just hot milk, dark chocolate, and a little honey, you can make a rich, creamy treat that’s perfect for any occasion. Whether you serve it after dinner or enjoy it as an afternoon indulgence, this easy mousse is sure to satisfy every chocolate craving.