
Next, pour the batter into your prepared baking pan and smooth out the top with a spatula. Bake for about 30-35 minutes or until the cake is golden brown and a toothpick inserted in the center comes out clean. Be careful not to overbake! While the cake is cooling, let’s prepare the glaze. In a small bowl, whisk together the powdered sugar, pineapple juice, and milk until it’s smooth and pourable. The sweet aroma adds to the excitement of the cake’s completion!
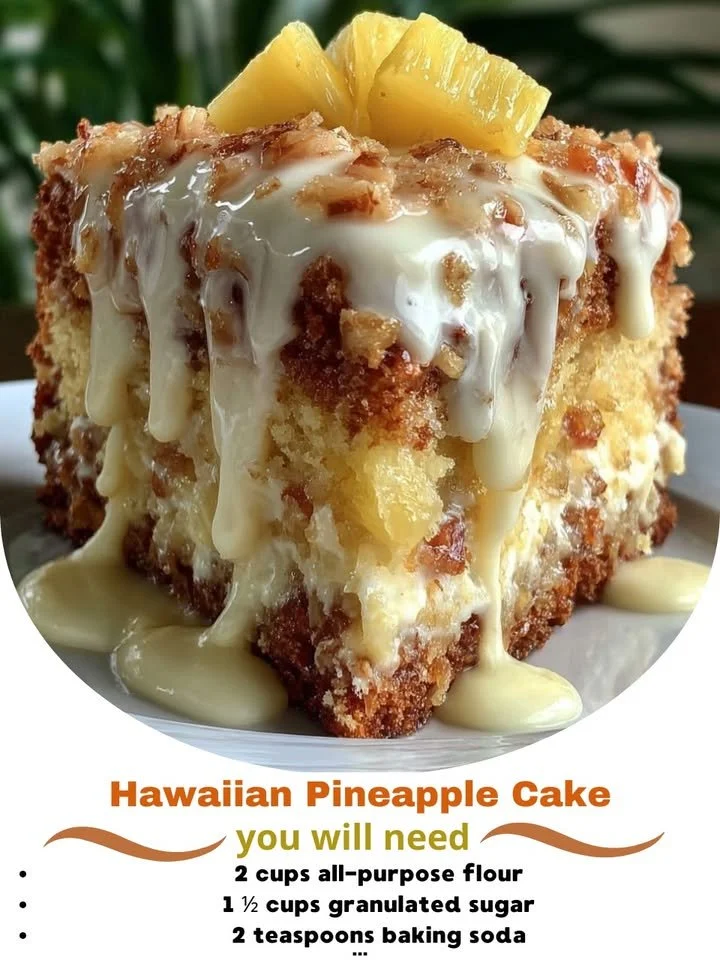
Once the cake is cool, poke a few holes in the top with a toothpick to allow the glaze to seep in beautifully. Pour the glaze over the top, letting it drip down the sides. I love how vibrant and shiny the glaze looks, making it even more appetizing. Then, let the cake sit for about 10 minutes before slicing it into generous squares. The anticipation is the best part, and let me tell you, the first bite is pure bliss!
Pro Tips for Best Results
I tested this recipe three ways—using different types of oil and sweeteners—to see how it changes the flavor. Surprisingly, I found that standard vegetable oil gives the best texture and moisture balance in the cake. Also, if you’re looking to reduce the sweetness, try using less sugar, as the pineapple already contributes its own natural sweetness. Lastly, if you find that your cake seems a bit dry, it might be due to overmixing. Always mix just until combined!
Another tip I love to share is to shop for the freshest pineapple. If it’s in season and you can find a ripe one, use fresh pineapple instead of canned for a more vibrant taste. The difference is astonishing! When you blend that fresh fruit into your batter, your entire kitchen fills with a delicious aroma that just screams “tropical paradise.”
Don’t forget to let your cake cool completely before adding the glaze. I once got too eager and drizzled the glaze over a warm cake, which resulted in a lovely puddle of glaze at the bottom of my pan rather than a beautifully drizzled top. The cake still tasted amazing, but I prefer the neat presentation that comes with a cooled cake.
Common Mistakes to Avoid
One common mistake I see is not measuring the flour correctly. I’ve learned the hard way that scooping flour directly from the bag can lead to an overly dense cake. Instead, I fluff up the flour first, spoon it into my measuring cup, and level it off to ensure I have just the right amount. This makes a big difference in achieving that perfect texture!
Another blunder is baking the cake for too long. My oven has a mind of its own, and I’ve had a few cakes go from perfectly golden to overly browned in what felt like a blink. Set a timer and start checking a few minutes before the recommended baking time. This helps prevent any potential burnt edges and keeps the cake moist.
Finally, don’t skip the cooling step. It’s so tempting to dive into that delicious cake right out of the oven, but giving it time to cool allows it to set properly. Don’t forget about your cake after it’s out of the oven! It deserves to rest, just like you after a long day. (See the next page below to continue…)