
Next, I add the melted butter and vanilla and whisk until combined. Then I add the eggs and whisk thoroughly before pouring in the fresh lemon juice. The mixture becomes smooth and glossy at this stage. The scent alone is enough to make me excited about the finished cookies.
In a separate bowl, I whisk together the gluten-free flour, xanthan gum if needed, baking powder, and salt. I gradually add the dry ingredients to the wet ingredients and stir until a smooth, sticky dough forms. The dough will seem softer than traditional cookie dough, which is completely normal. I cover it and chill it for at least two hours, though overnight chilling gives even better results.
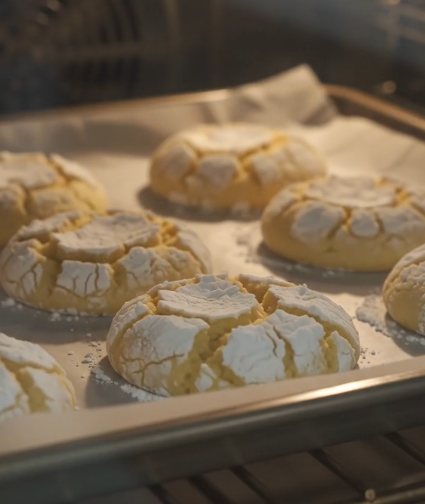
Once chilled, I preheat the oven to 350°F (180°C) and line my baking sheets with parchment paper. I scoop tablespoon-sized portions of dough and roll them into balls. Each ball gets rolled first in granulated sugar and then heavily coated in powdered sugar. After baking for 8–10 minutes, the cookies puff up and develop their beautiful signature cracks. I let them cool on the baking sheet before transferring them to a wire rack.
Pro Tips for Best Results
I tested these cookies with different chilling times, and longer chilling consistently produced thicker cookies with more dramatic crinkles. If possible, let the dough chill overnight.
Another thing I learned is that fresh lemon zest is essential. Bottled lemon flavoring simply doesn’t create the same bright, natural citrus taste.
Don’t be shy with the powdered sugar coating. A generous layer helps create those gorgeous white cracks during baking.
Common Mistakes to Avoid
The biggest mistake I made the first time was baking the cookies immediately after mixing the dough. Without chilling, they spread too much and lost their crinkle effect. (See the next page below to continue…)