
Next, I place the saucepan over low heat and stir gently until the sugar has completely dissolved. I make sure the mixture doesn’t boil during this stage because gentle heating helps prevent the milk from scorching.
Once the sugar has dissolved, I bring the mixture to a very low simmer. I let it cook gently for about 35 to 40 minutes, stirring occasionally. As it cooks, the milk slowly reduces and becomes thicker and creamier.
I keep an eye on the saucepan during the entire cooking process. The mixture should reduce by about half and become noticeably thicker. If it starts bubbling too aggressively, I lower the heat.
Once the condensed milk has reached the desired consistency, I stir in the vanilla extract and remove the saucepan from the heat.
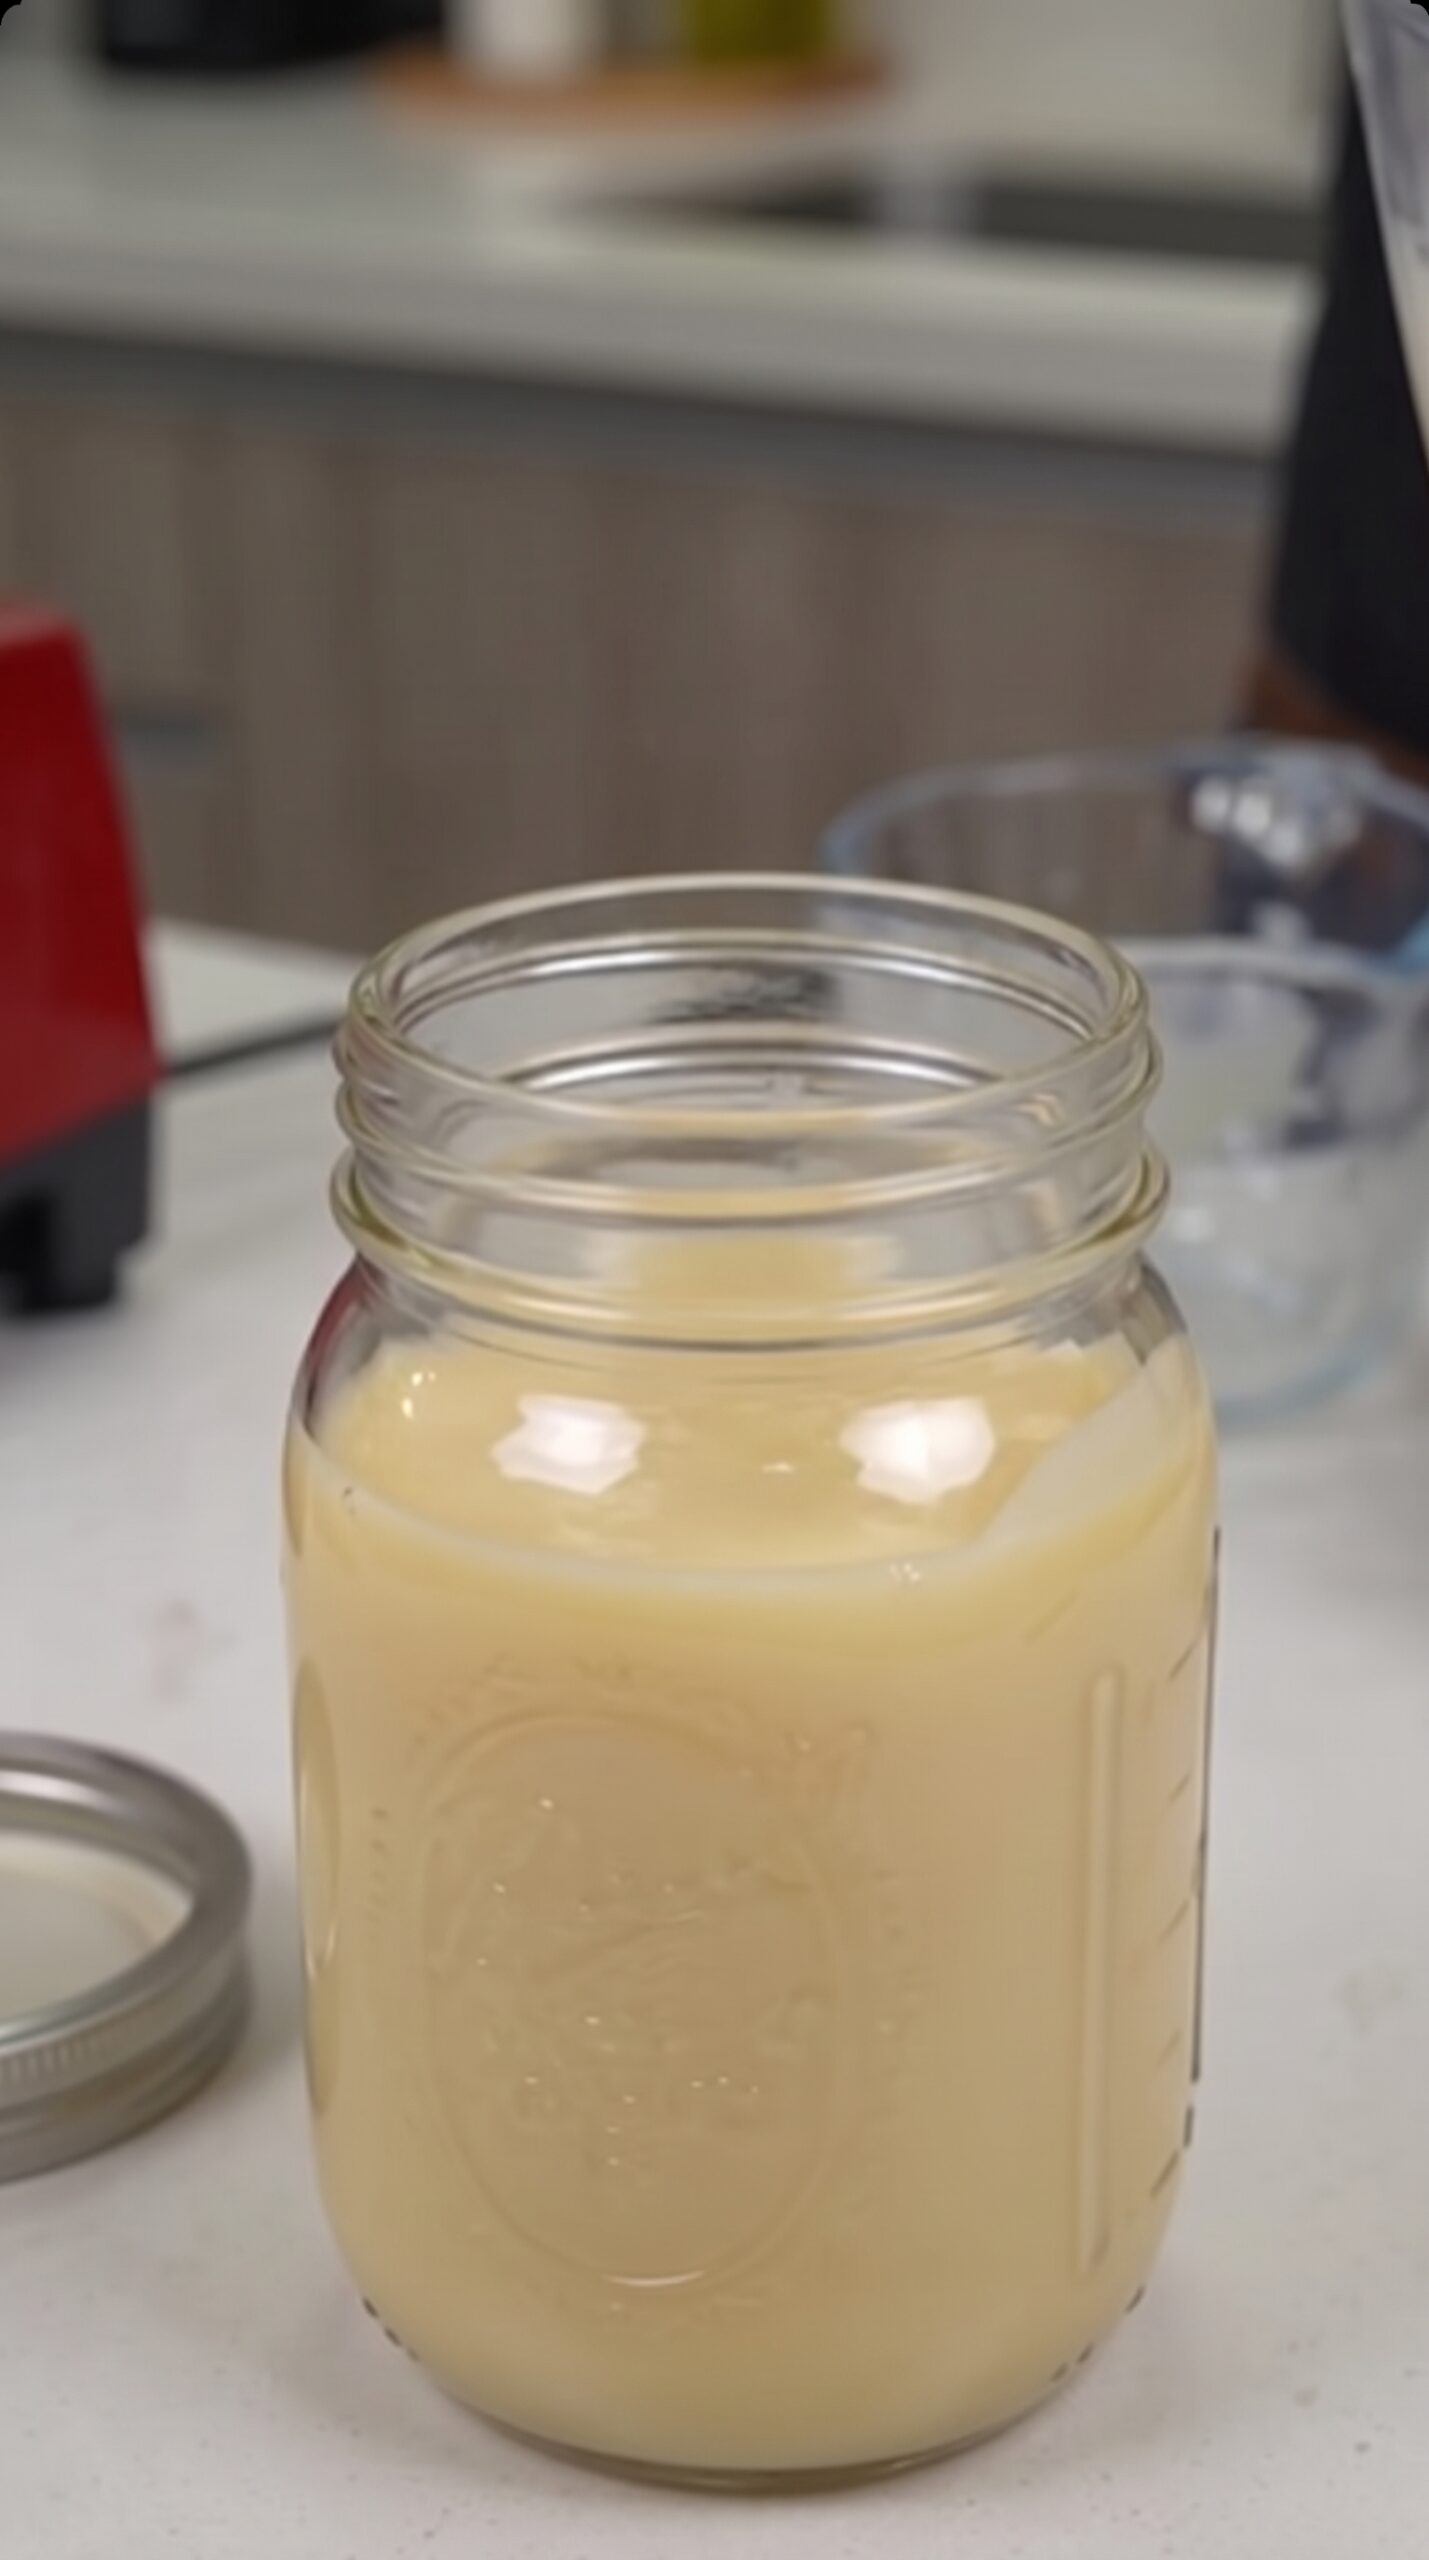
I carefully pour the homemade condensed milk into a clean glass jar and let it cool completely. It will continue to thicken slightly as it cools.
Once cooled, I place the jar in the refrigerator and keep it chilled until I’m ready to use it.
Pro Tips for Best Results
I recommend cooking the milk over low heat rather than trying to speed up the process. Slow cooking gives you better control and helps prevent the milk from burning.
Stir occasionally while the mixture reduces, especially around the bottom and edges of the saucepan.
Don’t worry if the condensed milk seems slightly thinner while it’s still hot. It will become thicker as it cools.
Use a clean, dry glass jar for storing the finished condensed milk.
For the best flavor, use whole milk rather than low-fat milk.
Common Mistakes to Avoid
One of the biggest mistakes is cooking the mixture over high heat. This can cause the milk to scorch or stick to the bottom of the saucepan. (See the next page below to continue…)