
Once I poured the batter evenly into the prepared cake pans, I placed them in the oven and let them bake for about 30-35 minutes, or until a toothpick inserted into the center came out clean. The smell of baking chocolate cake filled my kitchen, and it was honestly one of the best olfactory experiences—if only I could bottle it up! While the cakes were cooling, I prepared my homemade caramel sauce. I simmered sugar, butter, and cream until it formed a rich, silky sauce that made my heart flutter in joy.
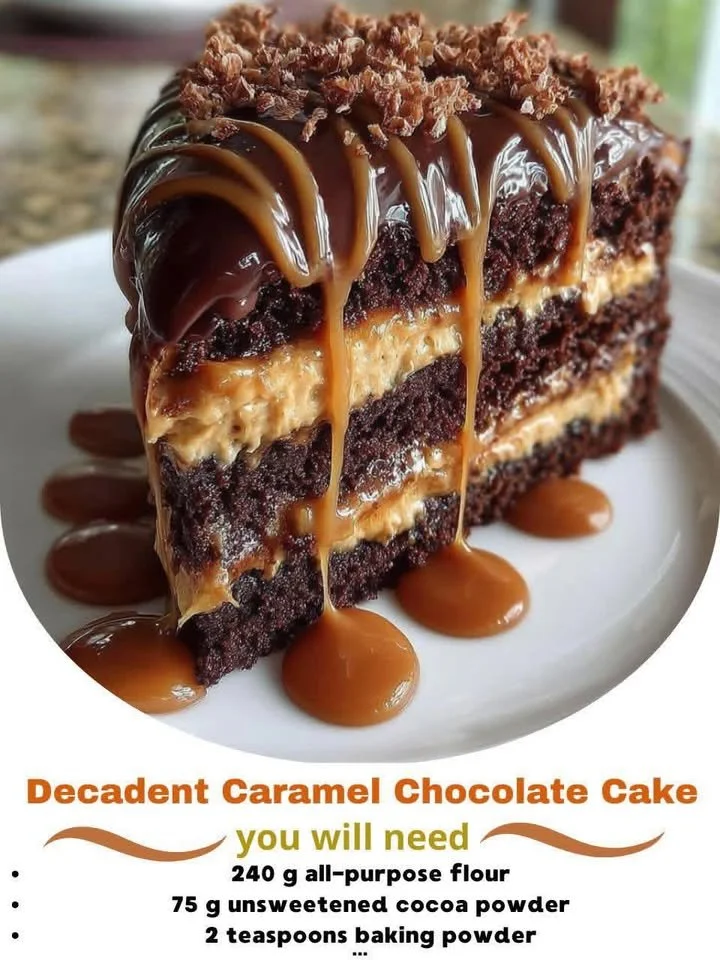
Next, after the cakes had cooled completely, I carefully removed them from the pans and placed one layer on my serving plate. I drizzled a generous amount of caramel on top and then added the second layer, repeating the process. To finish off this masterpiece, I drizzled more caramel over the top and sprinkled with chocolate chips for an extra touch of decadence. And just like that, my chocolate caramel cake was complete!
Pro Tips for Best Results
I always recommend using high-quality cocoa powder for this recipe. It makes a noticeable difference in flavor and can elevate the cake to a whole new level. The first time I baked this cake, I used a generic brand, and I didn’t realize how much richer it could taste with a premium cocoa!
Another tip I swear by is to make sure your ingredients are at room temperature before you start. Mixing cold ingredients can lead to an uneven batter, resulting in a cake that doesn’t rise as well as it should. So, I always take out my eggs, milk, and butter in advance and let them sit on the countertop for about 30 minutes before getting to work.
Lastly, I suggest letting your cake layers cool fully before adding the caramel. If they’re still warm, the caramel can start to melt into the cake, and while that sounds delicious, it can get messier than intended. Trust me, allowing them to cool will give you clean, beautiful layers!
Common Mistakes to Avoid
One common mistake I’ve made in the past is not measuring the ingredients correctly, especially the flour. A heavy hand can lead to a dense cake that’s less enjoyable. I’m now a fan of the spoon-and-level method: I spoon flour into the measuring cup and level it off with the back of a knife for precision. This ensures I get the right amount every time! (See the next page below to continue…)