
Working quickly, I pour and scrape the thick fudge mixture into your prepared pan. I use the spatula to press it into a firm, even layer. For a beautiful finish, I take the remaining ½ cup of untoasted coconut, mix it with a tiny splash of milk or cream to help it clump, and press it evenly over the top of the fudge. This gives a pretty, snowy-white finish and a contrasting soft texture. I then let the pan cool completely on the counter before covering it and transferring it to the refrigerator to chill and firm up completely for at least 4 hours, or ideally overnight.
Pro Tips for Best Results
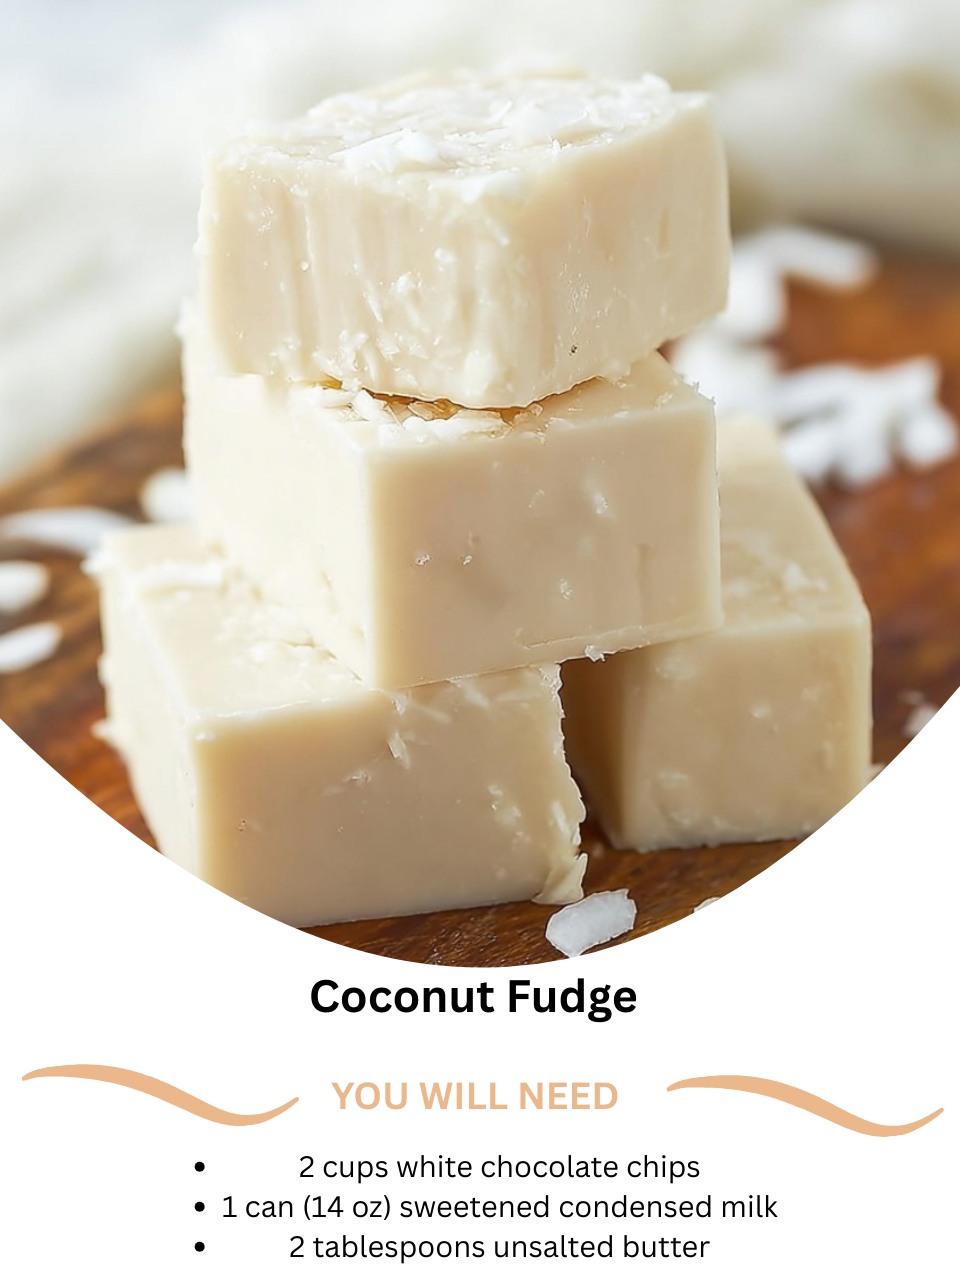
I tested the coconut component three different ways: with all untoasted coconut, with all toasted coconut, and with a mix. Here’s the winning formula: toast most of it for deep flavor in the fudge, but save some untoasted for the topping. Using all toasted coconut can make the fudge a bit too dry. Using all untoasted coconut lacks depth. This combination gives you the best of both worlds: intense flavor inside and a soft, pretty topping.
Here’s what I learned the hard way about the extracts: the coconut extract is non-negotiable for true flavor. Vanilla alone makes a sweet white fudge with coconut bits. Adding the coconut extract transforms it into a coconut-forward masterpiece. I’ve tried this step both ways, and trust me, this one works better. Also, make sure your toasted coconut is completely cool before folding it in. Warm coconut will melt the fudge base slightly, creating oily pockets and affecting the setting texture.
For the absolute smoothest texture, the quality of your white chocolate is paramount. A higher-quality chip or chopped bar with real cocoa butter will melt more smoothly and have a cleaner, less waxy finish than bargain brands. Also, when stirring in the extracts and salt off the heat, do it vigorously. This not only incorporates them fully but also helps cool the mixture down slightly, which is perfect for folding in the coconut without it sinking straight to the bottom.
Common Mistakes to Avoid
The biggest mistake is using high heat to melt the base. Impatience leads to scorched milk and seized, grainy chocolate. I did this on my first attempt, and there was no saving it—the fudge had a burnt taste and a sandy texture. Don’t do what I did! The lowest possible heat is your mantra. If you’re nervous, use a double boiler. It takes a few minutes longer, but it’s a foolproof method for that perfect, silky-smooth base every single time.(See the next page below to continue…)