
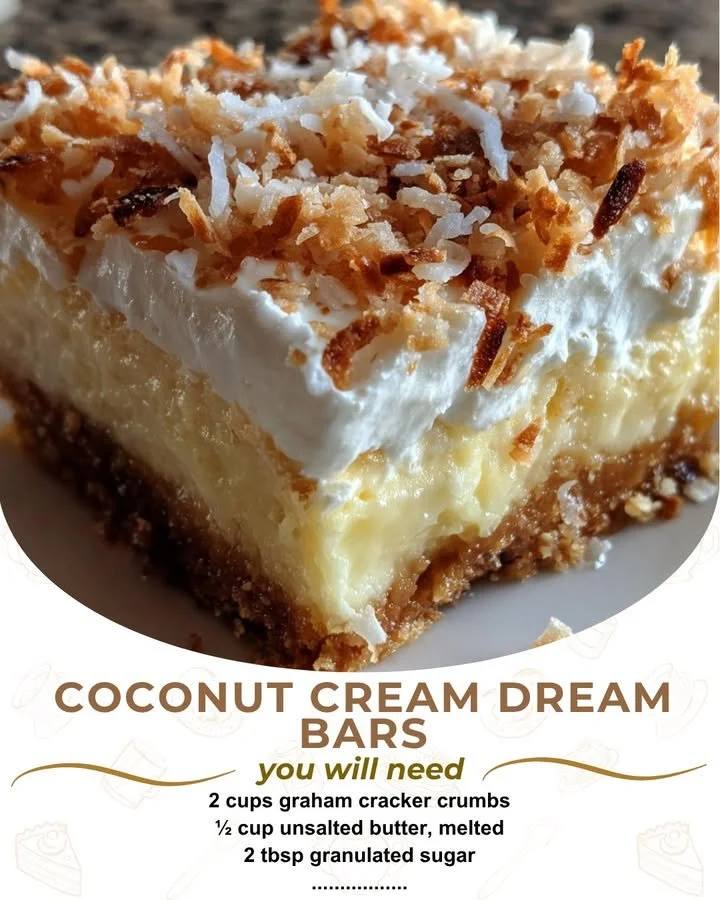
After letting the crust cool for a few minutes, I prepare the creamy filling. In a clean bowl, I mix together the can of sweetened condensed milk, whipped topping, and a teaspoon of vanilla extract until it’s smooth and combined. I love how fluffy it looks! Then, I gently fold in 1 cup of sweetened shredded coconut, adding that tropical flavor that ties everything together. Pour this coconut cream mixture over the cooled crust and spread it out evenly. Chill in the fridge for at least 2 hours to let it set up perfectly before the grand topping.
Once it’s set, I sprinkle a generous layer of shredded coconut on top, giving it that inviting look! Now comes the hardest part: trying to resist the urge to dive in immediately! I cut these bars into squares, revealing those beautiful layers of crust and cream, and serve them cold. They’re a total crowd-pleaser and perfect for parties!
Pro Tips for Best Results
I’ve made these bars numerous times, and one of my biggest tips is to ensure your butter is softened, not melted. If it’s too melted, it can change the texture of the crust, making it too crumbly. I’ve learned to take the butter out of the fridge about an hour before I start my baking to get it just right.
Also, make sure your cream filling is chilled for at least two hours. I know it can be tempting to cut into it early, but trust me, it’s worth the wait. The filling gets that perfect creamy texture when fully set, which makes each bite even more delicious!
Lastly, if you want that toasted coconut flavor on top, give the shredded coconut a quick toast in a dry skillet over medium heat before adding it. The aroma is simply heavenly, and it adds a lovely crunch and depth of flavor to the bars.
Common Mistakes to Avoid
One common mistake I often see is not allowing the crust to cool properly before adding the filling. If you pour that filling over a hot crust, it can cause the layers to separate, which isn’t what we want at all! It may take a little patience, but trust me—it’s worth it for that perfect layered look. (See the next page below to continue…)