
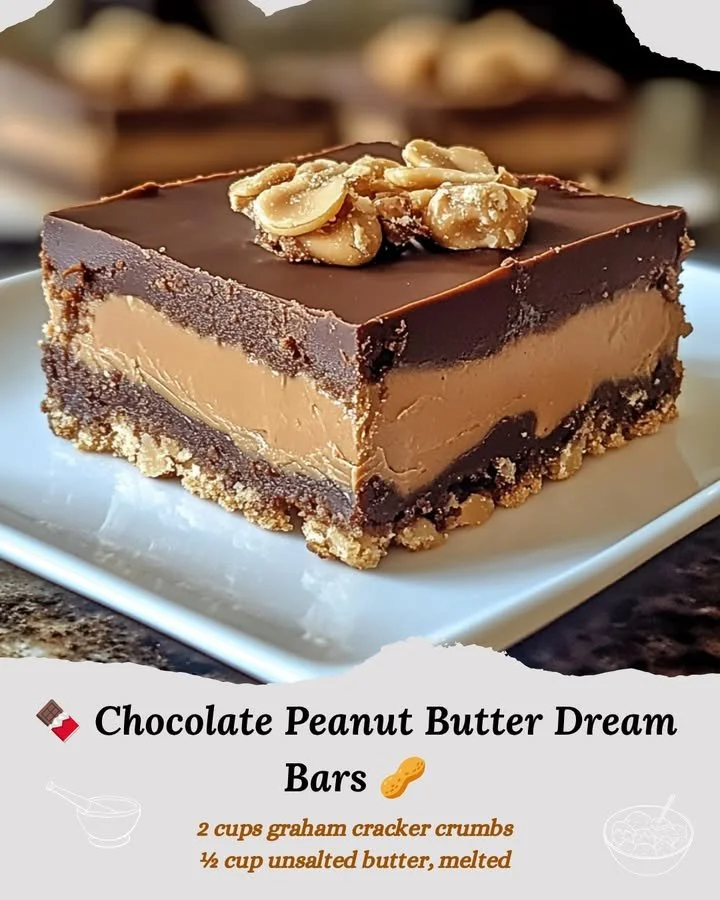
Also, be cautious when melting the chocolate. Overheating can lead to a grainy texture that no one wants to bite into. I’ve learned that it’s safer to melt in shorter intervals and to stir well between them. Your patience will reward you with that perfect silky finish!
Another mistake is skipping the refrigeration step. I understand the temptation to sample the bars right away, but not allowing them to chill properly can lead to a gooey mess instead of neat squares. Trust me; they will be worth the wait!
Serving Suggestions
These Chocolate Peanut Butter Dream Bars are as delicious as they are versatile! I love serving them at gatherings, offering them up on a dessert platter alongside fresh strawberries and whipped cream. The combination of flavors really complements each other beautifully.
If I’m feeling a little extra, I’ll pair them with a scoop of vanilla ice cream. Just imagine: the cool, creamy ice cream with a warm chocolatey peanut butter bar. It’s pure bliss! Sometimes, I even drizzle a little caramel sauce on top for that extra indulgence.
For a fun twist, I like to cut them into smaller squares and serve them alongside a hot cup of coffee or cocoa. The rich flavors of chocolate and peanut butter make for a perfect afternoon treat!
Variations & Customizations
One of the best aspects of these dream bars is how easy they are to customize. You can mix in some crushed pretzels for added crunch, or throw in a handful of mini marshmallows for a s’mores-inspired twist. I’ve experimented with adding a splash of vanilla extract to the peanut butter layer—such a lovely depth of flavor!
I’ve also tried swapping out the semisweet chocolate for dark chocolate, and wow, what a treat! If you’re a dark chocolate lover, this might just be your new go-to. Another fun idea is to use almond butter in place of peanut butter; it brings a slightly different flavor yet remains delicious.
If you’re entertaining, consider turning them into bite-sized treats by using a mini muffin tin. Just press in a tiny crust, a dollop of peanut butter, and a bit of melted chocolate. They will be perfectly sized for popping in your mouth!
How to Store, Freeze & Reheat
Once your bars are beautifully made, you can store them in an airtight container in the fridge for up to a week. They’re so delicious that I doubt they’ll last that long, but it’s always nice to know they’ll be fresh if you want one later! Just make sure to keep them away from strong-smelling foods, as they tend to absorb odors.
If you want to prepare them in advance, you can easily freeze them. Just slice the bars first and place them in a single layer on a baking sheet to freeze until firm. Then, transfer them to an airtight container with parchment paper between layers. They can be stored in the freezer for up to three months. I find that they taste just as delightful after thawing.
When you’re ready to enjoy a frozen piece, just let it sit at room temperature for about 10-15 minutes, or you can pop it in the microwave for just a few seconds. This way, you’ll have that gooey goodness ready to cherish in no time!
Conclusion
I truly hope you give these Chocolate Peanut Butter Dream Bars a try in your own kitchen. They’ve brought me so much joy and deliciousness, and I can’t wait for you to experience that too! Whether you’re making them for yourself, for family, or for a gathering, they’re always sure to impress. Happy baking, and enjoy every delightful bite!

