
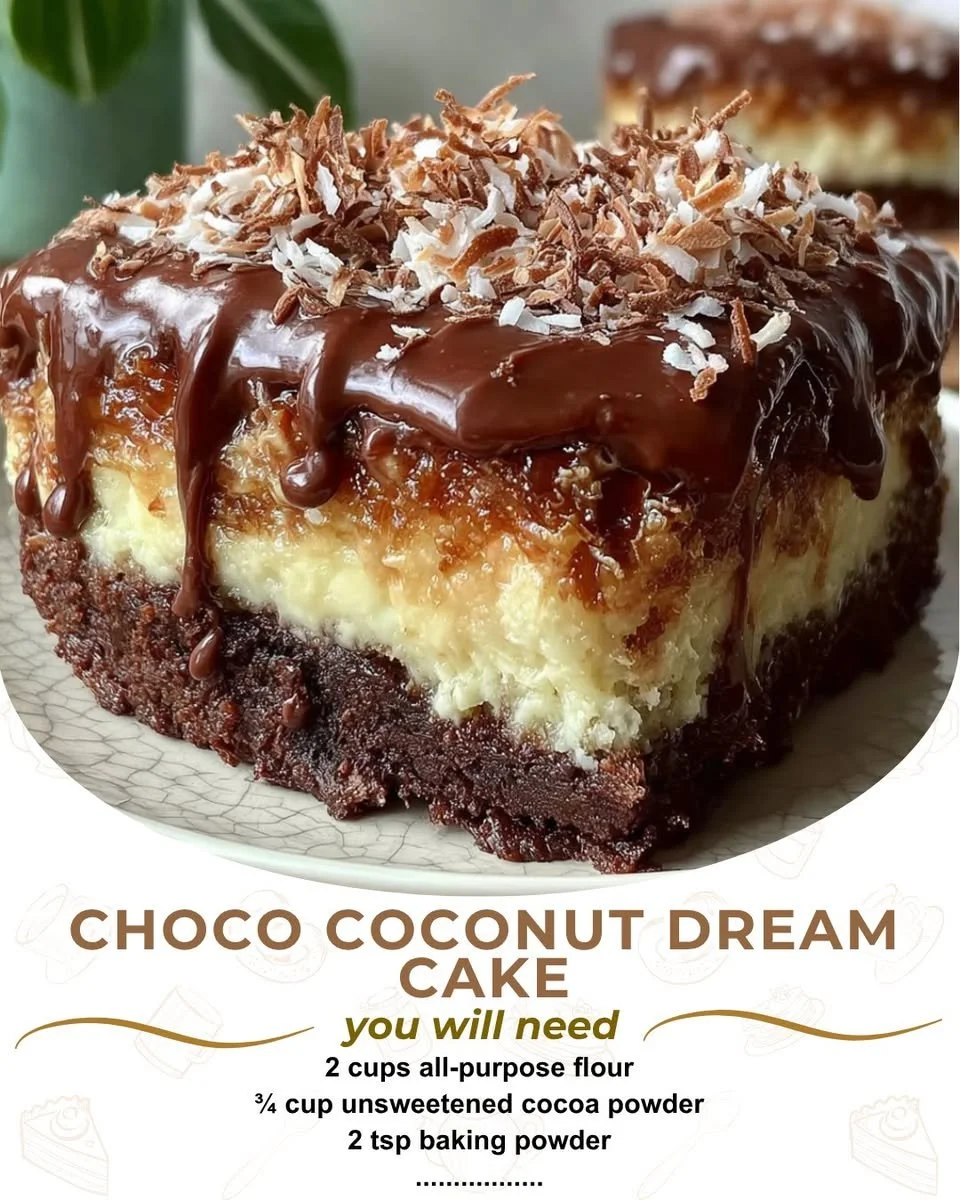
Next, fold in the shredded coconut into the batter; this adds the delightful texture that contrasts beautifully against the rich chocolate. Divide the batter evenly between the prepared cake pans and bake for 30-35 minutes, or until a toothpick inserted in the center comes out clean. While the cakes are baking, I recommend preparing the coconut cream frosting. In a medium mixing bowl, beat the heavy cream and powdered sugar until stiff peaks form, then gently fold in the coconut cream. Set it aside to chill while the cakes cool.
Once the cakes are done, let them cool for about 10 minutes in their pans, then turn them out onto a cooling rack. Allow them to cool completely before frosting—this is important to prevent melting! When ready, place one layer on your cake stand and spread a good amount of frosting on top. Place the second layer on top and frost the sides and the top of the cake generously. Feel free to decorate with additional shredded coconut for that extra tropical touch!
Lastly, slice yourself a piece and savor every bite. The aroma of chocolate and coconut wafting through my kitchen is simply irresistible, and I can’t help but get a little giddy every time I serve this cake to guests. It’s a little piece of paradise!
Pro Tips for Best Results
I tested this recipe three ways: with different types of cocoa powder, and I found that Dutch-processed cocoa really enhances the chocolate flavor—it’s so rich! Also, when it comes to the coconut, toasting it slightly before mixing it into the batter gives an extra depth of flavor that I truly adore. Don’t skip this step if you can help it!
Make sure you use room-temperature ingredients. It makes such a difference in blending everything smoothly—especially the buttermilk and eggs. I usually take them out of the fridge a couple of hours before I start baking. This small step has made a world of difference in achieving that perfectly moist cake I strive for!
Lastly, patience is key. Allow the cakes to cool fully before frosting; otherwise, your lovely frosting will just melt and slide right off. I learned this the hard way, with frosting pooling on the cake platter instead of gracing the top of my cake. Trust me, the wait is so worth it!
Common Mistakes to Avoid
One of the biggest mistakes I made in my early baking days was not properly measuring my ingredients, especially flour. For this recipe, using the spoon and level method instead of scooping directly from the bag will give you the best results. It’s easy to end up with too much flour if you scoop, and trust me, it can lead to a dry cake! (See the next page below to continue…)

