Equipment Needed
Step-by-Step Instructions
- To start, preheat your oven to 325°F (160°C). First, I grab my trusty springform pan and prepare the crust by combining the graham cracker crumbs and melted butter in a mixing bowl. It’s always a pleasure to inhale that buttery aroma as I mix—it practically smells like cookies! Once it’s well combined, I pack the mixture tightly into the base of the springform pan, creating a solid crust. I like to bake it for about 10 minutes until it’s lightly golden. This step truly sets the stage for that indulgent cheesecake layer to come.
- Next, I prepare the cheesecake filling. In a large mixing bowl, I beat the softened cream cheese with an electric mixer on medium speed until smooth and creamy—no lumps allowed! Gradually, I add in ¾ cup of sugar, mixing until fully incorporated. Once the texture is silky, I add in the vanilla extract and the eggs, one at a time. It’s key to mix everything just until combined to keep the cheesecake light and fluffy. For that final touch, I gently fold in the sour cream and salt to enhance the flavor.
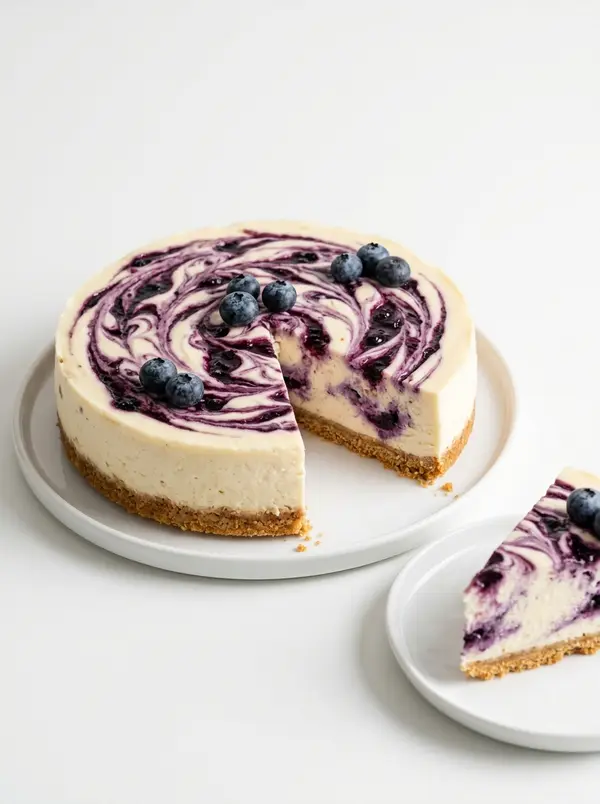
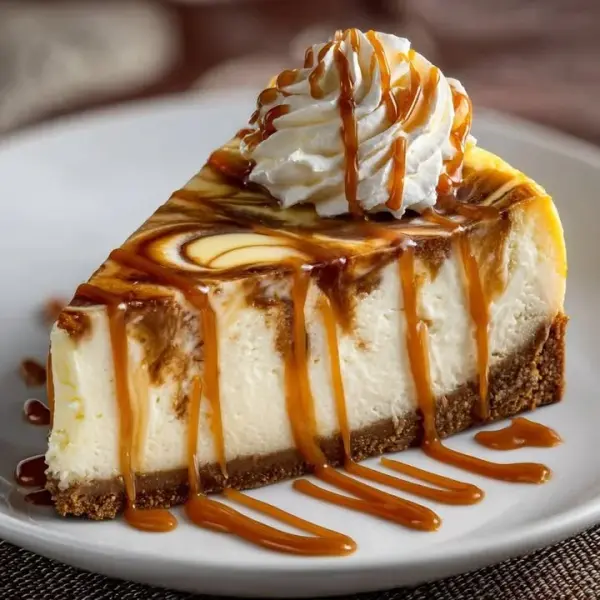
- Now for the best part: the caramel swirl! I pour about two-thirds of the cheesecake batter into the prepared crust, then drizzle half of the caramel sauce over the surface. Using a knife or a skewer, I swirl the caramel into the cheesecake mixture, creating beautiful ripples. Pour the remaining cheesecake batter on top and swirl again with the rest of the caramel. It’s so mesmerizing to see the golden ribbons ripple through the creamy white batter! I then wrap the springform pan in aluminum foil to prevent water from seeping in during baking, and place it in a larger baking pan filled halfway with hot water.
- Finally, I bake the cheesecake for about 60-70 minutes or until the edges are set and the center is slightly jiggly. Once it’s ready, I turn off the oven and let it cool inside for about an hour. This gentle cooling helps prevent cracks—something I learned from trial and error! Afterward, I transfer the cheesecake to the fridge to chill for at least 4 hours, though I prefer leaving it overnight. This wait builds the anticipation, trust me!
Pro Tips for Best Results
First, I always recommend using room-temperature ingredients for the cheesecake. This simple step really helps create that silky-smooth texture! I usually leave my cream cheese and eggs out for a couple of hours before I start baking. You’ll be amazed at the difference it makes in the mixing process.
Next, I’ve tested various ways to swirl the caramel into the cheesecake, and the best method is a gentle folding technique. If you stir too vigorously, you’ll lose those beautiful swirls, and we don’t want that! A light hand keeps the caramel layer distinct and visually appealing.
Lastly, if you can, bake the cheesecake a day in advance. I can’t stress enough how much it allows the flavors to meld together beautifully. The longer it chills, the more magical the taste becomes. Your friends and family will sing your praises when they taste the rich, decadent results!
Common Mistakes to Avoid
One common pitfall I’ve encountered is not lining the springform pan properly. Trust me, I’ve had more than one cheesecake stick stubbornly to the sides. To avoid this, always grease your pan thoroughly and consider using parchment paper for extra insurance!
Another mistake to steer clear of is opening the oven door too often while baking. I know it’s tempting to check on its progress, but each time you open the door, the temperature fluctuates, which can lead to cracks. Patience is key here!
For the caramel, I’ve used both homemade and store-bought versions, and while both are delicious, I once used a low-quality brand that really fell flat. Always opt for a good quality caramel sauce—it’s worth it! An excellent caramel enhances the whole experience.
Lastly, the chilling time is super important. I’ve made the mistake of slicing into my cheesecake too early, hoping for a perfect slice. Trust me, letting it chill fully is part of the process to get that luscious texture and clean cut.
Serving Suggestions
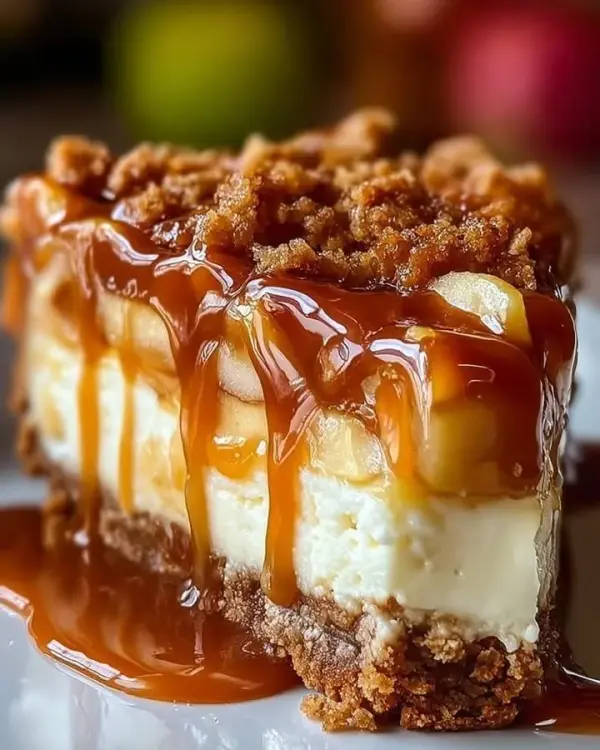
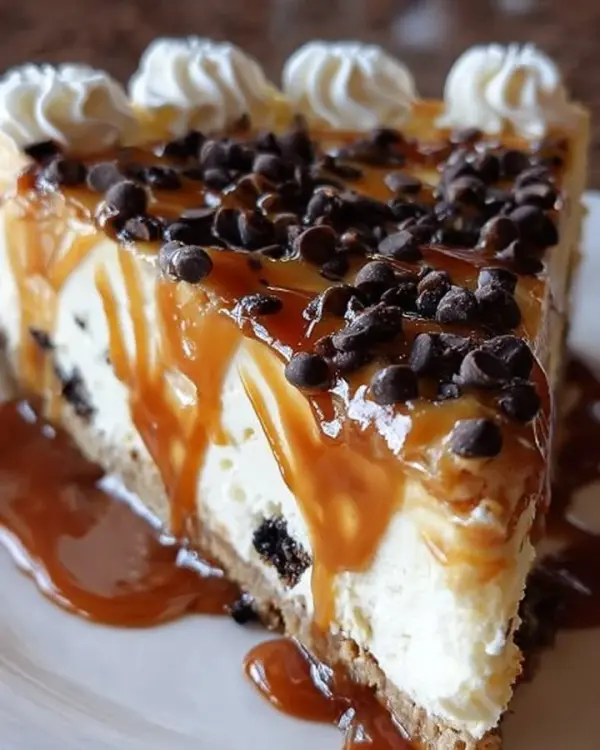
When it comes to serving, I love cutting the cheesecake into slices and drizzling a little extra caramel sauce on top. It elevates the presentation and adds an extra layer of indulgence! I also enjoy topping each slice with a sprinkle of sea salt—this sweet and salty combination is heavenly.
A dollop of whipped cream pairs beautifully too! I often make some homemade whipped cream and serve it alongside the cheesecake for my family and friends to add on as they please. They always swoon over the combination!
For a little extra flair, top the cheesecake with caramel popcorn! It adds a fun crunch that contrasts wonderfully with the creaminess of the cheesecake. Trust me; this unexpected twist will have everyone reaching for seconds!
Variations & Customizations
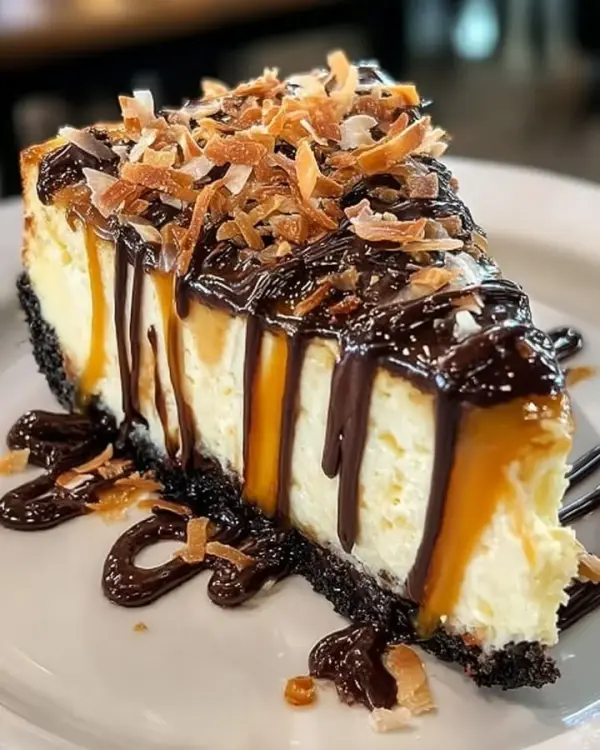
If you’re looking to mix things up, consider adding a layer of chocolate ganache atop the cheesecake for a chocolate caramel cheesecake! The rich chocolate balances the sweetness of the caramel and adds depth to the flavor profile.
Another variation I enjoy is to incorporate chopped nuts, like pecans or walnuts, either in the crust or sprinkled between layers. This adds a lovely texture and nutty flavor that complements the creamy filling beautifully.
For a seasonal twist, try adding a layer of pumpkin puree mixed with spices like cinnamon and nutmeg during fall. This version is perfect for Thanksgiving gatherings or cozy fall nights, and it’s a delightful surprise for your guests!
How to Store, Freeze & Reheat
Storing your caramel swirl cheesecake is a breeze! I always cover it tightly with plastic wrap once it’s set in the fridge to keep it nice and fresh. It’ll stay perfectly good for up to a week, although it rarely lasts that long in my house!
If you have leftovers (or want to make it ahead of time), you can freeze the cheesecake! I suggest wrapping individual slices in plastic and placing them in an airtight container. This way, you can enjoy a slice anytime a dessert craving hits. It freezes beautifully for up to three months!
When it comes time to reheat, I usually let it thaw in the refrigerator overnight before serving. If you prefer it warm, you can place a slice in the microwave for about 15-20 seconds—just enough to take the chill off without melting the caramel.
Conclusion
I hope you enjoy creating this Caramel Swirl Cheesecake as much as I do! There’s something incredibly satisfying about baking something so decadent from scratch, and I love sharing it with friends and family. Remember to savor every bite, because you’ve earned it after all that effort. Happy baking, and may your kitchen always be filled with warmth and sweetness!