
Continuing on, in a separate bowl, I whisk together the flour, baking powder, baking soda, and salt. Once that’s done, I gradually add the dry ingredients to the wet batter, alternating with the buttermilk. This process is super easy and fun to do! And then, just when I think it can’t get any better, I gently fold the butterscotch chips into the batter, imagining the sweet burst of flavor they’ll provide once baked. I pour the batter into my prepared pan and bake for about 30-35 minutes, or until a toothpick comes out clean. The aroma wafting through my house while it’s baking is irresistible!
As the cake cools, I whip up the rich caramel frosting. I start by melting some butter in a saucepan, adding brown sugar and whisking it until it’s bubbly. Then, I pour in heavy cream and a pinch of salt, bringing it to a boil while stirring constantly. This part always makes my heart race a little with anticipation! After boiling for about two minutes, I remove it from the heat and let it cool slightly before gradually mixing in powdered sugar. The mixture transforms into a creamy, dreamy frosting that I could honestly eat by the spoonful.
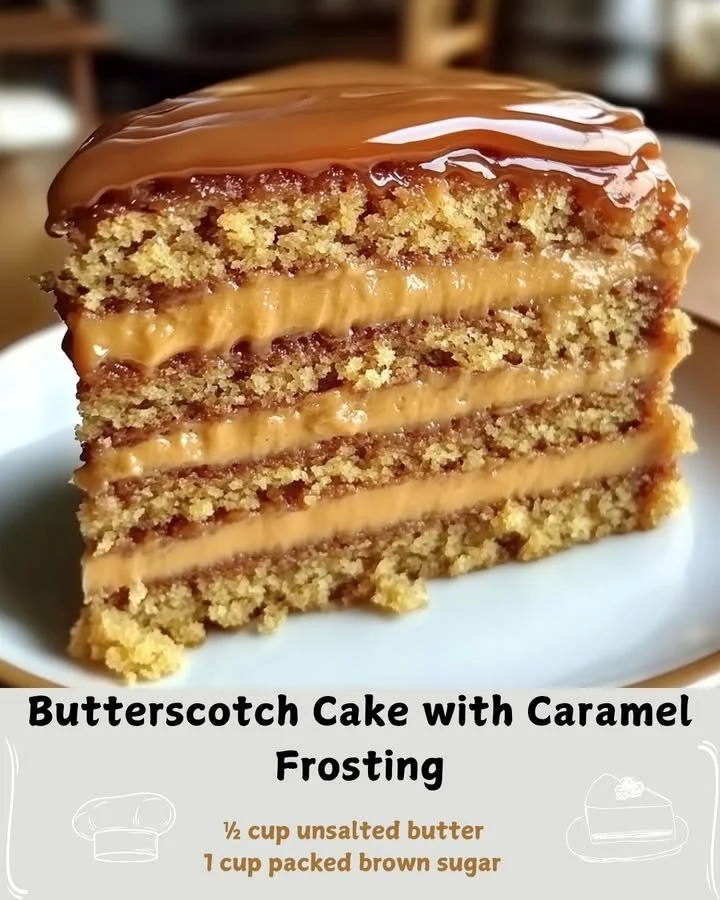
Once the cake is cool, I spread the luscious caramel frosting generously over the top, allowing some to drip down the sides—because who doesn’t love a little drip action? This is when I get really excited as I relish the moment of transforming an ordinary cake into something spectacular!
Pro Tips for Best Results
I tested this recipe three ways, and one key thing I discovered is that using room temperature ingredients really makes a difference—especially the eggs and butter. It allows the batter to blend more smoothly, resulting in a fluffier cake. On my second attempt, I decided to add a pinch of cinnamon, which gave it a lovely warm flavor without overpowering the butterscotch. If you’re a cinnamon lover like me, I highly recommend it!
Also, be sure not to overmix the batter. Gently folding in the dry ingredients keeps the cake light. I learned this the hard way after making a dense butterscotch brick. And when it comes to the frosting, I suggest letting it cool a bit before spreading it on the cake; it makes spreading so much easier and prevents it from melting into the cake.
Finally, taste as you go! I always sneak a tiny spoonful of batter before it heads into the oven. It’s also a good practice to sample your frosting to achieve that perfect balance of sweetness. Trust me; you’ll thank yourself later!
Common Mistakes to Avoid
One common mistake that I’ve made a few times is not properly preparing the baking pan. Trust me, you do not want to end up with half of your cake stuck to the bottom of the pan! Ensure you grease and flour the pan thoroughly or use parchment paper for easy removal. (See the next page below to continue…)