
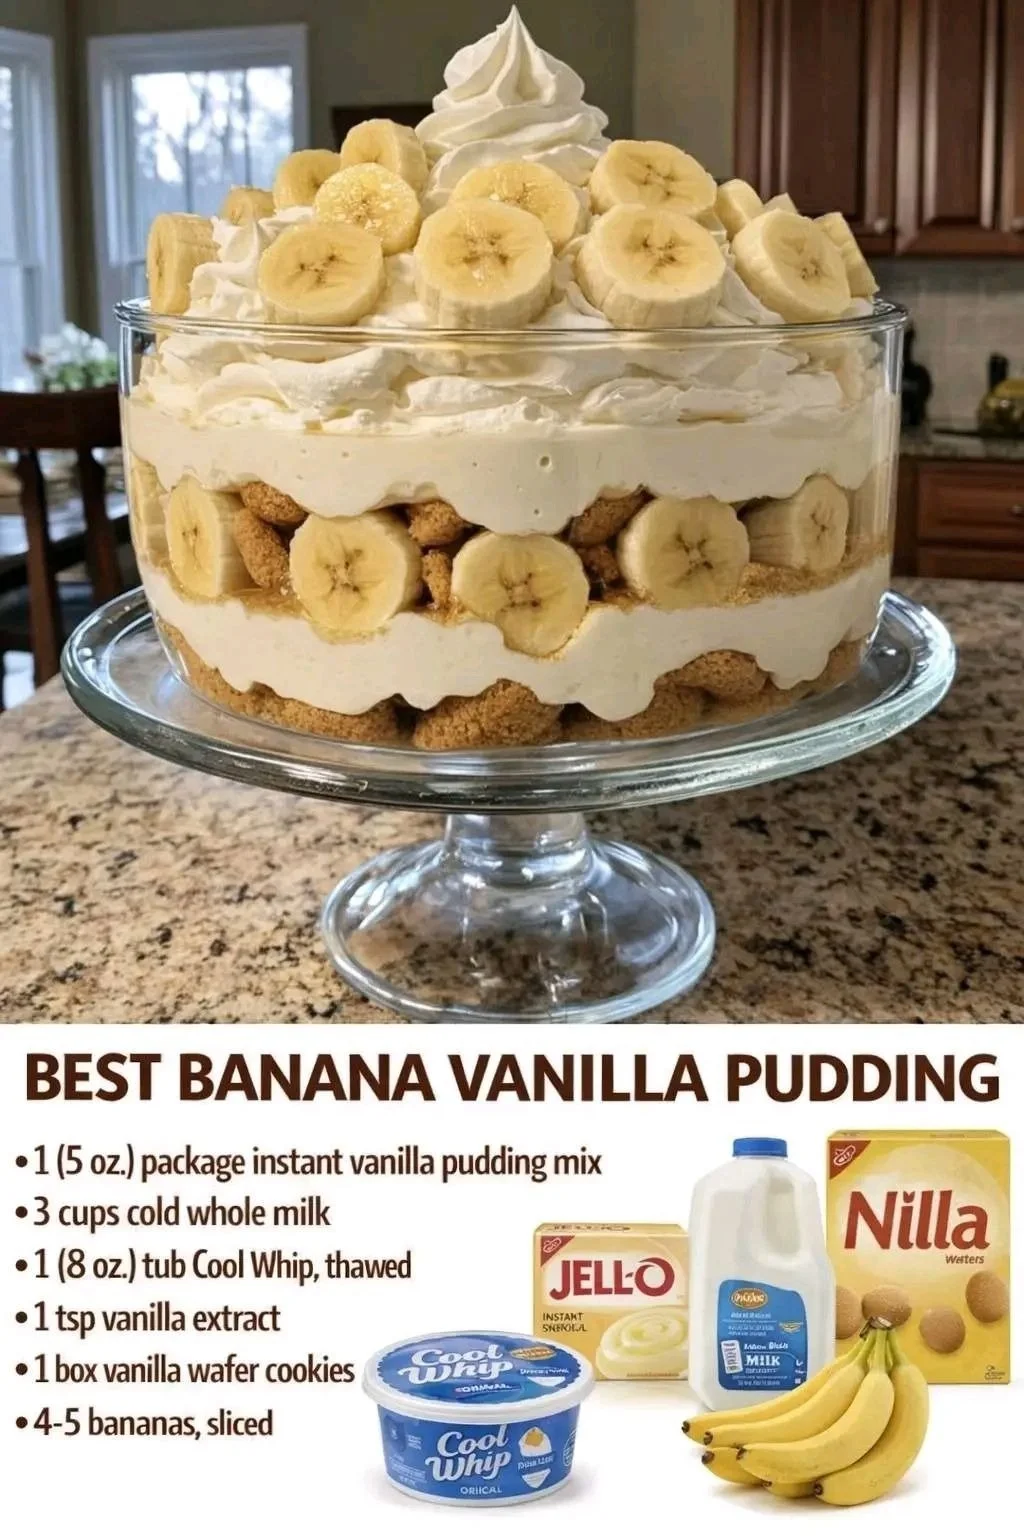
There’s something incredibly comforting about a bowl of homemade banana vanilla pudding. I remember the first time I made it in my kitchen; the sweet aroma of ripe bananas mingled with the creamy vanilla custard wafted through my home, bringing a sense of nostalgia that instantly warmed my heart. It reminds me of lazy summer afternoons, shared smiles, and a sprinkling of joy over a simple dessert. Whether it’s for a casual family gathering or a special occasion, this pudding is sure to bring smiles all around!
Why You’ll Love This Recipe
This banana vanilla pudding is not just a dessert; it’s a hug in a bowl. It’s creamy, dreamy, and packed with the delightful flavors of ripe bananas and smooth vanilla. The best part? It’s easy to whip up and can be made ahead of time, allowing the flavors to meld beautifully. Plus, it’s a great way to use up those bananas that are sitting on your countertop waiting to shine! The texture is silky, and the taste is sheer bliss, making it irresistible for both kids and adults alike. (See the ingredients in the next page below…)
Ingredients
– 4 ripe bananas
– 2 cups whole milk
– 1 cup heavy cream
– 3/4 cup granulated sugar
– 1/4 cup cornstarch
– 1/4 teaspoon salt
– 1 tablespoon unsalted butter
– 1 tablespoon pure vanilla extract
– 1/2 teaspoon banana extract (optional)
– Whipped cream for topping
– Nilla wafers or graham crackers (for layering and garnish, optional)
Equipment Needed
– Medium saucepan
– Whisk
– Mixing bowls
– Measuring cups and spoons
– Rubber spatula
– 9×9 inch dish or individual serving cups
– Plastic wrap
Step-by-Step Instructions
First, in a medium saucepan over medium heat, I combine the whole milk, heavy cream, sugar, cornstarch, and salt. It’s important to whisk everything together until it’s smooth and there are no lumps—this step ensures a silky pudding. Once the mixture is on the heat, I keep stirring it and watch as it starts to thicken and bubble beautifully. As the aromas begin to lift, it feels like I’m in for a treat! Once it thickens to a creamy consistency (about 5 to 7 minutes), I remove it from the heat. (See the next page below to continue steps…)
Then, I stir in the butter and both vanilla and banana extracts. The flavors meld together in a wonderful dance of sweetness. At this point, I can’t help but sneak a taste—pure bliss! Next, I let the pudding cool for a few minutes before slicing my bananas. It’s crucial to use ripe bananas for sweetness, but not overripe, as these can become mushy. I then layer the bottom of my dish with a sprinkle of Nilla wafers for extra texture and flavor.
After that, I carefully layer the pudding over those wafers, topping it with the sliced bananas, making sure to create a beautiful mosaic of deliciousness. I repeat this layering process until all my ingredients are used up. The final layer should always be pudding, topped with whipped cream for that dreamy finish. My kitchen starts to smell heavenly at this point, and I can hardly wait for it to chill in the fridge for at least four hours (or overnight if I can control my excitement!).
Pro Tips for Best Results
One of my secret weapons is gradually mixing the cornstarch with the sugar before adding it to the milk mixture. I find that this helps to prevent any clumping and gives me that silky smooth texture I crave. I tested this three ways—whisking it all together at once created lumps, while gradually combining eliminated that problem altogether! I also suggest leaving the pudding in the fridge for as long as you can. The flavors deepen as it chills, turning it into an even more luxurious treat.
Another tip I swear by is to slice the bananas just before serving, as they tend to brown quickly. If you want a real treat, sprinkle a bit of lemon juice over the banana slices to keep them looking fresh. I’ve done this a few times, and it makes a noticeable difference! Lastly, using whole milk and heavy cream gives the pudding its luscious creaminess. I tried using lower-fat options, but they just didn’t yield the same results in terms of flavor and creaminess.
Lastly, don’t be afraid to add some texture to your dessert! I love to crumble some Nilla wafers on top of the whipped cream or even sprinkle some chocolate shavings to elevate it further. It’s little touches like these that bring delightful surprises with each bite!
Common Mistakes to Avoid
One common mistake I see is not whisking the mixture continuously on the heat. It’s tempting to leave it unattended, but I learned the hard way that this can lead to burnt or lumpy pudding. Consistent stirring is key to achieving that velvety texture everyone loves! (See the next page below to continue…)
Another pitfall is using bananas that are overly ripe. While we want them nice and sweet, too many brown spots can lead to an unappetizing mush in the pudding. I’ve found that finding the right balance is crucial for texture—perfectly ripe bananas provide the best flavor without compromising on consistency.
Finally, I’ve made the mistake of not allowing the pudding enough time to cool before layering it. If you layer warm pudding over bananas, it can cause them to become mushy, and no one wants that! Patience is a virtue here, so when I say chill it, I truly mean it. Your patience will pay off with a better overall dessert!
Serving Suggestions
I love to serve my banana vanilla pudding in individual cups, topped generously with whipped cream and a sprinkle of crushed Nilla wafers. It’s a simple, yet elegant presentation that feels like a treat! Sometimes, I’ll also drizzle a touch of caramel sauce for a sweet finishing touch. It transforms the dessert into an inviting centerpiece that’s hard to resist.
For a more rustic feel, I often serve the pudding in a large dish and encourage guests to help themselves. This communal style makes my gatherings feel warm and inclusive. I always keep spoons nearby and let them layer their bowls with extra bananas and whipped cream as they wish!
Lastly, I find that pairing this dessert with a hot cup of coffee or a glass of milk is a match made in heaven. The rich flavors of the pudding blend beautifully with the warmth of coffee, making it a perfect end to any meal!
Variations & Customizations
One of the joys of banana vanilla pudding is how versatile it is! I’ve experimented with adding a layer of chocolate pudding for a banana chocolate pudding version, and it’s to die for! Simply fold in some cocoa powder to a portion of the pudding mixture, and voilà, you have a new treat that combines two favorites!
Another variation I adore is adding a bit of peanut butter to the mix. I usually do this by whisking in about half a cup of creamy peanut butter once my pudding has thickened. It creates a creamy, nutty flavor that pairs beautifully with bananas—resulting in a sneakily decadent pudding.
Lastly, for those who enjoy a tropical twist, I love adding a handful of toasted coconut flakes to the layers. Not only does it add flavor, but it gives a lovely crunch that contrasts fantastic with the creamy pudding. It’s a fun way to bring a little bit of summer into your dessert!
How to Store, Freeze & Reheat
If you manage to have leftovers (which is rare in my kitchen!), you can store the banana vanilla pudding in the refrigerator in an airtight container. Just remember to cover the surface with plastic wrap to prevent the pudding from forming a skin. It’ll keep well for about 2 to 3 days. I love to enjoy it for breakfast or an afternoon snack!
As for freezing, I wouldn’t recommend it. The creaminess of the pudding tends to change texture when frozen, and it can come out slightly grainy once thawed. I’ve tried freezing it out of curiosity, and while it’s still safe to eat, it certainly doesn’t hold the same charm.
When it comes to reheating, if you find yourself with leftover pudding, it’s best to enjoy it cold. However, should you want to warm it up, do it gently in the microwave, stirring regularly to ensure even heating. But honestly, this pudding shines best when served cold straight from the fridge!
Conclusion
I hope this banana vanilla pudding recipe finds a cozy spot in your kitchen as it has in mine. There’s something magical about creating a dessert that brings joy and memories to those you love. So whether you’re sharing it with family, friends, or just treating yourself, I promise you it will be a hit. Enjoy every creamy, dreamy bite!