Equipment Needed
Step-by-Step Instructions
- The first thing I do is prepare my pan before making the batter. I lightly grease the inside of a 6-inch round cake pan and line the bottom and sides with parchment paper. I’ve tried making this without parchment before, and removing the cheesecake became much more difficult. Taking this extra step ensures clean slices later.
- Next, I add the Greek yogurt and sweetened condensed milk into a large mixing bowl. I whisk them together until the mixture becomes completely smooth and creamy. Then I add the cornstarch and continue whisking until there are no visible lumps. Trust me, don’t rush this step because any remaining cornstarch clumps can affect the final texture.
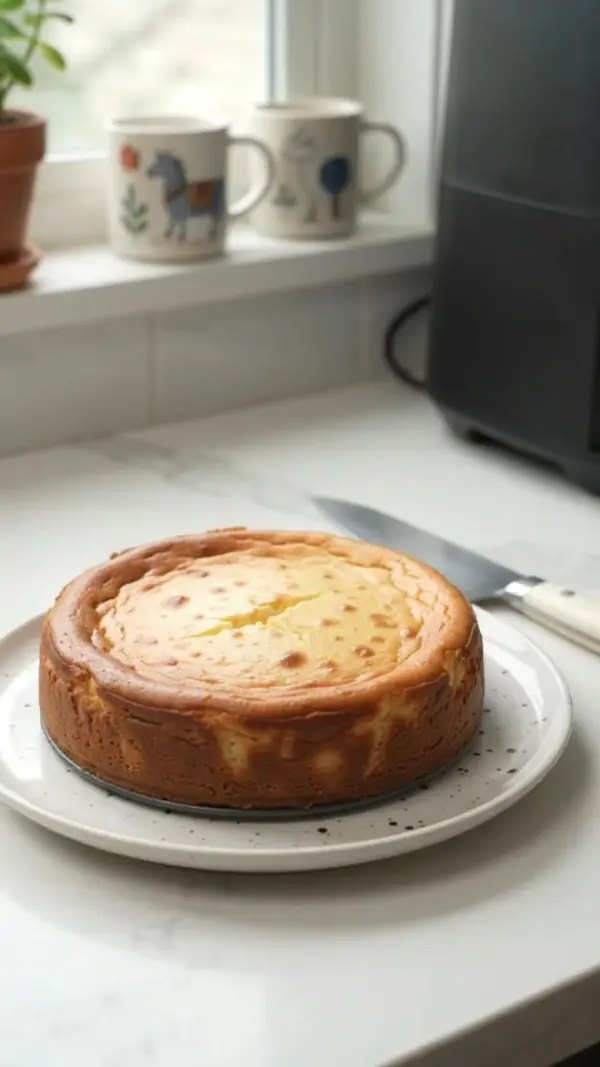
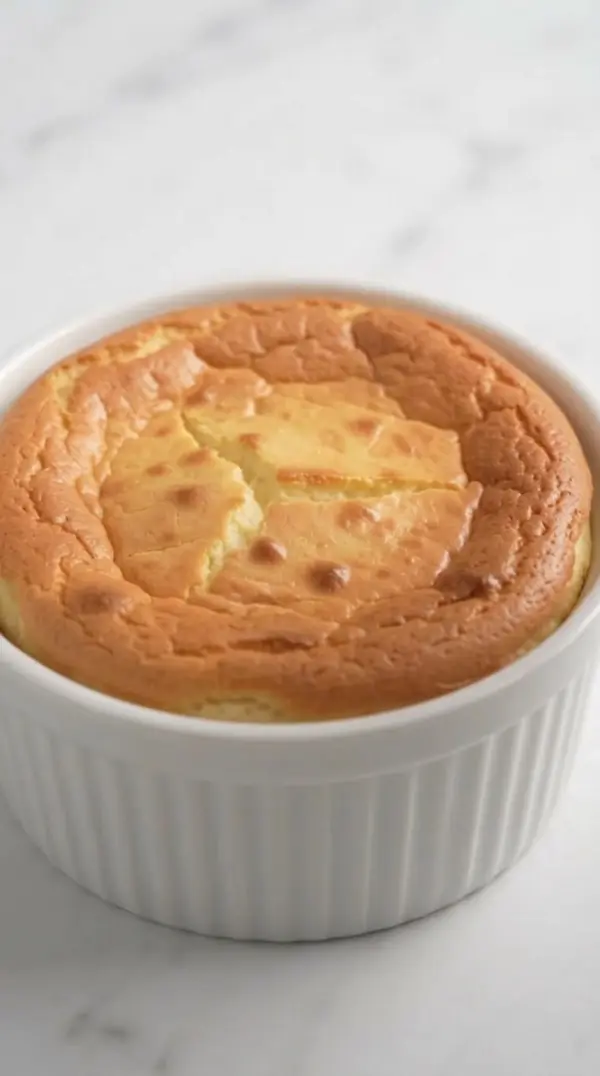
- Once the batter is ready, I pour it into the prepared pan and smooth the top. For the air fryer method, I preheat it to 315°F (157°C) and bake the cheesecake for about 23–25 minutes. The top should look slightly caramelized, the cake should be puffed, and a toothpick inserted in the center should come out mostly clean.
- For the oven method, I preheat the oven to 350°F (177°C) and bake for about 40–45 minutes. I watch for the edges to become lightly golden and start pulling away from the sides of the pan. After baking, I let the cheesecake cool completely before placing it in the refrigerator for at least one hour. Personally, I prefer making it the night before because the flavor develops beautifully after chilling overnight.
Pro Tips for Best Results
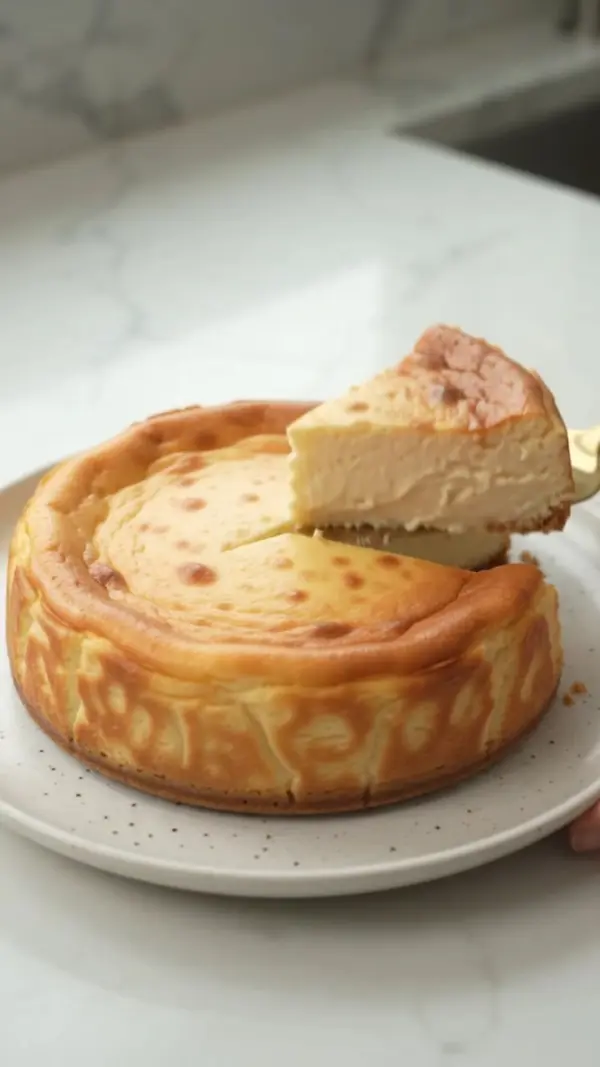
I tested this recipe using different chilling times, and letting it rest overnight in the refrigerator creates the best texture. The cheesecake becomes firmer, creamier, and the flavors blend together much better.
Another thing I learned is that using thick Greek yogurt gives the best result. A thinner yogurt can make the cheesecake softer and less stable after baking.
Don’t skip whisking the cornstarch thoroughly. I made this mistake once and ended up with tiny lumps throughout the cheesecake. A smooth batter always creates a smoother final texture.
Common Mistakes to Avoid
The biggest mistake I made the first time was not lining the pan properly. The cheesecake stuck to the sides, making it difficult to remove without damaging the edges.
Another mistake is underbaking the cheesecake. If the center is still very liquid or jiggly after the recommended time, it needs a little longer. The texture should be soft but set.
I also recommend not slicing the cheesecake immediately after baking. I know it’s tempting, but chilling is what gives it that creamy cheesecake-like consistency.
One more mistake is removing it from the refrigerator and serving it immediately when it’s very cold. Letting it sit at room temperature for 15–30 minutes creates a softer and more enjoyable texture.
Serving Suggestions
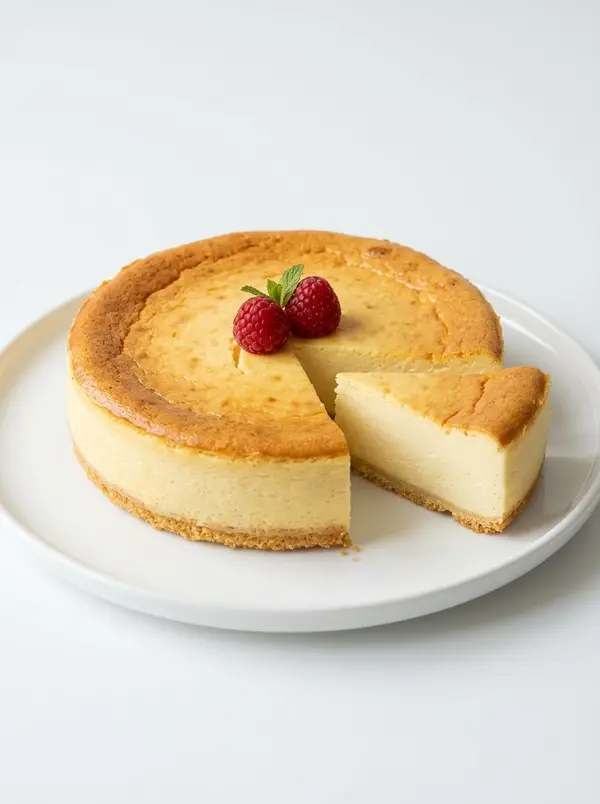
I personally love serving this cheesecake chilled with fresh berries on top. Strawberries, blueberries, or raspberries add a fresh contrast to the creamy yogurt texture.
Sometimes I drizzle a little honey over each slice for extra sweetness. It’s a simple addition but makes the dessert feel more special.
For a more elegant presentation, I like adding a spoonful of fruit compote or a sprinkle of powdered sugar before serving.
Variations & Customizations
I’ve experimented with adding lemon zest to the batter, and it creates a refreshing citrus version that tastes incredibly light.
Another variation I enjoy is adding a little vanilla extract if using plain Greek yogurt instead of vanilla yogurt. It gives the cheesecake a warmer dessert flavor.
Sometimes I add a thin layer of fruit puree on top before chilling. Mango, strawberry, and blueberry versions all work beautifully with the creamy base.
How to Store, Freeze & Reheat
From my experience, this cheesecake stays fresh in the refrigerator for up to five days when stored in an airtight container. The texture actually improves after resting.
I’ve frozen slices successfully by wrapping them individually and storing them in a freezer-safe container. They thaw well and keep their creamy texture.
Since this is a cheesecake meant to be enjoyed chilled or at room temperature, reheating is not recommended. Simply let frozen slices thaw in the refrigerator before serving.
Conclusion
This 3 Ingredient Creamy Yogurt Cheesecake has become one of my favorite simple desserts because it delivers a smooth, creamy texture with minimal effort. I love that it uses everyday ingredients while still feeling like a special treat. Whether you make it in the air fryer or oven, the result is a soft, delicious cheesecake that proves simple recipes can be incredibly satisfying. Once you try that creamy yogurt texture with the sweet condensed milk flavor, trust me, you’ll want to keep this recipe saved.