
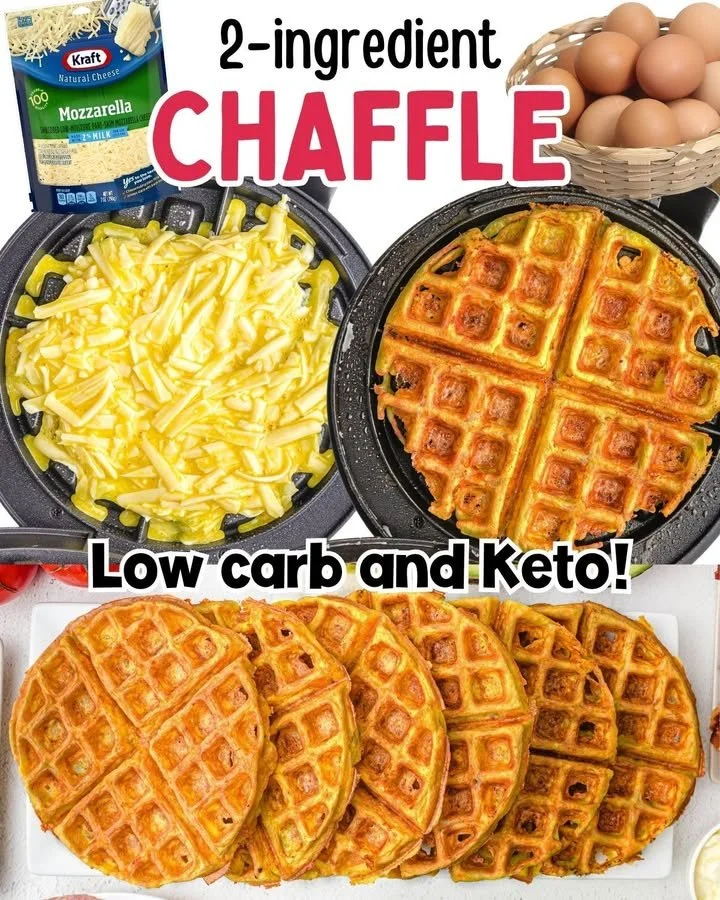
Next comes the cheese. Here is the most critical tip for texture: you must use finely shredded, pre-shredded mozzarella. I’ve tested this with block cheese I shredded myself, and it doesn’t melt and integrate the same way. The pre-shredded variety has a light coating (usually cellulose) that prevents clumping, and in this case, it helps the cheese disperse evenly throughout the egg instead of melting into one giant pocket. I measure out a full, firmly packed half-cup. Then, I stir it into the beaten egg until it’s just combined. The mixture will look lumpy and weird—like cheesy scrambled eggs. That’s exactly what you want.
Now, for the transformative pour. I make sure my waffle iron is sizzling hot—a drop of water should dance and evaporate instantly. I lightly spray the top and bottom plates with a little oil (avocado or coconut work great), even if it’s non-stick. This guarantees a perfect release. I pour the entire mixture right into the center of the iron. It will sizzle gloriously! I quickly close the lid and let the magic happen. Do not peek for at least 3 minutes. I set a timer. The steam escaping is your visual guide; when it slows to just a wisp, it’s usually done.
That first opening is always exciting. I use my spatula to gently lift one edge. What you’re looking for is a deep, even golden brown color all over. If it’s pale, close it for another 30-60 seconds. Once it’s perfectly colored, I carefully lift it out—it will be firm and hold its shape beautifully. This is key: I always, always let it cool for a full 2-3 minutes on a wire rack or plate. This is when it achieves its final, crispy texture. Eating it immediately will give you a softer, more pliable result (which is also fine!), but waiting makes it sturdy enough to use as a bun or toast substitute.
Pro Tips for Best Results
The type of cheese is your secret weapon. After testing cheddar, colby jack, and even provolone, I can confidently say that a standard, part-skim, finely shredded mozzarella is the absolute best. It has the ideal meltability and mild flavor that lets the chaffle act as a neutral base. Cheddar can be too greasy and strong-tasting for some applications. The pre-shredded bag is not only convenient but, paradoxically, essential here for that perfect, integrated texture.
Don’t underestimate the power of the rest. I know it’s tempting to eat that golden, fragrant chaffle the second it comes off the iron. I did that for my first five tries. But letting it cool and crisp up on a rack completely changes its structural integrity. That 3-minute wait allows the steam inside to evaporate, the cheese to set, and the exterior to become wonderfully crisp. If you want a soft “bread” for a sandwich, eat it warm. If you want a sturdy vessel that can hold up to saucy toppings, let it cool. This small pause makes all the difference.
For the ultimate texture, consider a tiny pinch of a dry ingredient. While the 2-ingredient version is perfect, I’ve found that adding just one teaspoon of almond flour or coconut flour takes it to the next level. It absorbs a bit of excess moisture, gives it a more bready crumb, and reduces any potential “eggy” taste. It’s not mandatory, but after dozens of tests, it’s my personal preference when I’m using it for something like a breakfast sandwich. It makes it feel even more like the real deal.
Common Mistakes to Avoid
My biggest early mistake was using a different type of cheese. I grabbed a bag of coarse-shredded cheddar for my first attempt. The result was a chaffle that was overly greasy, with pools of orange oil, and it fell apart easily because the cheese didn’t integrate—it just formed clumps. Stick with the finely shredded mozzarella. It’s the perfect balance of melt, stretch, and structural integrity. Trust me, this simple choice is the difference between a good chaffle and a great one.(See the next page below to continue…)