
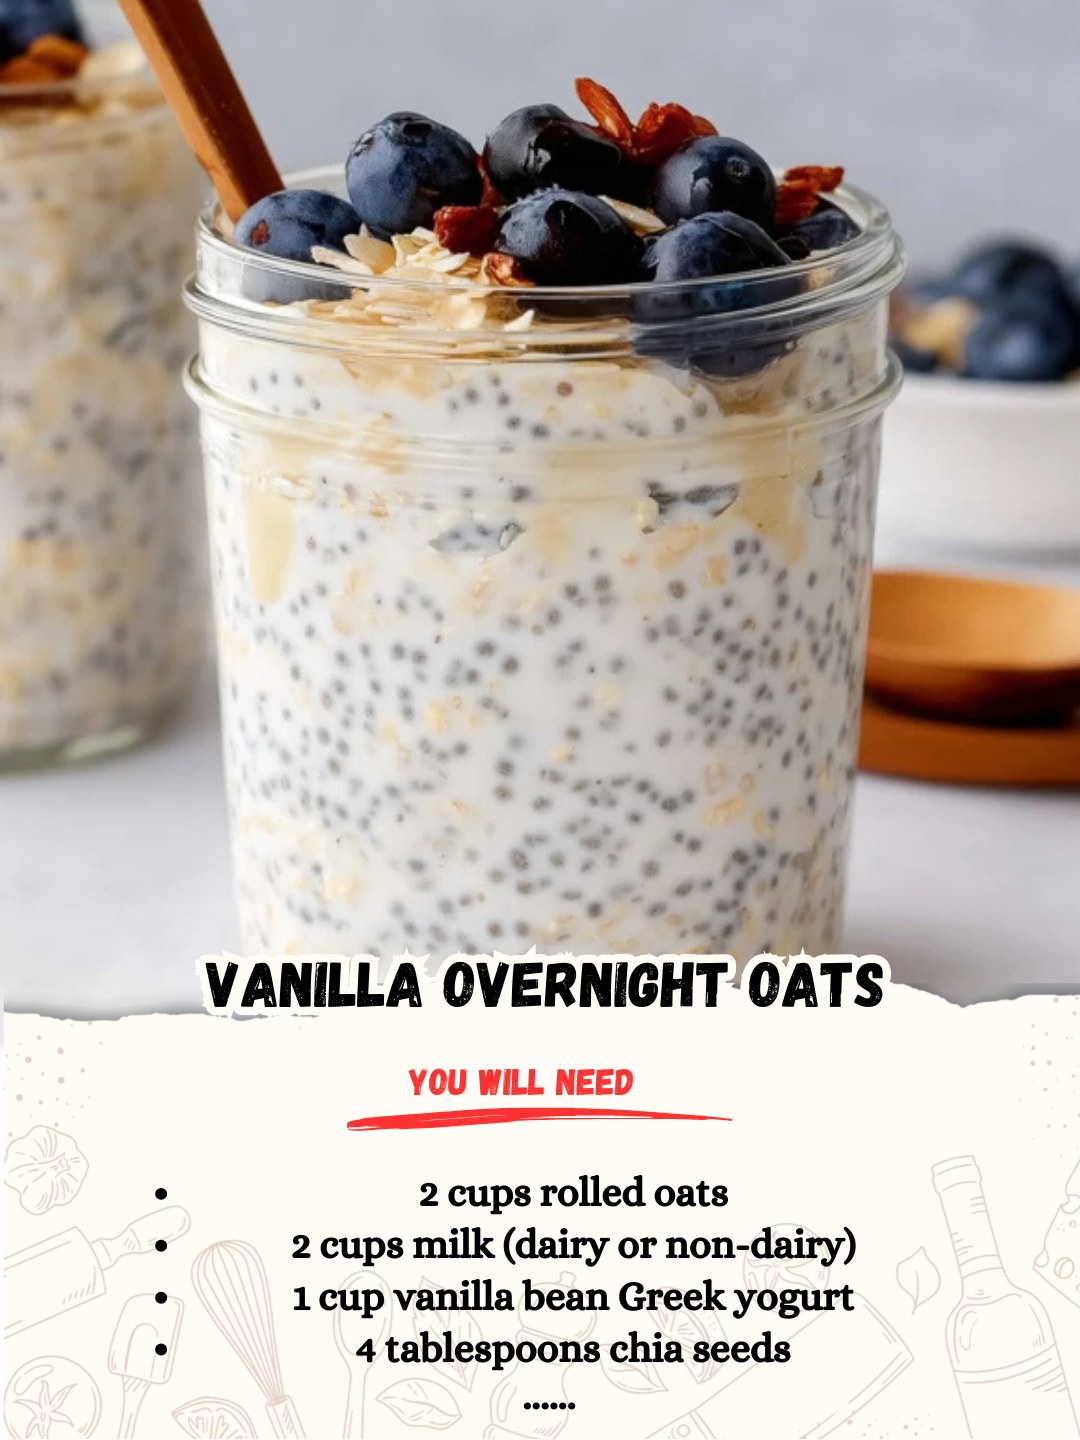
Next, I add the wet ingredients. I measure out two cups of my chosen milk. I love the richness of whole dairy milk, but unsweetened almond milk works wonderfully for a lighter option. I pour it over the oat and chia mixture. Then, I add the entire cup of vanilla bean Greek yogurt. The first time I made this, I used plain yogurt and forgot to add vanilla, and the result was bland and tangy in a way that didn’t feel like breakfast. The pre-flavored vanilla yogurt adds the perfect level of sweetness and that beautiful vanilla aroma. If you only have plain yogurt, you must add at least a teaspoon of pure vanilla extract here.
Now, for the most important step: the thorough mix. I take my whisk or spatula and stir everything together vigorously for a good minute or two. I make sure to scrape the bottom and sides of the bowl to incorporate every dry oat and chia seed. The mixture will look very loose and soupy at this stage. This is exactly what you want! I learned the hard way that if you skimp on stirring, you’ll find a dry, unincorporated clump of oats or a pocket of chia seeds at the bottom of your jar in the morning. Trust me, a thorough stir now prevents a gloopy surprise later.
Once the mixture is perfectly homogenous, I divide it evenly among my clean jars or airtight containers. I like to use wide-mouth 16-ounce jars so I have room for toppings in the morning. I screw the lids on tightly, give each jar a gentle shake to settle the contents, and place them in the refrigerator. That’s it. As I close the fridge door, I feel that little spark of satisfaction knowing tomorrow’s breakfast is already done. I let them rest for a minimum of 6 hours, but ideally overnight. The magic happens in the dark, cold fridge as the oats and chia seeds slowly drink up the liquid, softening and swelling into a thick, spoonable, and incredibly creamy breakfast pudding.
Pro Tips for Best Results
The type of oat you use is the foundation. I tested this with quick oats once, thinking it would be faster. The result was a bowl of flavorless, gummy paste by morning. Old-fashioned rolled oats are the only way to go. They have the perfect surface area and thickness to absorb liquid without losing their structural integrity, giving you that ideal chewy-creamy balance. If you only have quick oats, reduce the milk by about 1/4 cup to compensate, but I highly recommend seeking out the old-fashioned kind.
Chia seeds are the secret to the perfect texture, but they need to be distributed evenly. If you just sprinkle them on top without mixing, they can clump together into gelatinous blobs. I always add them to the dry oats first and whisk them together before adding any liquid. This ensures they’re separated and will thicken the mixture uniformly. If you find the mixture too thick in the morning, you can always stir in a splash of extra milk. It’s much easier to thin it out than to thicken it up!
The waiting period is not just a suggestion; it’s the cooking process. I made the mistake of only letting mine soak for 3 hours once, and the oats were still crunchy and the chia seeds were unpleasant. A full 6-8 hours is the sweet spot. Overnight is truly best. This long, slow soak allows the oats to become fully tender and the chia seeds to release their soluble fiber, creating that luxuriously thick, spoonable texture we’re after. Patience here is your friend.
Common Mistakes to Avoid
My first big mistake was using steel-cut oats. I thought they’d be healthier and heartier. They were—too hearty. Even after 12 hours, they were still unpleasantly chewy and hard. They require cooking with heat to soften properly. For the no-soak method of overnight oats, you must use old-fashioned rolled oats. They are processed just enough to become perfectly tender with a cold soak. Trust me, this one ingredient swap makes or breaks the entire recipe. (See the next page below to continue…)