Equipment Needed
Step-by-Step Instructions
- I always begin by preheating my oven to 170°C (340°F) and lightly greasing or lining a small baking pan with parchment paper. While the oven heats, I gently rinse the raspberries and pat them dry so they don’t add excess moisture to the cheesecake.
- Next, I whisk together the Greek yogurt, eggs, honey, vanilla extract, and a pinch of salt until the mixture becomes completely smooth and creamy. If I want a slightly firmer cheesecake, I whisk in the cornstarch until it’s fully incorporated with no lumps remaining.
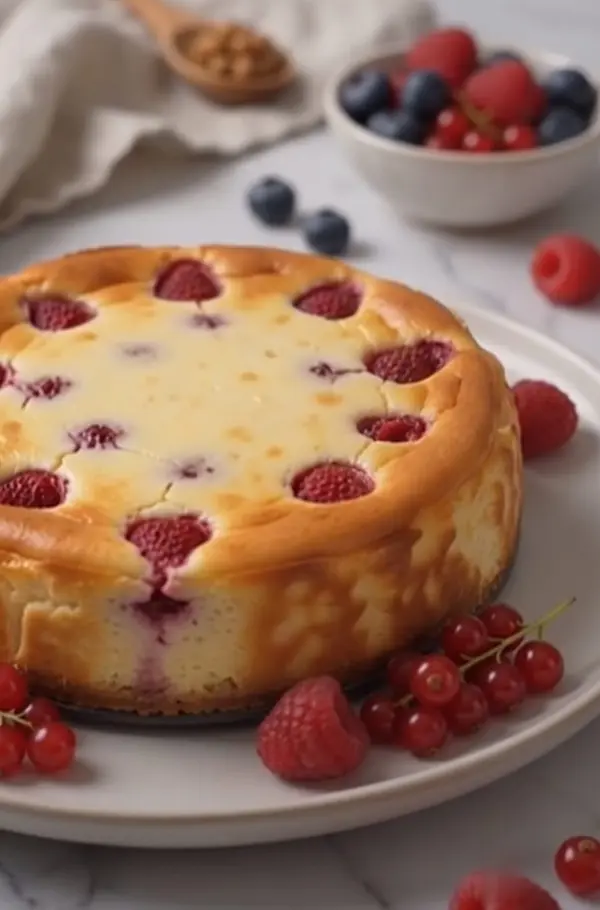
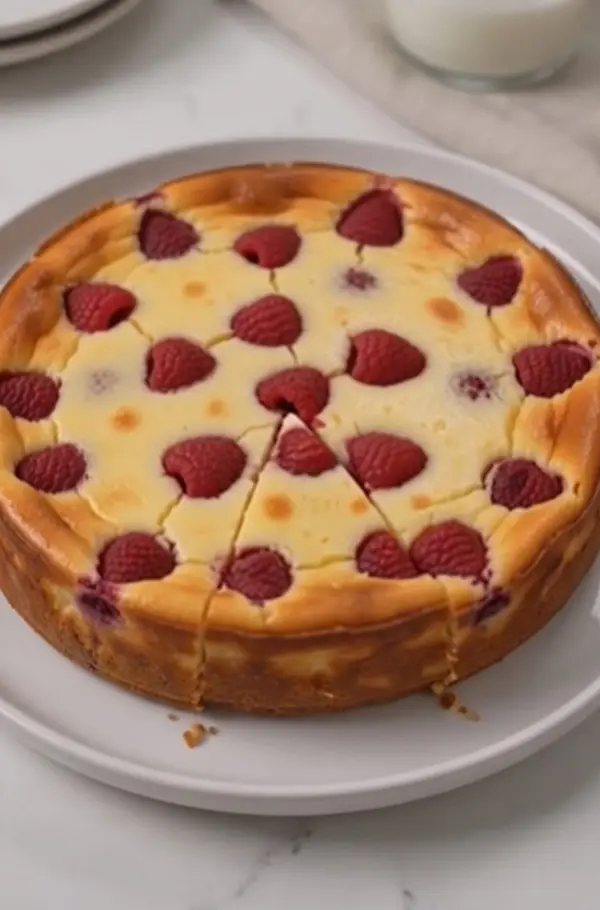
- Once the batter is ready, I pour it into the prepared baking pan and smooth the surface with a spatula. Then I scatter the fresh raspberries evenly over the top, gently pressing some of them slightly into the batter. This helps distribute the fruit beautifully throughout the cheesecake while leaving some berries visible on top.
- I bake the cheesecake for 30 to 35 minutes, until the edges are set and the center still has a slight jiggle. That’s the perfect sign that it will finish setting as it cools.
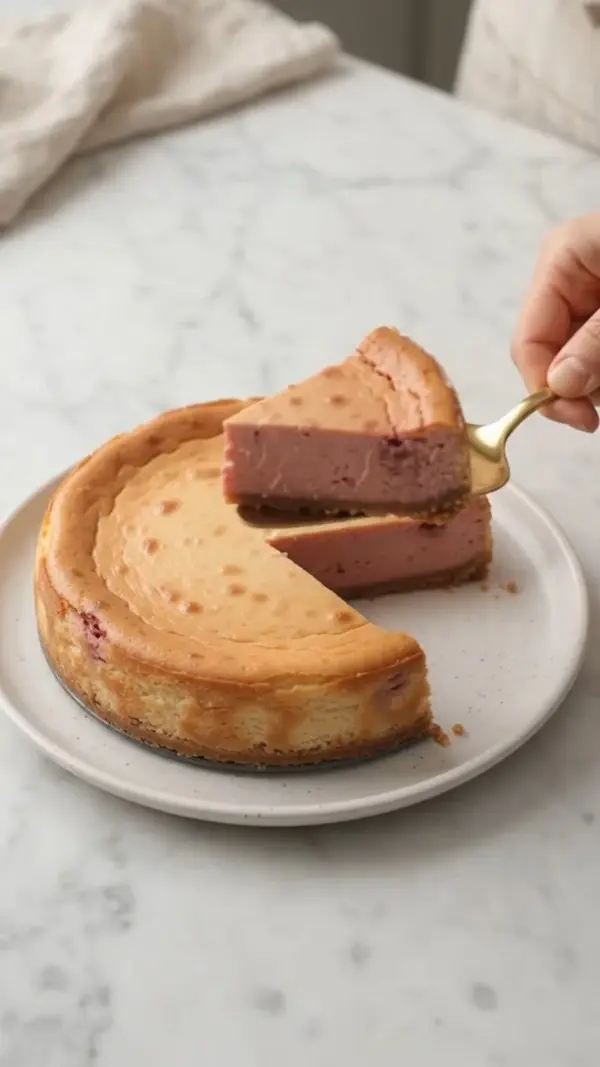
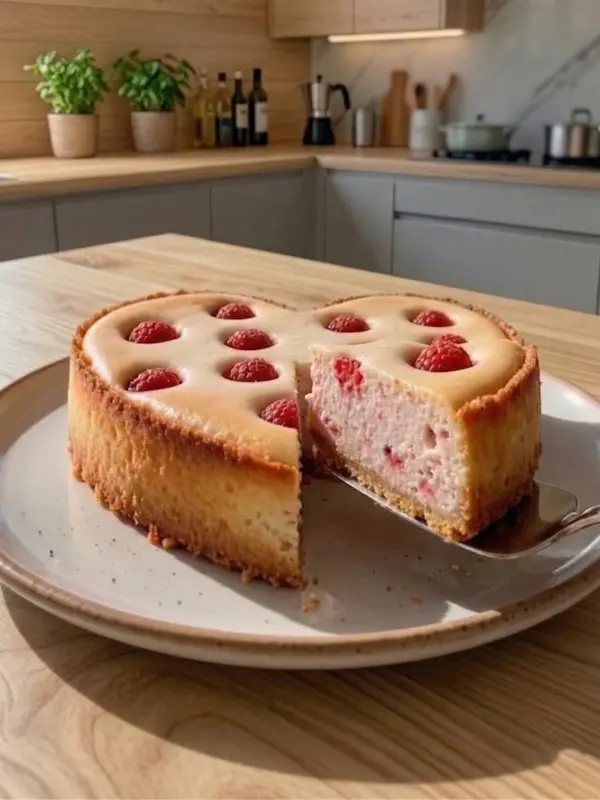
- After baking, I let the cheesecake cool completely at room temperature before refrigerating it for 1 to 2 hours. Chilling allows the texture to become wonderfully creamy and makes slicing much easier.
Pro Tips for Best Results
I’ve learned that thick, full-fat Greek yogurt produces the richest and creamiest cheesecake texture.
Fresh raspberries provide the best appearance and flavor, but frozen raspberries can also be used straight from the freezer without thawing.
For an extra burst of freshness, I sometimes add a little lemon zest to the batter before baking. It pairs beautifully with the raspberries.
Common Mistakes to Avoid
One mistake I made early on was overbaking the cheesecake. The center should still wobble slightly when you remove it from the oven because it continues to set while cooling.
Using regular yogurt instead of Greek yogurt can make the batter too thin and affect the final texture.
Avoid stirring the raspberries too much into the batter, as they can break apart and discolor the cheesecake. Simply placing them on top works best.
Don’t skip the chilling time. The cheesecake becomes firmer, creamier, and much easier to slice after resting in the refrigerator.
Serving Suggestions
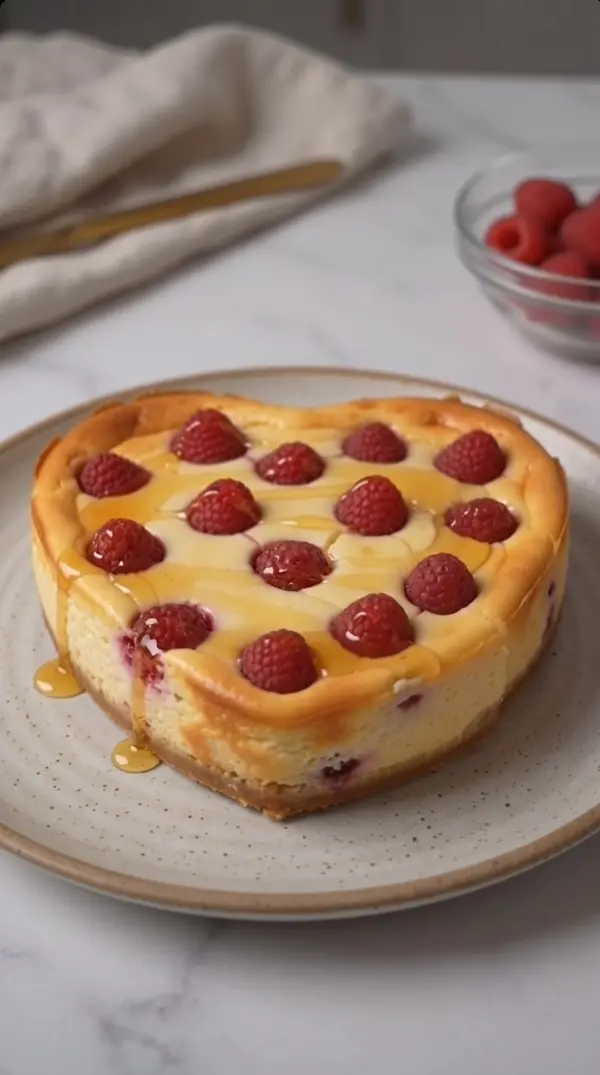
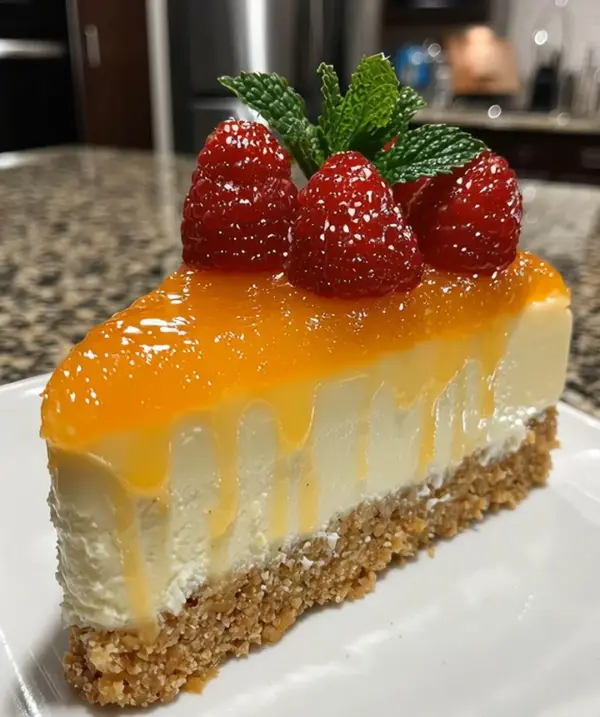
I love serving this cheesecake chilled with a handful of fresh raspberries on top for an extra pop of color.
A light drizzle of honey adds just a touch more sweetness without overpowering the fresh berry flavor.
For special occasions, I garnish each slice with fresh mint leaves and a dusting of powdered sugar for an elegant presentation.
Variations & Customizations
I’ve made this recipe with blueberries, blackberries, and strawberries, and every variation turns out delicious.
Adding a teaspoon of lemon zest creates a bright raspberry-lemon cheesecake that’s especially refreshing.
For extra texture, sprinkle sliced almonds or chopped pistachios over the finished cheesecake before serving.
How to Store, Freeze & Reheat
Store leftover cheesecake in an airtight container in the refrigerator for up to 5 days.
For longer storage, freeze individual slices wrapped tightly in plastic wrap and placed inside a freezer-safe container for up to 2 months. Thaw overnight in the refrigerator before serving.
This cheesecake is best enjoyed chilled, so reheating isn’t necessary.
Conclusion
This Tender Raspberry Cheesecake is proof that simple ingredients can create an incredibly satisfying dessert. With creamy Greek yogurt, juicy raspberries, and a soft, melt-in-your-mouth texture, it’s a healthier alternative to traditional cheesecake without sacrificing flavor. Whether you’re making it for family, friends, or simply treating yourself, this easy protein-rich cheesecake is guaranteed to become a favorite.