
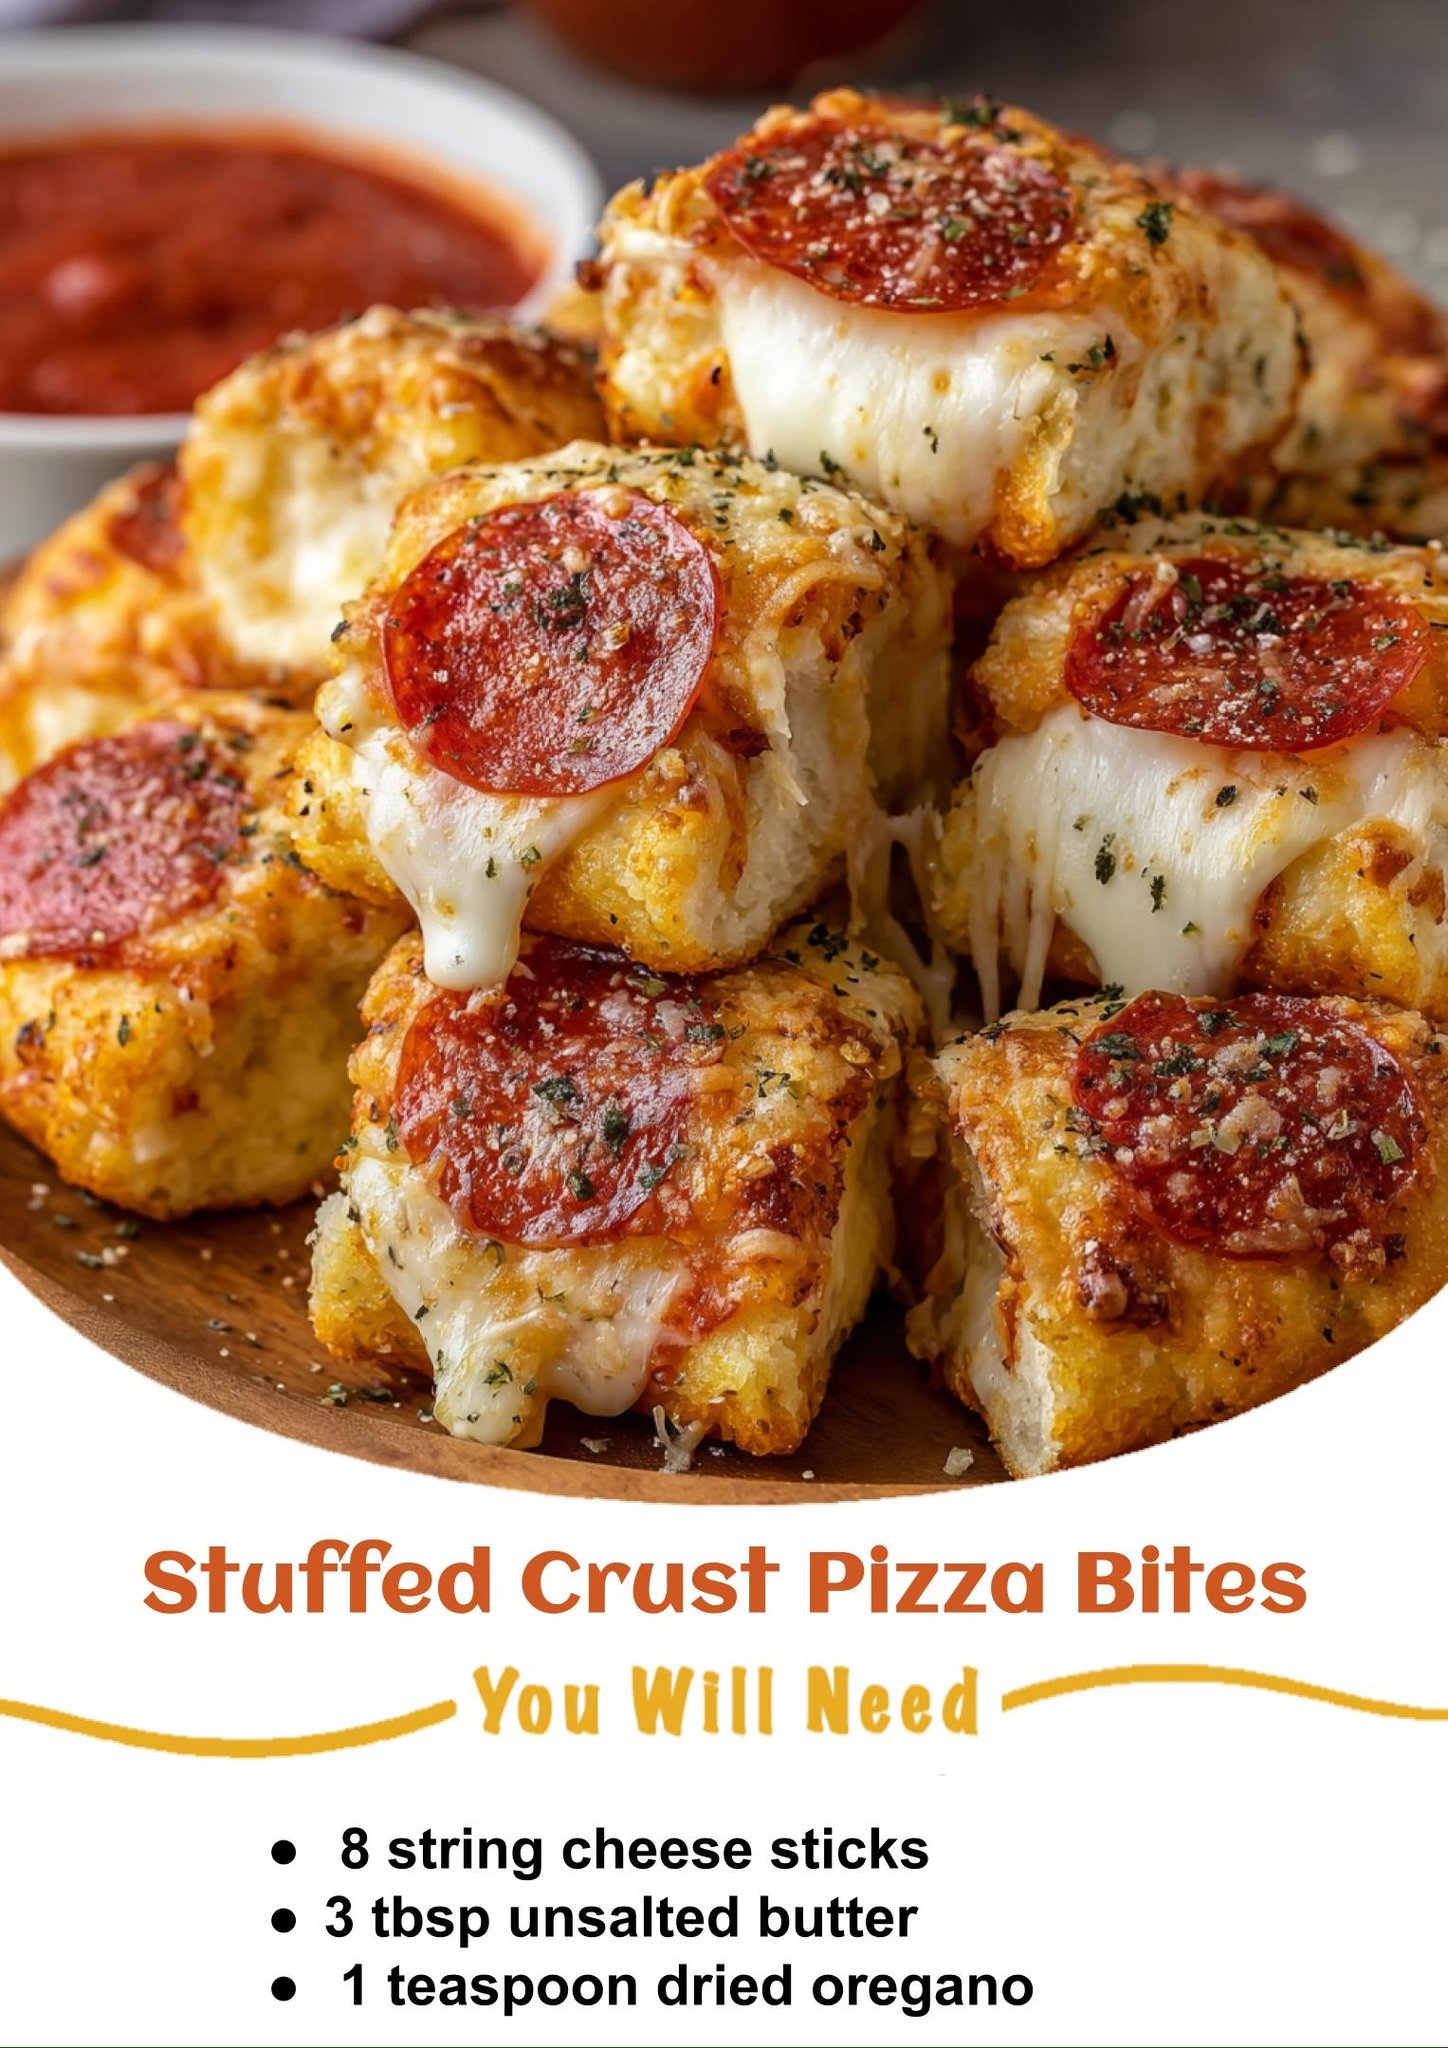
It was a Friday night, and the craving for pizza was strong, but the idea of waiting for delivery or making dough from scratch felt impossible. I stared into my fridge, saw a pack of string cheese, and had a moment of pure, lazy genius. What if I could make the best part of the pizza—the cheesy, garlicky stuffed crust—into the entire bite? Twenty minutes later, my kitchen was filled with the irresistible aroma of toasting garlic butter and melting mozzarella, and I was pulling golden, bubbly, bite-sized treasures from my oven. They were crispy, cheesy, and so deeply satisfying that I immediately knew this was a recipe I’d make again and again.
Why You’ll Love This Recipe
You will love this recipe because it transforms three simple ingredients into the most addictive, crowd-pleasing snack imaginable in under 30 minutes. It answers that urgent pizza craving without any dough-making, delivers that iconic stuffed crust experience in every single bite, and is so easy that you can make it with your eyes half-closed after a long day. From my experience, these bites are a guaranteed hit with kids, a lifesaver for unexpected guests, and so deliciously fun to eat that you’ll find yourself making a double batch every single time.
Ingredients
- 1 can (8-count) refrigerated crescent roll dough
- 8 string cheese sticks
- 3 tbsp unsalted butter, melted
- 1 teaspoon dried oregano
- 1 teaspoon garlic powder
- 1/4 teaspoon crushed red pepper flakes (optional)
- 1/4 cup grated Parmesan cheese
- 1/2 cup marinara sauce, warmed, for dipping (See the next page below to continue…)
Equipment Needed
- A small bowl for butter mixture
- A baking sheet
- Parchment paper (strongly recommended)
- A pastry brush or spoon
- A sharp knife or pizza cutter
Step-by-Step Instructions
First, we set the stage. I always line my baking sheet with parchment paper—this is my number one secret for easy cleanup and preventing any cheesy leaks from sticking into a permanent, baked-on mess. I preheat my oven to 375°F (190°C). Then, I unroll the crescent dough on a clean surface. If your dough comes in perforated triangles, I’ve found it’s best to press those perforations together to seal them, creating two large rectangles. Then, I use my pizza cutter to slice each rectangle into 4 smaller, even squares. This gives you 8 squares total, perfect for wrapping 8 cheese sticks.
Now, for the cheesy heart of the operation. I place one string cheese stick diagonally across a dough square. The first time I made these, I just plopped it in the center, and the ends poked out during baking. Placing it corner-to-corner is the professional trick. I fold the two opposite corners of the dough over the cheese, then roll it up tightly, pinching the seams to seal it completely. I repeat this with all 8, placing each little bundle seam-side down on my prepared baking sheet. Giving them a little space is key; they will puff and spread a touch.
While they bake, we make the magic butter. In my small bowl, I combine the melted butter, dried oregano, garlic powder, and red pepper flakes if I’m using them. I whisk it with a fork until it’s beautifully fragrant. Here’s a sensory detail I love: the smell of the warm butter hitting the dried herbs is instant pizza shop vibes. About 8-10 minutes into baking, once the bites have puffed up and are just starting to turn a light golden color, I pull the tray out. Working quickly, I use my pastry brush to lavishly brush each bite with the garlic butter mixture. Don’t be shy here—this butter is what gives them that authentic, irresistible flavor.(See the next page below to continue…)
After brushing, I immediately sprinkle the tops with the grated Parmesan cheese. This step is non-negotiable; the Parmesan creates a savory, slightly crispy crust. I pop the tray back into the oven for another 3-5 minutes, until the bites are a deep, uniform golden brown and the dough is cooked through. The smell is absolutely intoxicating. I let them cool on the sheet for just 2-3 minutes—this lets the molten cheese settle slightly so you don’t get a lava burn, but they are meant to be eaten gloriously warm and gooey.
Pro Tips for Best Results
I’ve tested the sealing method three different ways: just folding, rolling loosely, and rolling tightly with a good seam pinch. Trust me, taking the extra second to really pinch that seam closed is critical. On my first batch, I was lazy, and two of them burst open in the oven, creating a cheesy pool on my parchment. A tight roll and a firm pinch ensures every bite is a perfect, contained package of melty joy.
For the garlic butter, do not skip the step of brushing it on during baking, not just at the end. I tried just brushing them after they came out of the oven once, and the flavor didn’t soak into the dough—it just sat on top. Brushing it with about 5 minutes left allows the butter to soak in slightly and the herbs to toast on the hot surface, which makes a huge difference in the depth of flavor.
If you want an extra-crispy bottom and golden top, here’s my insider move: after the initial bake before brushing, I sometimes lift a bite to check the bottom. If it’s still pale, I’ll let them go another minute or two. That initial bake sets the structure. Also, make sure your butter is melted but not scalding hot when you mix in the seasonings; you want to infuse the butter, not fry the garlic powder.
Common Mistakes to Avoid
The first mistake I made was using cold string cheese straight from the fridge. This seems logical, but it can cause issues. The icy center takes longer to melt than the dough takes to bake, sometimes resulting in a dough that’s getting too brown while the cheese is still solid. I now let my string cheese sit on the counter for 10-15 minutes while I prep everything else. It doesn’t need to be room temperature, just not ice-cold.(See the next page below to continue…)
Don’t overstuff or try to use a thicker cheese block. The beauty of string cheese is its perfect, portion-controlled log shape. I once tried cutting a block of mozzarella into sticks, and it was too thick, causing the dough to tear and not seal properly before the cheese oozed out everywhere. The string cheese is the ideal size and meltiness for this specific recipe. Stick with it.
Avoid underbaking because you’re afraid of the cheese exploding. The cheese is protected by the dough! If you pull them out when they just look golden but the dough still feels soft and undercooked in the middle, you’ll have a gummy texture. They need that full bake time for the dough layers to cook through and become flaky. The golden brown color is your best indicator, and a little cheese bubbling out the ends is actually a good sign—it gets deliciously crispy.
Finally, do not skip the parchment paper. I thought I could get away with a well-greased pan once. I was wrong. The buttery, cheesy edges caramelized and fused to the metal, and I spent half an hour soaking and scrubbing. The parchment paper guarantees a one-minute cleanup and perfectly intact bites. It’s the easiest insurance policy you’ll ever buy for your baking sanity.
Serving Suggestions
I like serving these bites piled high on a big platter the moment they’re cool enough to handle, with a bowl of warm marinara sauce right in the center for dipping. The contrast of the crispy, buttery exterior with the hot, smooth marinara is classic and perfect. For a party, I’ll sometimes add a small bowl of creamy ranch dressing or a spicy sriracha mayo on the side for those who want a different dip.
For a fun, interactive meal, I turn these into a “build-your-own” pizza bite bar for my family. I’ll set out the baked bites, small bowls of additional toppings like mini pepperoni slices, cooked sausage crumbles, diced bell peppers, and extra shredded cheese. Everyone can top their own bite and pop it back under the broiler for a minute to melt the additions. It turns a simple snack into a playful dinner activity.
If I’m making these for a game day spread, I arrange them in a ring around the dip bowl on a large board, filling the space with other bite-sized snacks like olives, pickles, and cured meats. They are the undeniable star of the snack table. I always make extra, because I’ve learned they disappear faster than anything else, often while I’m still pulling the second tray from the oven.
Variations & Customizations
For a pepperoni lovers’ version, I’ve had great success placing 4-5 mini pepperoni slices on the dough square before adding the cheese stick. When you roll it up, the pepperoni gets embedded in the layers, and the fats render out, making the bites even more flavorful and savory. You can also try a teaspoon of cooked, crumbled Italian sausage for a heartier bite.
If you want to change up the cheese, mozzarella string cheese is the standard, but I’ve also used the “Cheddar Jack” blend string cheeses with fantastic results—it gives a slightly sharper flavor. For a more gourmet touch, you can roll the sealed bites in everything bagel seasoning before baking instead of (or in addition to) the Parmesan. It adds a wonderful oniony, salty crunch.
For a “supreme” style, after brushing with butter, I’ll sprinkle on a tiny amount of very finely diced green bell pepper and onion. The pieces need to be miniscule so they cook in the remaining bake time. I’ve also done a “spinach and artichoke” version by mixing a spoonful of that dip into softened cream cheese, spreading a thin layer on the dough before adding the string cheese. It’s decadent and delicious.
How to Store, Freeze & Reheat
These pizza bites are truly best served straight from the oven. However, if you have leftovers, let them cool completely, then store them in a single layer in an airtight container in the refrigerator for up to 2 days. The dough will soften from the moisture of the cheese, so they lose their perfect crispness, but the flavor is still great.
To reheat, do not use the microwave if you can avoid it. It makes the dough very tough and chewy. Instead, I reheat them in my air fryer at 350°F for 3-4 minutes or in a conventional oven at 375°F for 5-7 minutes until they’re hot and re-crisped. This method brings them shockingly close to their original fresh-from-the-oven glory.
You can freeze these before baking for a fantastic make-ahead option. Assemble the bites up to the point of brushing with butter, then place them on a parchment-lined sheet and freeze solid. Once frozen, transfer them to a freezer bag. When ready to bake, do not thaw. Place the frozen bites on a parchment-lined sheet, brush with the butter mixture, sprinkle with Parmesan, and bake. You’ll need to add 3-5 extra minutes to the baking time. I don’t recommend freezing them after baking, as the texture of the reheated dough suffers significantly.
Conclusion
These Stuffed Crust Pizza Bites are a testament to the fact that the most beloved recipes are often the simplest ones, born from a craving and a little kitchen creativity. They’ve become my secret weapon for happy gatherings, easy dinners, and satisfying my own pizza urges in record time. I hope this recipe brings as much cheesy, golden joy to your table as it has to mine. Now, go preheat that oven—your new favorite snack is waiting.