
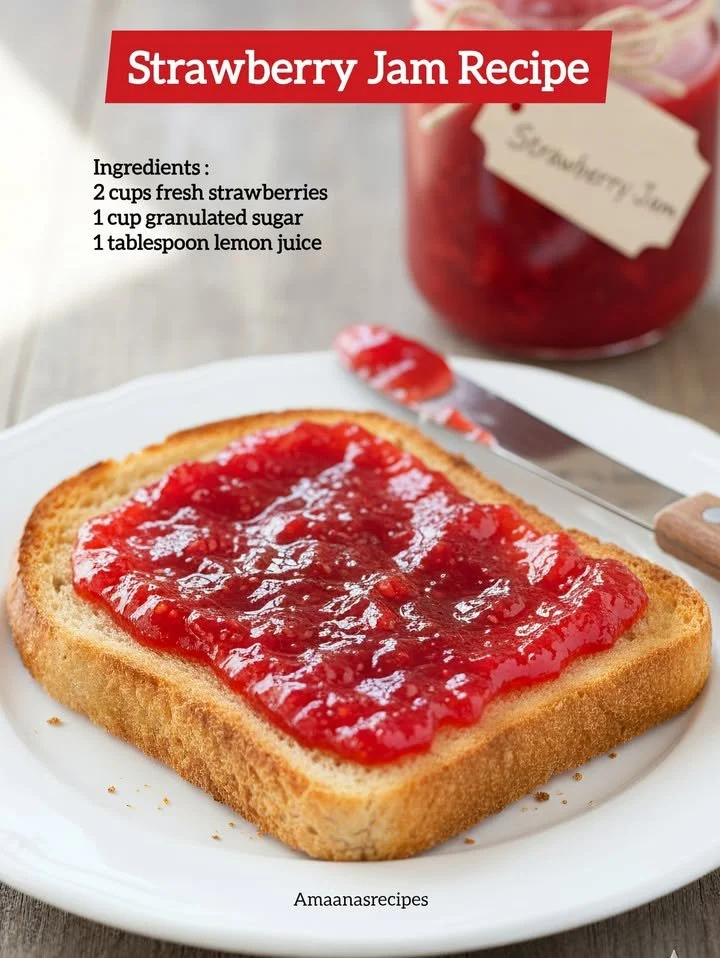
There’s something incredibly satisfying about making my own strawberry jam in my kitchen. The sweet, fruity smell wafting through the air feels like an embrace, and when I bite into that homemade toast slathered with my vibrant, ruby-red jam, I’m reminded of sunny mornings spent savoring freshness. Today, I’m eager to share with you my favorite recipe for strawberry jam, a delightful treat that’s simple, delicious, and brings a splash of joy to any breakfast.
Why You’ll Love This Recipe
You’ll love this strawberry jam recipe not only for its ease but also for how it captures the essence of summer in every spoonful. Homemade jam brings a special warmth and flavor that store-bought versions just can’t match. With just a handful of fresh ingredients and love, you can create something that’s sure to delight friends and family alike. Just imagine that bright berry flavor dancing on your taste buds! (See the ingredients in the next page below…)
Ingredients
– 2 pounds fresh strawberries, hulled and halved
– 1 ½ cups granulated sugar
– ¼ cup fresh lemon juice
– 1 package (1.75 oz) fruit pectin (like Sure-Jell)
Equipment Needed
– Large pot for cooking
– Wooden spoon for stirring
– Canning jars and lids
– A funnel for pouring
– A potato masher (optional, for smoother jam)
– Candy thermometer (optional, but useful)
Step-by-Step Instructions
To kick things off, I start by washing my strawberries, feeling each berry’s firm, plump surface as I hull and halve them. There’s just something so therapeutic about the process. You can use a potato masher if you want a smoother texture, but I personally love the chunkiness, so I just leave them as they are! Once I’ve got my berries prepped, I toss them into a large pot along with the lemon juice and sugar. I allow them to macerate for about 30 minutes, letting the sugar draw the juices out and create a lovely berry pool. It’s during this time that my kitchen starts to smell heavenly! (See the next page below to continue steps…)
Next, I turn the heat on medium-high and bring the mixture to a boil. As the berries begin to break down and bubble away, I add the fruit pectin while stirring continuously to dissolve it completely. This step is crucial for achieving that perfect consistency. I keep an eye on this as it bubbles, waiting for it to reach a rolling boil, which takes about 5-10 minutes. You can tell it’s ready when it looks like the jam is beginning to thicken slightly – a wonderful sight to behold!
Once I’ve achieved this beautiful, thick consistency, I remove the pot from the heat and ladle the hot mixture into prepared jars, filling them to about ¼ inch from the top. It’s like pouring sunshine into jars! After sealing the lids, I place the jars in a hot water bath for about 10 minutes to ensure they’re properly sealed for preservation. Once they’re cooled and sealed, I can’t help but admire my handiwork – the vibrant color is just stunning!
Pro Tips for Best Results
When I first started making this strawberry jam, I tested a few different sugar ratios. I found that using a bit less sugar really allowed the natural berry flavor to shine through. Don’t worry; the pectin will still set the jam perfectly! Also, remember that using freshly picked strawberries makes a huge difference in taste. I often visit local farms for the freshest fruits of the season.
Temperature is key! I learned firsthand that not letting the mixture reach the right boiling point can mess with the consistency, leaving you with jam that’s more syrup than spread. A candy thermometer can be your best friend here – trust me! And don’t skip the water bath step; it’s essential for shelf stability and safety.
Lastly, I’ve discovered that patience is a virtue. Allow your jars to cool completely before moving them to the refrigerator. This not only helps with the sealing process but also allows the flavors to meld beautifully.
Common Mistakes to Avoid
One common mistake I made the first time was not measuring my ingredients accurately. I remember pouring sugar directly into the pot without leveling it off. This can lead to overly sweet jam that masks the wonderful taste of strawberries. Always use measuring cups to get the right balance!
Another pitfall is forgetting to prep your jars. I’ve had moments of panic when realizing my jars weren’t sterilized or ready while my jam was cooking. Ensure they are clean and hot before you start, or you’ll end up with a mess. (See the next page below to continue…)
It’s also easy to rush the cooking process, but trust me, the jam needs that time to develop its flavors! Don’t be tempted to crank up the heat to speed things along; this can lead to burnt bits settling at the bottom and uneven consistency.
Finally, I have to mention the importance of proper sealing. I once ended up with a jar that didn’t seal properly, and after a few days, I found mold — definitely a bummer! Make sure you properly seal and store your jars, and you’ll avoid this unfortunate fate.
Serving Suggestions
There’s nothing quite like slathering my homemade strawberry jam on a warm slice of toasted bread. The gooey texture and sweet flavor make for the perfect breakfast treat. I even love making a simple peanut butter and jam sandwich to bring with me on picnics or for lunch. The combination of flavors is just delightful!
Another way I enjoy my jam is by adding a generous dollop to plain Greek yogurt. Not only does it add sweetness, but it also brightens the dish with a burst of berry flavor. It makes for a fantastic, healthy snack or breakfast option that I often crave during those busy mornings.
And don’t forget about using my jam as a filling for pastries! Stuffing croissants or puff pastry with strawberry jam creates a delicious sweet treat that I often bake for weekend brunches. Every bite brings a smile to my face!
Variations & Customizations
While strawberry jam holds a special place in my heart, I love experimenting with different fruits. Incorporating rhubarb gives a tangy twist that pairs beautifully with strawberries when I’m looking for something unique. I also enjoy mixing in a bit of vanilla extract for a warm, comforting flavor that really enhances the berries.
Another fun variation is to spice things up with a hint of mint or basil. When I add fresh herbs to my jam, it adds an exciting flavor dimension that I never knew I needed. Experimenting with different spices, like cinnamon or cardamom, can also create an incredible sensation that leaves your taste buds dancing.
Lastly, I often like to add a bit of orange zest or juice for a citrusy lift – it brightens everything up and brings out the sweetness of the strawberries. Every time I make a new variation, I can’t help but feel that joy of discovery; it’s like a new recipe entirely!
How to Store, Freeze & Reheat
Once my homemade strawberry jam has cooled and sealed properly, I store it in the refrigerator for up to three weeks. But usually, I find it doesn’t last that long since it’s such a hit among family and friends. If I know I won’t use it all right away, I often opt for freezing some jars.
Freezing is straightforward! I simply leave about an inch of headspace at the top of the jar to allow for expansion during freezing. Then, I write the date on the label so that I can keep track of how long it’s been in there. Homemade jam can be frozen for up to a year, making it a fantastic treat to enjoy in the cold months.
When I’m ready to enjoy the frozen jam, I just pull it from the freezer and place it in the fridge to thaw overnight. For a quicker option, I’ve popped the jar in warm water to speed up the process – but I have to remind myself that patience is key for better flavor mingling. Once thawed, it’s just as delicious as the day I made it!
Conclusion
Making strawberry jam in my kitchen has become a cherished ritual; it fills my home with joy and love. Whether you’re spreading it on toast, swirling it into yogurt, or gift-giving, this jam is sure to bring a smile to anyone’s face. I hope you’ll make this recipe your own and find delight in every sweet jar you create. Happy jamming!