
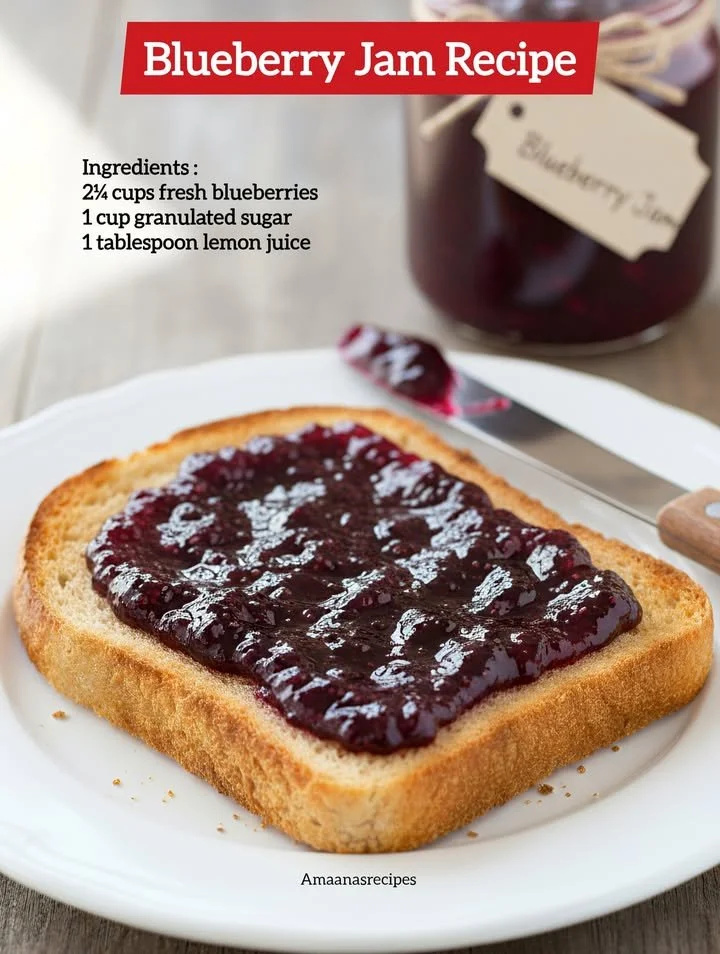
There’s something truly magical about making homemade jam, especially when it comes to blueberries. As the summer months roll around, my kitchen fills with the delightful aroma of fresh fruit bubbling away on the stove, transforming into a sweet, glossy treasure. This blueberry jam recipe is not just a way to preserve the juiciness of those berries; it’s an experience filled with love, warmth, and a touch of nostalgia for lazy summer mornings.
Why You’ll Love This Recipe
This blueberry jam recipe is incredibly simple and incredibly delicious, allowing the natural sweetness of the berries to shine through. I love how it captures the essence of summer and brings a pop of joy to my breakfast table. Whether it’s slathered on warm toast or drizzled over yogurt, this jam is a real crowd-pleaser. Plus, it makes a fabulous gift that friends and family adore. You can whip it up in no time, and the results are nothing short of heavenly! (See the ingredients in the next page below…)
Ingredients
- 2 cups fresh blueberries
- 1 cup granulated sugar
- 1 tablespoon lemon juice
- 1/2 teaspoon cinnamon (optional)
- 1/4 cup water
Equipment Needed
- A large pot with a heavy bottom
- Wooden spoon or spatula
- Potato masher (optional)
- Canning jars and lids (sterilized)
- Ladle and funnel (for pouring into jars)
- Food thermometer (optional, for checking temperature)
Step-by-Step Instructions
To start, I rinse my blueberries just before using them to maintain their natural flavor. Once clean, I add them to my large pot, along with the sugar, lemon juice, and water. I stir everything together gently, watching the blueberries begin to release their juices. It’s such a vibrant sight! I then turn the heat to medium and bring the mixture to a gentle boil, stirring occasionally. The enticing aroma that fills my kitchen is absolutely irresistible! (See the next page below to continue steps…)
As the jam begins to boil, I love to mash a few of the blueberries gently with my potato masher, which helps to break them down a bit more and create that lovely, spreadable consistency. After about 10-15 minutes of steady boiling and occasional stirring, I keep an eye on the temperature. I usually aim for around 220°F, but this can vary slightly based on altitude—so if you don’t have a thermometer, don’t stress too much; just trust your instincts!
Next, I take the pot off the heat and let it cool down for a few minutes. The aroma is divine! Carefully, I ladle the hot jam into my sterilized jars, leaving a little headspace at the top. I wipe the rims of the jars to ensure a good seal and then screw on the lids. If I’m feeling extra fancy, I like to add cute labels for gifts or just for myself to enjoy later.
Finally, I like to process the jars in a boiling water bath for about 5-10 minutes. This step ensures that the jam seals properly and can be stored for longer. Once done, I let them cool on the counter and listen for that satisfying “pop” that lets me know I’ve been successful!
Pro Tips for Best Results
One tip that I absolutely swear by is using fresh blueberries, preferably in-season. The difference in flavor is phenomenal! I’ve tested this recipe using frozen blueberries, but while the jam still turns out delicious, the fresh ones just have that extra pop of flavor and vibrant color.
Another handy trick I learned is to adjust the sugar based on how sweet your blueberries are. If they’re super sweet, you might want to reduce the sugar a bit. This allows you to tailor the jam’s sweetness to your tastes perfectly!
Lastly, I recommend keeping a close eye on the jam as it cooks. Every stove is different, and I’ve had batches that turned out too thick because I got distracted. So, when you’re near that boiling point, just stir and watch carefully. Your patience will pay off!
Common Mistakes to Avoid
One common mistake I made during my early attempts was not measuring the fruit correctly. I was always so eager to jam, I would often toss in too many blueberries. This led to a thinner consistency that wasn’t quite ideal. So, make sure to use the right amount! It’s a simple step that really impacts the end result. (See the next page below to continue…)
Another thing to watch out for is undercooking the jam. This can lead to a more syrupy consistency rather than a spreadable jam. I always make sure to check the temperature, but even if you don’t use a thermometer, you should aim for a good rolling boil until it thickens properly.
Also, be cautious when pouring the hot jam into your jars. It’s a bit of a tricky maneuver! I’ve burned my hands in the past, so using a funnel is a lifesaver. Always remember: safety first in the kitchen!
Serving Suggestions
Blueberry jam is such a versatile treat! I love spreading it on warm, buttery toast for a cozy breakfast. It also elevates a simple bowl of oatmeal or yogurt, adding a burst of flavor and sweetness. I like to drizzle a spoonful over my homemade pancakes or waffles; it takes breakfast to a whole new level!
Another delightful way to enjoy blueberry jam is by using it in desserts. It makes a fantastic filling for pastries, like turnovers and tarts, or even a layer between cakes. If I’m feeling indulgent, I’ll swirl it into my favorite cheesecake recipe for that fruity twist.
Lastly, it makes a wonderful gift. I often tuck a jar or two away for the holidays or special occasions. With a cute ribbon and a handmade label, it’s a thoughtful present that anyone would appreciate!
Variations & Customizations
While I adore this classic blueberry jam recipe, there are so many ways to customize it to your tastes! For instance, I love adding a pinch of vanilla extract or a sprinkle of almond extract to the mix for an added layer of flavor. It gives the jam a lovely aromatic quality!
You can also experiment by incorporating other fruits. A mixture of blueberries and raspberries or strawberries creates a delightful medley that’s perfect for summery breakfasts. I’ve even tried adding a bit of fresh ginger or mint for a unique twist that brightens the overall flavor!
If you prefer a low-sugar option, you can use a sugar substitute or pectin designed for low-sugar recipes. This way, you still get that delicious jam without all the sweetness.
How to Store, Freeze & Reheat
Once your blueberry jam is sealed in jars, it can be stored in the pantry for up to a year. However, if you’ve popped open a jar, make sure to keep it in the refrigerator, where it will stay fresh for about 2-3 weeks. I’ve learned that it’s best to label the jars with the date so I can enjoy them at their peak quality!
If you find yourself with an abundance of jam and need some extra storage, you can freeze it! Just pour the jam into airtight freezer-safe containers, leaving some space at the top for expansion. It’s a great way to preserve the flavors for those cozy winter months when summer feels far away.
Reheating the jam is as simple as placing it in a saucepan over low heat. Stir gently until it warms through; this brings back that lovely texture. Just remember not to boil it again, as this will change its consistency and flavor!
Conclusion
Making blueberry jam is a delightful way to celebrate the bounty of summertime. From the initial burst of flavor as you taste it to the sweet memories it brings back, this recipe holds a special place in my kitchen. I hope you enjoy making it as much as I did! Happy jamming!