Equipment Needed
Step-by-Step Instructions
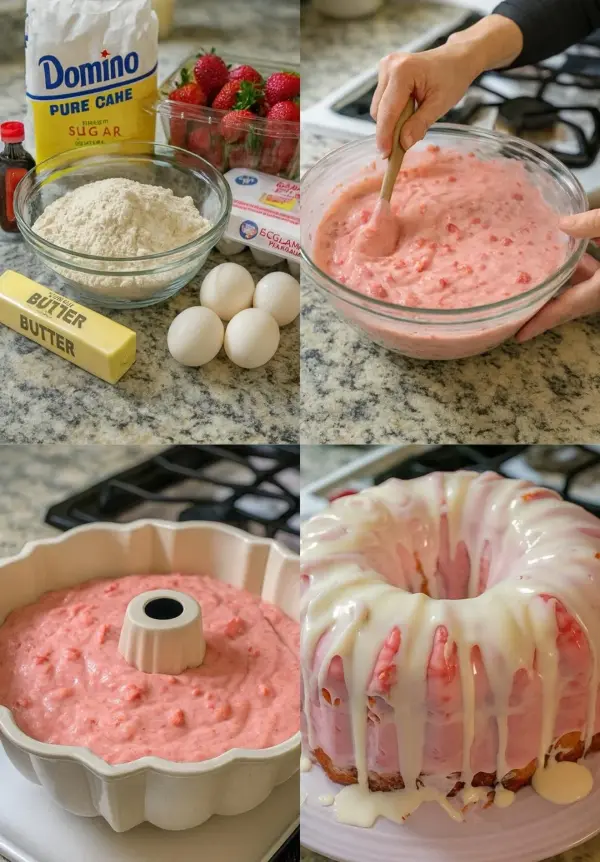
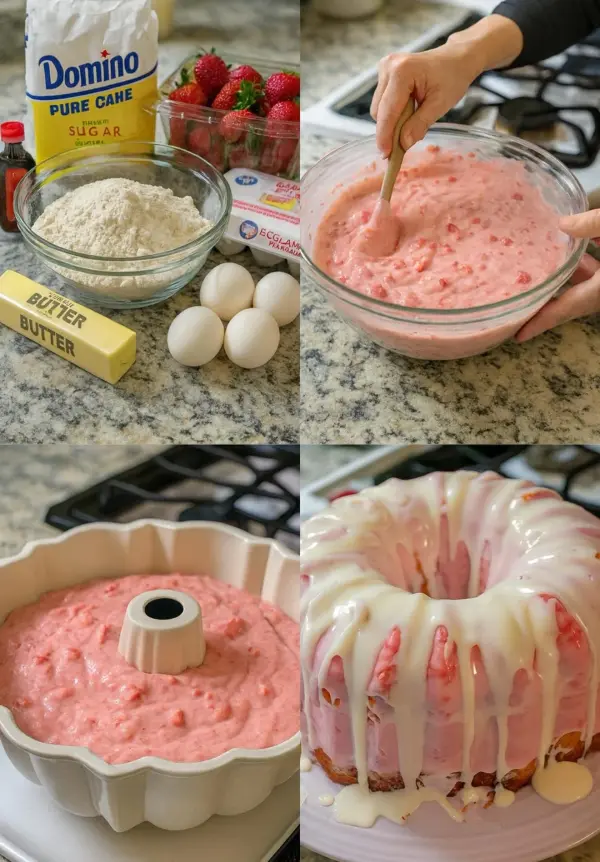
- First, preheat your oven to 350°F (175°C). This first step is so important since a well-preheated oven sets the stage for even baking. In a large mixing bowl, combine the yellow cake mix, eggs, sour cream, oil, water, and the tablespoon of vanilla. Using my electric mixer, I whip this together until everything is combined and smooth – about 2 minutes should do the trick. Your batter will have this delightful consistency that makes the whole process even more enjoyable.
- Next, take half of your cake batter and spread it evenly into the prepared baking pan. Now, the fun part! Mix together the sugar and cinnamon, and sprinkle it generously over the batter. I love how the fragrant spice just melds into the cake, creating pockets of flavor. Add the remaining batter on top, then gently swirl in the chopped strawberries. When it bakes, these strawberries will become little bursts of summery goodness in each bite.
- Pop it into the oven and bake for about 45 minutes or until a toothpick inserted in the center comes out clean. As it bakes, the sweet, warm aroma fills the kitchen—and trust me, this is the moment when everyone in the house will start hovering nearby, eager for a taste. Once out of the oven, let it cool in the pan for about 20 minutes before transferring it to a cooling rack.
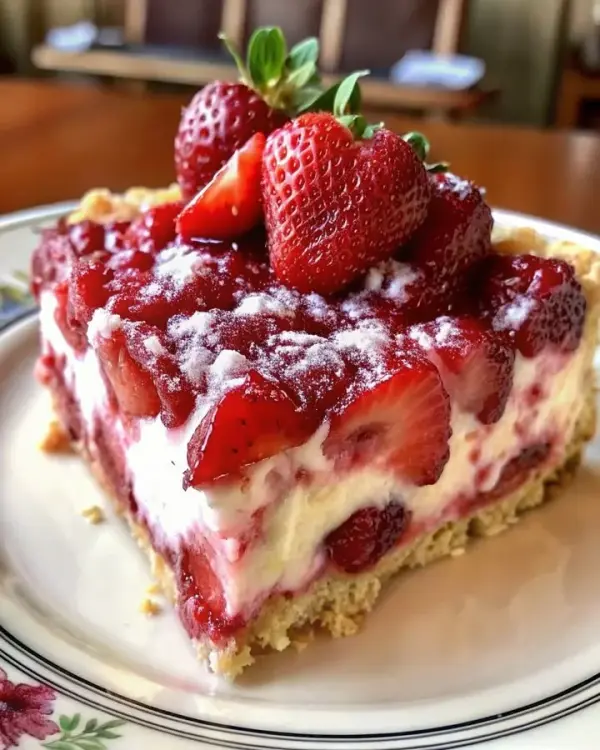
- Now, for the strawberry cream icing! In a small saucepan, combine the powdered sugar, milk, and vanilla extract, heating over low until smooth and creamy. I often add a bit more powdered sugar for thickness—just to make it that perfect drizzle consistency. Once the cake has completely cooled, pour that gorgeous pink icing over the top and watch it cascade down the sides. I can’t tell you how satisfying that is—your cake will look so inviting, you’ll have a hard time waiting to slice into it!
Pro Tips for Best Results
I’ve tested this recipe with different cake mixes, and let me tell you, a good yellow cake mix makes all the difference! The flavor really shines through when you choose a quality brand, so don’t skimp here. I’ve tried this cake with homemade cake bases too, but for quick and easy baking, the boxed mix is a real winner.
Don’t forget to taste your icing before spreading it. Sometimes, I like to tweak the sweetness by adding a pinch more sugar or a tad extra vanilla. I love when I find that perfect balance of flavors that even the kids can’t resist!
Lastly, let the cake cool completely before icing. I learned this the hard way when my hurried frosting melted into a choppy mess instead of sitting beautifully on top. Trust me, patience is key!
Common Mistakes to Avoid
One common mistake I see folks making is overmixing the batter. While it’s tempting to whip it into a frenzy, too much mixing can lead to a dense cake. I aim for just combined—lumps are okay! That’s what gives the cake a lovely texture.
Another misstep is skipping the cinnamon-sugar layer. I’ve made the mistake of thinking it’s just an optional step, but it really elevates the flavor profile, creating that lovely honeybun vibe we all adore. Trust me on this one!
Don’t underestimate the importance of cooling time. Rushing to glaze your warm cake can lead to a soupy icing that doesn’t make you drool like it’s meant to. Let it cool to room temperature, and then ice it to create that velvety finish we all look forward to.
Lastly, always use fresh strawberries if possible. Frozen ones can make the cake overly watery, which is not the texture we want. Soggy cake is never fun!
Serving Suggestions
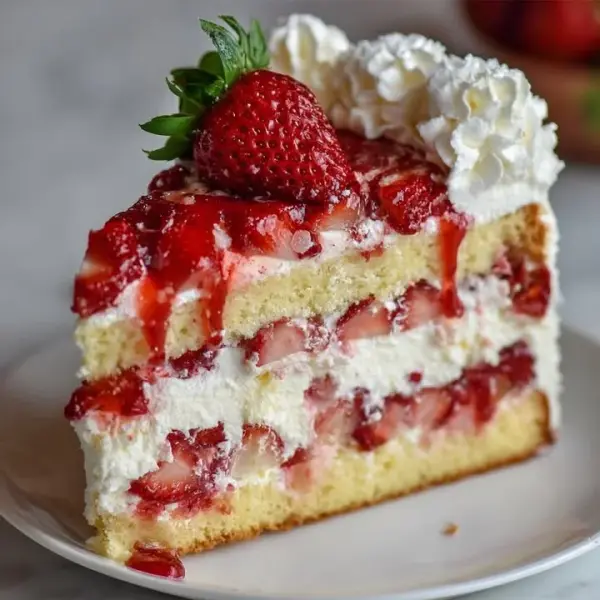
This Strawberry Honeybun Cake is the perfect centerpiece for any gathering. I love serving it slightly warmed with a dollop of whipped cream on the side. There’s just something so indulgent about that warm vs. cold contrast that gets my taste buds dancing!
If I’m feeling fancy, I might slice up some extra fresh strawberries to garnish the top before serving. It adds a pop of color and elegance—not to mention, the added berry goodness is always welcome.
For a fun twist, try pairing it with a scoop of vanilla ice cream for a delightful dessert experience. The rich, creamy ice cream complements the strawberry flavor while providing a comforting temperature contrast—a match made in dessert heaven!
Variations & Customizations
One of the beautiful things about this recipe is its versatility! For those who want to mix it up, consider replacing the strawberries with blueberries or raspberries. Each berry brings its unique flavor, and it’s just as simple to prepare. I’ve even considered making a mixed berry version for a festive occasion!
If you’re not fond of the cream icing, a simple glaze made with lemon juice and powdered sugar works wonders as well. It adds a zesty brightness that pairs perfectly with the sweetness of the cake. I once tried it during a summer brunch and was met with rave reviews!
Lastly, for a crunchy texture, you can sprinkle some chopped nuts on top after icing. Walnuts or pecans would add a delightful crunch that plays well against the soft layers of cake and icing. Customizing it to suit your family’s tastes can make this recipe even more special!
How to Store, Freeze & Reheat
If you happen to have leftovers (which is rare in my house!), you can store the cake in an airtight container at room temperature for up to 3 days. Make sure it’s well-covered to keep it fresh and moist.
For longer storage, this cake freezes beautifully. I typically slice it into pieces and wrap each one in plastic wrap before placing them in a freezer-friendly bag. This way, I can pull out just what I need on a cozy afternoon. Thawing it at room temperature for about an hour does the trick!
When it comes to reheating, I recommend placing a slice in the microwave for 20-30 seconds. That warms up the cake without compromising its texture. Add a bit of whipped cream or ice cream on top as it reheats, and you’re in for a real treat!
Conclusion
I truly hope you give this Strawberry Honeybun Cake with Strawberry Cream Icing a try in your own kitchen. The joy of baking—and even more so, sharing it with loved ones—is something I hold dear. It’s moments like these, sitting around the table with family and friends, that make the work in the kitchen all worth it. So put on your apron, channel your inner baker, and let’s create something special together! Enjoy every bite!