Equipment Needed
Step-by-Step Instructions
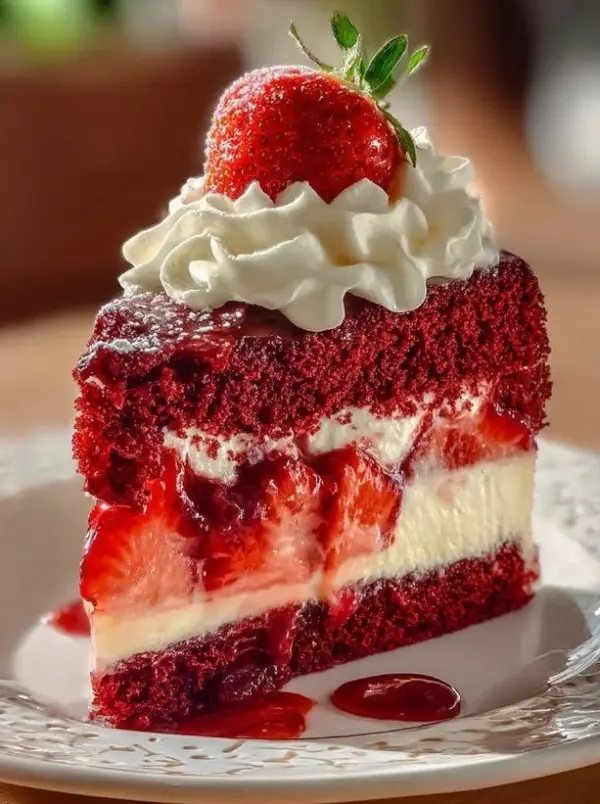
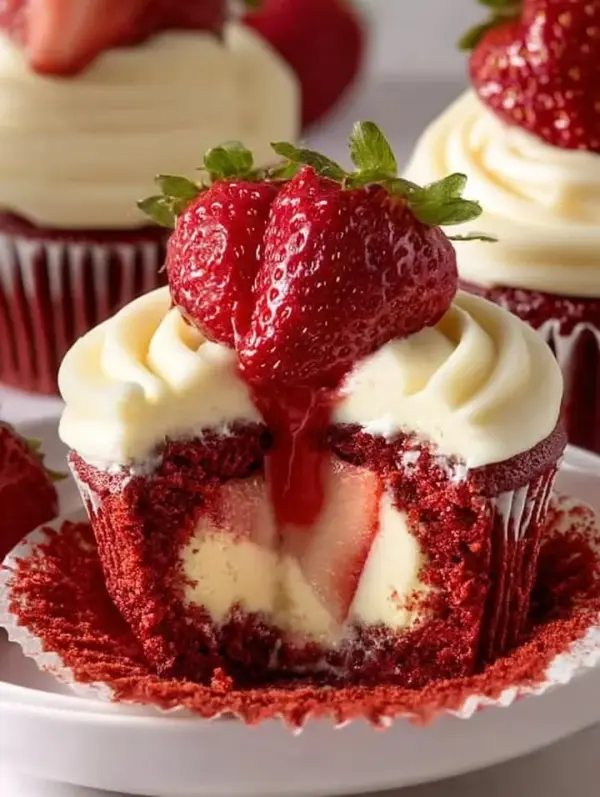
- First, let’s start with the red velvet cupcakes. Preheat your oven to 350°F (175°C) and line your cupcake pan with liners. In a large mixing bowl, combine the flour, sugar, baking soda, cocoa powder, and salt. In another bowl, mix the vegetable oil, buttermilk, eggs, food coloring, vanilla extract, and vinegar. Gradually mix the wet ingredients into the dry ingredients until combined—don’t overmix! The batter should be smooth and luscious, almost like velvet. I can’t help but sneak a taste before they bake!
- Next, fill the cupcake liners about two-thirds full with the batter—this will give them plenty of room to rise without overflowing. Bake for 18-20 minutes, or until a toothpick comes out clean. While my cupcakes are baking, I can’t resist the warm, fragrant aroma filling my kitchen. It smells divine! Once they’re done, let them cool in the pan for 5 minutes before transferring them to a wire rack to cool completely.
- Now, let’s make the cheesecake frosting! In a mixing bowl, beat the softened cream cheese and butter until they’re light and fluffy. Gradually add in the powdered sugar and vanilla extract, mixing until everything is combined into a creamy, dreamy frosting. The texture should be wonderfully smooth, and the flavor is absolutely heavenly. I always take a little taste just to ensure it’s as good as I remember!
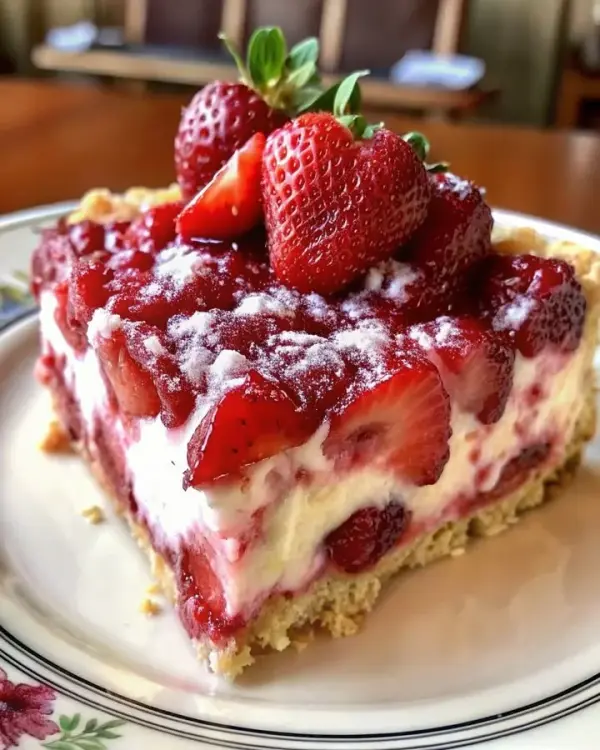
- Lastly, it’s time for the strawberry sauce! In a small saucepan, combine the sliced strawberries, sugar, and lemon juice. Cook over medium heat, stirring occasionally until the strawberries have softened and the mixture thickens—about 5-7 minutes. Let it cool, and now you have a gorgeous, tangy topping to crown your cupcakes!
Pro Tips for Best Results
I’ve experimented with different ratios of sugar in the frosting to get that perfect balance of sweetness and tanginess. Trust me when I say, don’t skip that taste test. I’ve found that adjusting the amount of sugar can make a world of difference depending on your palate!
Using room temperature ingredients is crucial, especially for the cream cheese frosting. Cold cream cheese will give you lumps, and you want that velvety smoothness for a flawless frosting. I let my ingredients sit out for about 30 minutes before I start baking.
Lastly, when it comes to garnishing the cupcakes, I recommend using the strawberry sauce right before serving. This not only keeps the sauce fresh but also ensures that your cupcakes look stunning and are not soggy. Trust me; your guests will be impressed!
Common Mistakes to Avoid
A big pitfall many encounter is overmixing the cupcake batter. I learned the hard way when my first batch turned out dense instead of fluffy. Just mix until everything is combined; a few lumps are okay!
Another common mistake is not allowing the cupcakes to cool completely before frosting. I remember once trying to frost warm cupcakes, and let me tell you, the frosting melted and ran right off. Save yourself the hassle; be patient—it’s totally worth it!
Lastly, don’t skip the step of measuring your flour correctly. I once scooped flour directly from the bag, leading to dry cupcakes. Use the spoon-and-level method: spoon the flour into your measuring cup, then level it off with a knife. This simple trick can save your cupcakes from being too heavy!
Serving Suggestions
Serve these delightful Strawberry Cheesecake Red Velvet Cupcakes at any festive gathering, and watch them disappear in no time! I love pairing them with a nice cup of coffee or tea; the flavors complement each other perfectly. If I’m at a picnic or outdoor event, I like to present them on a beautiful platter with a few whole strawberries scattered around for that extra touch.
For a more formal occasion, consider arranging the cupcakes on a tiered cake stand—the sight of the vibrant red, white, and strawberry colors layered gives a stunning display that feels celebratory. Decorations like edible gold leaf or sprinkles can add that touch of extravagance I often crave for special celebrations!
Lastly, I like to tell my friends that they can also relish these cupcakes with a scoop of vanilla ice cream on the side. It creates a deliciously rich combination that’s hard to resist!
Variations & Customizations
Feel free to customize the frosting! If you love chocolate, swirl in some melted chocolate for a doubly decadent treat. I’ve found that adding a touch of cocoa powder can also create a chocolate cheesecake flavor that blends nicely with the red velvet.
If strawberries aren’t your favorite, you can switch things up and use a different fruit for the topping. Raspberry sauce or blueberry coulis can offer a delightful twist. They all bring their unique colors and flavors, adding a delightful surprise to each bite!
Lastly, for a more health-conscious version, consider making a few substitutions. You can use Greek yogurt instead of half the butter in the frosting or use whole wheat flour instead of all-purpose flour. I’ve tried both adjustments and found them to be equally delicious; just remember, the texture may vary slightly!
How to Store, Freeze & Reheat
Storing these cupcakes is easy! If you have any leftovers (which is rare in my house!), place them in an airtight container and keep them in the fridge for up to 3 days. Just be sure to layer them with parchment paper to prevent sticking.
If you want to make them ahead of time, the cupcakes freeze wonderfully! After baking and cooling them completely, wrap them tightly in plastic wrap and place them in a freezer-safe container. They can last up to three months! Just remember to thaw them at room temperature before frosting.
To reheat, I suggest wrapping the cupcake in a damp paper towel and microwaving it for about 10-15 seconds. This little hack keeps them moist and delicious, bringing back that fresh-baked taste!
Conclusion
I hope you’re as excited to make these Strawberry Cheesecake Red Velvet Cupcakes as I am! They’re a perfect treat for any occasion, and I promise the flavors will keep you coming back for more. From the rich, inviting aroma while baking to the lush, creamy frosting, these cupcakes are a celebration of flavor. Happy baking, and enjoy every sweet bite!