
Next, pour the batter evenly into your prepared cake pans. Bake them in the preheated oven for about 25-30 minutes or until a toothpick inserted into the center comes out clean. While those are baking, let’s move on to preparing the cheesecake filling. In a large bowl, using an electric mixer, beat the cream cheese until it’s smooth and creamy. Add in the powdered sugar and vanilla, mixing until combined. In another bowl, whip the heavy cream until stiff peaks form, and then gently fold it into the cream cheese mixture.
Once the red velvet cakes have cooled completely, level the tops if they have domed up during baking. Place one layer on a serving plate, and spread a generous portion of the cheesecake filling on top. Carefully place the second cake layer on top of this, and then spread the remaining cheesecake filling over the entire cake. Don’t worry about making it perfect; I like the rustic look!
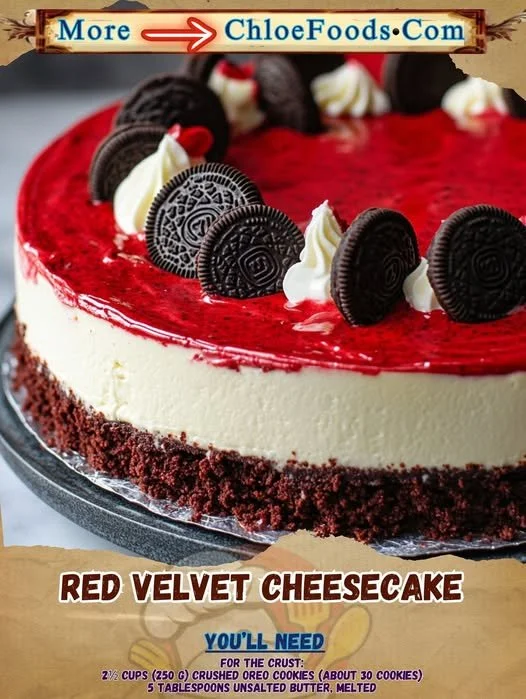
To finish it off, I recommend chilling the cheesecake for at least two hours before serving. This allows those flavors to meld together beautifully and makes it easier to slice. It’s so worth the wait!
Pro Tips for Best Results
One tip that I learned after my first attempt is to ensure all your ingredients are at room temperature. This really helps in achieving a smooth batter and creamy cheesecake layer. I tested this three ways, and the difference was undeniable—trust me, your taste buds will thank you!
Another thing I try to remember is to sift the dry ingredients. This not only aerates the flour but also helps break up any lumps in the cocoa powder, leading to a smoother batter. When I skip this step, I can taste the difference, and I prefer a velvety texture for my cheesecake.
Lastly, if you really want to impress, consider adding some chocolate shavings or fresh berries on top before serving. I’ve done this for gatherings, and it adds an elegant touch that takes the dessert to the next level!
Common Mistakes to Avoid
One mistake I’ve made in the past is not properly measuring the flour. Until I learned to spoon it into my measuring cup and level it off with a knife, my cakes were often too dense. Make sure to take your time with this; it really affects the final texture! (See the next page below to continue…)