
Equipment Needed
- 9×9 inch or 9×13 inch baking pan (depending on how thick you want them)
- Parchment paper
- Large mixing bowl
- Medium saucepan
- Wooden spoon or spatula
- Measuring cups
Step-by-Step Instructions
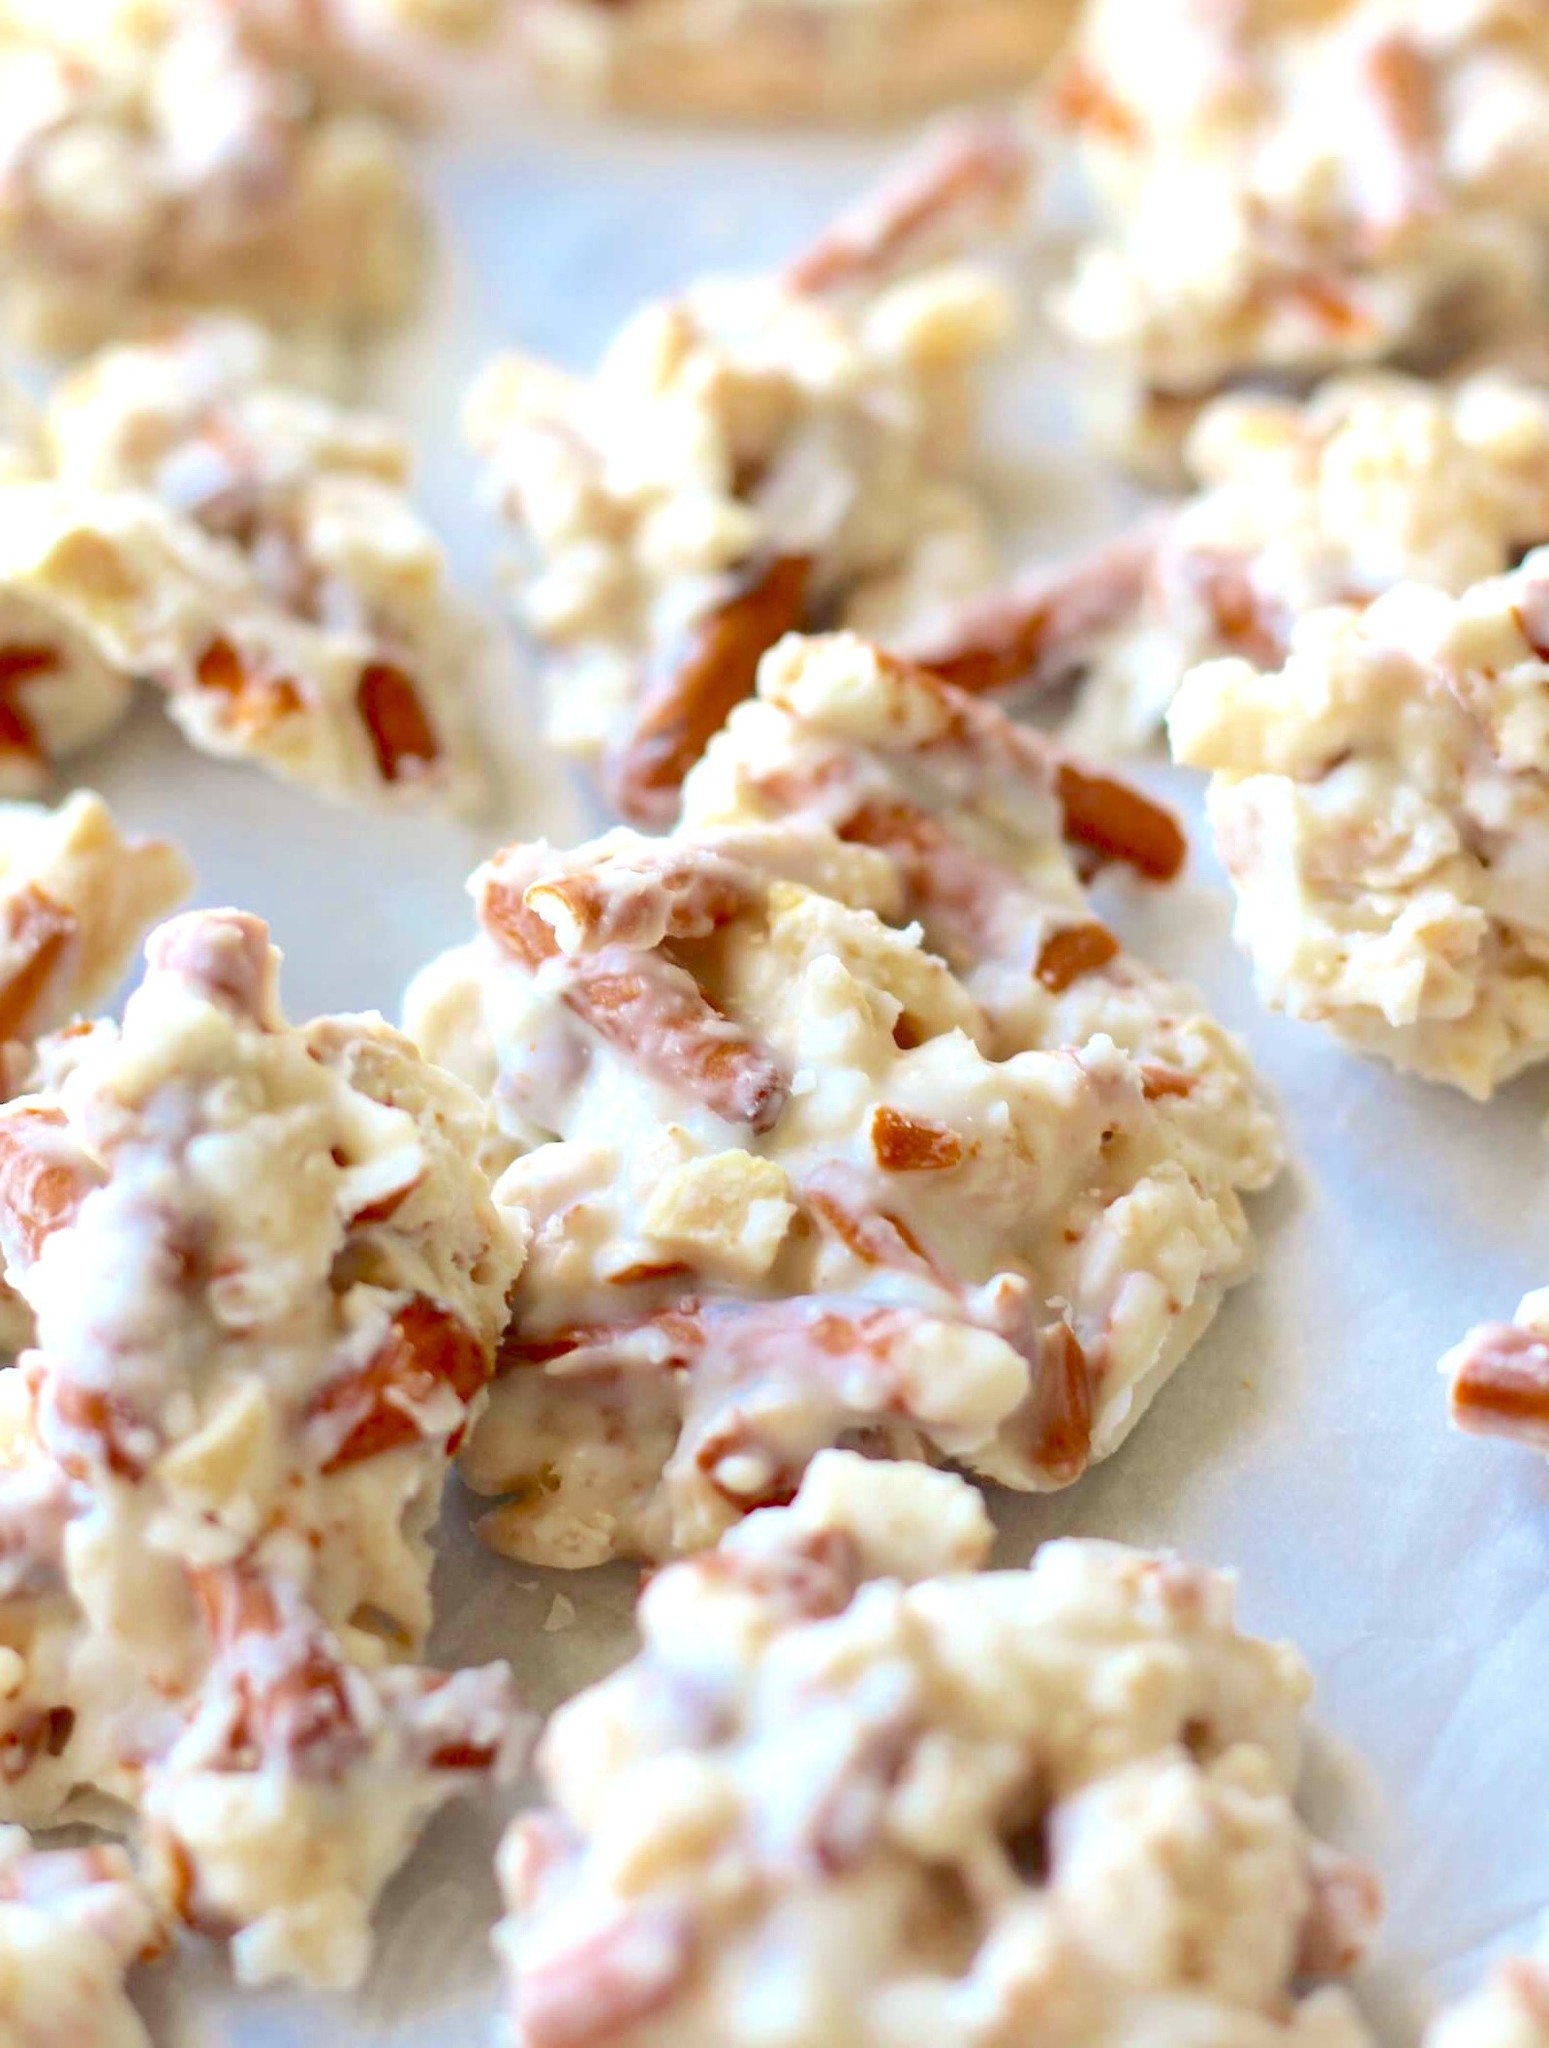
My process always starts with the fun part: raiding the pantry. I pull out all the nearly-finished bags and boxes. I measure out about 4 cups total of my chosen mix-ins and dump them into a large mixing bowl. I give them a quick stir to distribute everything evenly. If I’m using coconut or nuts, I’ll often toast them first in a dry pan for a few minutes—it deepens their flavor immensely. The sight of all those different colors and textures together is already promising.
Next, I prepare the pan. I line it with parchment paper, leaving an overhang on two sides. This is my lifeline for easy removal later. I’ve tried just greasing the pan, and it was a nightmare to get the candies out. Trust me, the parchment is non-negotiable. Now, for the simple caramel glue. In my medium saucepan, I melt the butter over medium heat. Once it’s melted, I stir in the brown sugar and corn syrup. I bring the mixture to a gentle boil, stirring constantly, and let it bubble for exactly one minute. This short cook time is enough to dissolve the sugar and thicken it slightly without making a hard crack candy.
I immediately remove the saucepan from the heat and stir in the vanilla extract. It will sizzle and smell wonderful. I then quickly pour this hot, buttery caramel over my bowl of ragtag mix-ins. I add the chocolate chips right on top. The heat from the caramel will start to melt them. Using a sturdy wooden spoon or spatula, I start folding everything together. It takes a bit of muscle! I mix until every piece is glossy and coated, and the chocolate chips are mostly melted, creating a marbled, sticky binder throughout the bowl.(See the next page below to continue…)