
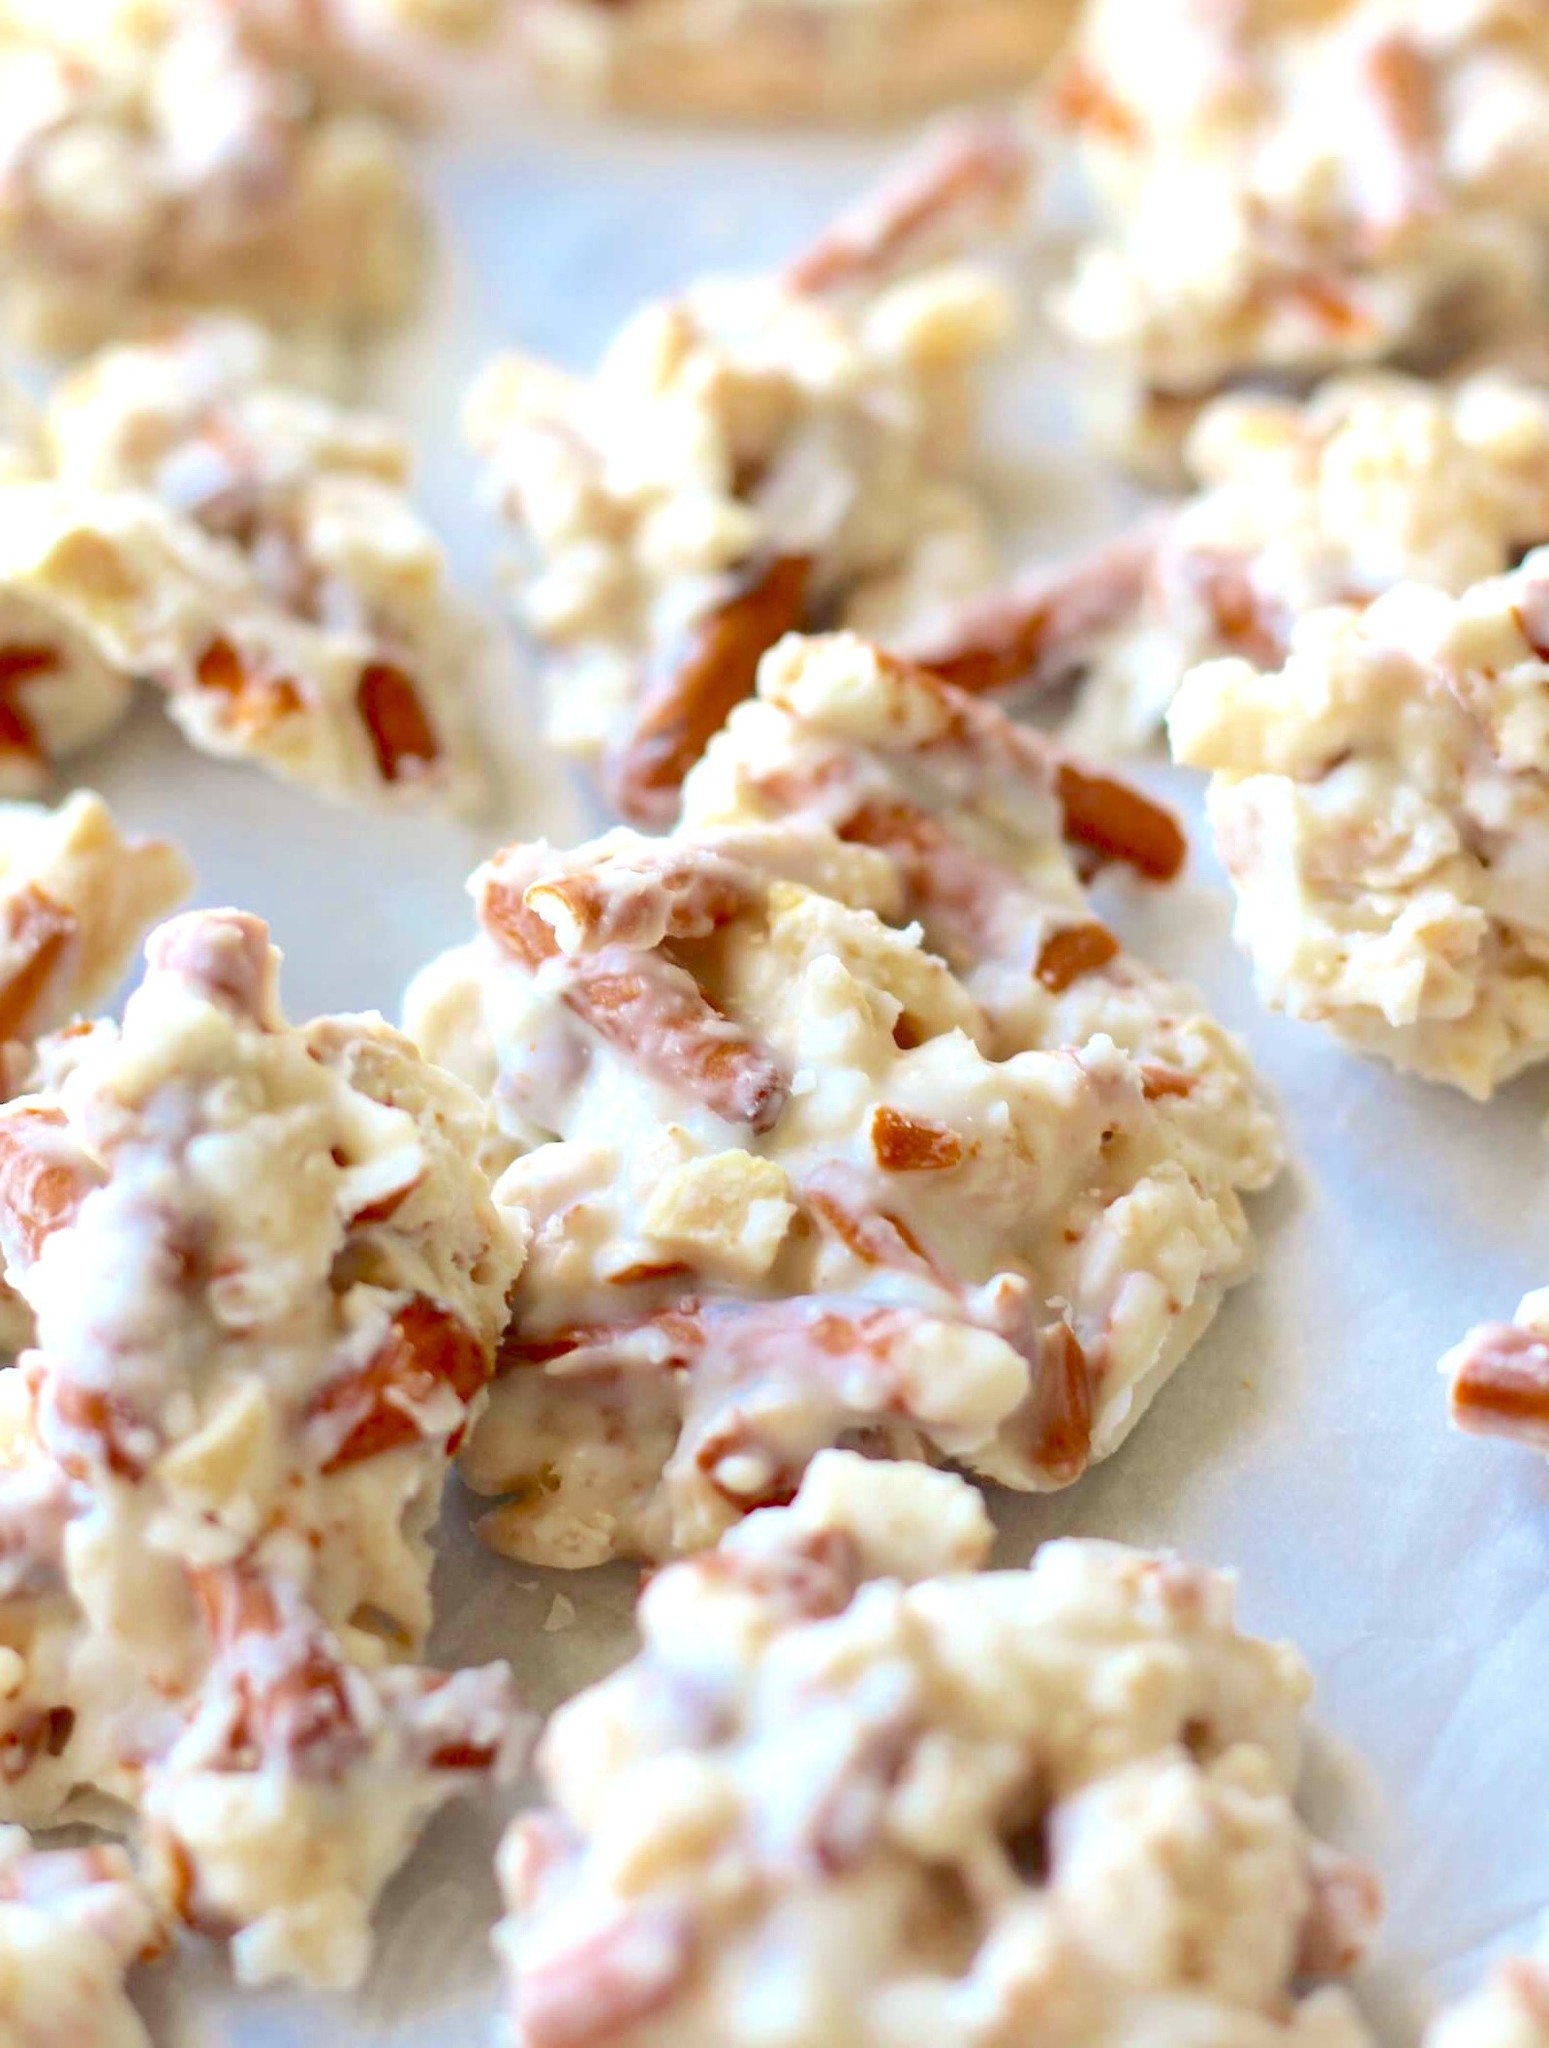
I discovered Ragtag Candies during a holiday baking blitz, surrounded by half-empty bags of chocolate chips, sprinkles, and cereal. The air in my kitchen smelled like a sweet, chaotic carnival—toasting coconut, melting chocolate, and caramelizing sugar. I remember the fun of dumping everything into a bowl, the satisfying press into a pan, and the impatient wait for it to chill. That first square, a mosaic of crunchy, chewy, sweet, and salty, was a delightful surprise. It wasn’t a precise confection; it was a joyful, no-fuss celebration of everything in my pantry, and it became my favorite way to turn leftover bits into something magical.
Why You’ll Love This Recipe
You will adore this recipe because it is the ultimate no-rules, creative, and forgiving treat. There’s no baking, no candy thermometer, and absolutely no way to mess it up. It’s the perfect project for a rainy day with kids, a last-minute gift idea, or a delicious way to clean out your baking cupboard. From my experience, the charm of Ragtag Candies is in their unique combination—every batch is a little different, and every bite is an adventure of texture and flavor. They are buttery, crunchy, sweet, and a little bit salty, proving that the best things in life (and baking) are often happily thrown together.
Ingredients
- ½ cup (1 stick) unsalted butter
- ½ cup packed light brown sugar
- ¼ cup light corn syrup
- 1 teaspoon vanilla extract
- 4 cups of assorted “ragtag” mix-ins (see suggestions below)
- 1 cup chocolate chips (any kind)
Mix-In Suggestions (choose about 4 cups total):
- Crispy rice cereal
- Cheerios or Corn Chex
- Pretzel sticks or pieces
- Shredded coconut (toasted or plain)
- Old-fashioned oats
- Chopped nuts (pecans, walnuts, peanuts)
- Mini marshmallows
- Broken-up graham crackers
- Dried fruit (cranberries, raisins, chopped apricots)
- Potato chips or popcorn (for the bold!)
Let’s talk ingredients, because the spirit of this recipe is flexibility! The base is a simple, sticky caramel made from butter, brown sugar, and corn syrup. The corn syrup is crucial—it keeps the caramel soft and chewy, not brittle. Don’t skip it. The magic is in the 4 cups of mix-ins. I aim for a balance of textures: something crispy (cereal), something crunchy (nuts or pretzels), something chewy (coconut or marshmallows), and something a little salty. My favorite combo is crispy rice, pretzel pieces, toasted pecans, and shredded coconut. The chocolate chips melt into a glue that holds everything together—use whatever you have on hand.(See the next page below to continue…)
Equipment Needed
- 9×9 inch or 9×13 inch baking pan (depending on how thick you want them)
- Parchment paper
- Large mixing bowl
- Medium saucepan
- Wooden spoon or spatula
- Measuring cups
Step-by-Step Instructions
My process always starts with the fun part: raiding the pantry. I pull out all the nearly-finished bags and boxes. I measure out about 4 cups total of my chosen mix-ins and dump them into a large mixing bowl. I give them a quick stir to distribute everything evenly. If I’m using coconut or nuts, I’ll often toast them first in a dry pan for a few minutes—it deepens their flavor immensely. The sight of all those different colors and textures together is already promising.
Next, I prepare the pan. I line it with parchment paper, leaving an overhang on two sides. This is my lifeline for easy removal later. I’ve tried just greasing the pan, and it was a nightmare to get the candies out. Trust me, the parchment is non-negotiable. Now, for the simple caramel glue. In my medium saucepan, I melt the butter over medium heat. Once it’s melted, I stir in the brown sugar and corn syrup. I bring the mixture to a gentle boil, stirring constantly, and let it bubble for exactly one minute. This short cook time is enough to dissolve the sugar and thicken it slightly without making a hard crack candy.
I immediately remove the saucepan from the heat and stir in the vanilla extract. It will sizzle and smell wonderful. I then quickly pour this hot, buttery caramel over my bowl of ragtag mix-ins. I add the chocolate chips right on top. The heat from the caramel will start to melt them. Using a sturdy wooden spoon or spatula, I start folding everything together. It takes a bit of muscle! I mix until every piece is glossy and coated, and the chocolate chips are mostly melted, creating a marbled, sticky binder throughout the bowl.(See the next page below to continue…)
Once everything is combined, I quickly scrape the mixture into my prepared pan. I use the back of my spoon to press it down firmly and evenly into all the corners. This pressing is important—it helps the candies hold together once cooled. I let the pan cool on the counter for about 30 minutes, then I transfer it to the refrigerator to chill completely for at least 2 hours, or until it’s firm to the touch. The hardest part is resisting the urge to cut into it early. When it’s solid, I use the parchment paper to lift the entire slab onto a cutting board and slice it into squares or bars.
Pro Tips for Best Results
I tested the pressing method three different ways: lightly pressing, firmly pressing with a spoon, and pressing with the bottom of a glass lined with parchment. Pressing firmly with the bottom of a flat glass gave me the most cohesive, clean-breaking bars. The light press left them crumbly, and just a spoon didn’t get enough even pressure. Taking an extra minute to really compact the mixture is the secret to bars that hold together when you pick them up.
Here’s what I learned the hard way about the caramel cook time: one full minute of boiling is the sweet spot. I once got distracted and let it go for two minutes, and the caramel became too thick and hard once cooled, making the bars brittle. If you only boil it for 30 seconds, it won’t bind as well and can be too sticky. Set a timer for 60 seconds the moment it reaches a full boil around the edges of the pot.
For the most interesting flavor, always include one savory-salty element. My first batch was all sweet (cereal, coconut, marshmallows), and it was tasty but one-dimensional. The next time, I added broken pretzel sticks, and it was a revelation. The salt cut the sweetness and added a fantastic crunch. Now, I never make them without pretzels, salted nuts, or even a handful of potato chips. That contrast is what makes them truly addictive.
Common Mistakes to Avoid
My first batch fell apart because I didn’t use enough sticky binder. I used 5 cups of mix-ins with the same amount of caramel, and they were dry and crumbly. Don’t do what I did! The ratio is key: one batch of caramel (butter, sugar, corn syrup) to 4 cups of dry mix-ins. If your mix-ins are very bulky (like large pretzel pieces), you might even reduce to 3.5 cups. You want enough caramel to coat everything and act as glue.(See the next page below to continue…)
Another critical error is not pressing the mixture firmly into the pan. I simply dumped it in and smoothed the top. When I went to cut it, it was a loose pile of snacks, not a cohesive candy bar. Now, I really lean into it, pressing down hard with my hands or a glass to compact every nook and cranny. This ensures every piece sticks together.
Don’t skip the chilling step. I tried to slice them after only an hour at room temperature, and they were a gooey, messy disaster. The caramel and chocolate need time to fully set and become firm. The refrigerator is your friend here. Letting them chill overnight actually makes them easier to cut and gives the flavors more time to meld beautifully.
Finally, avoid using only soft or only hard mix-ins. A bowl of just marshmallows and dried fruit will become a sticky, homogenous blob. A bowl of just nuts and pretzels can be too hard and difficult to bind. The magic is in the combination of textures. Aim for a mix of at least three different textures for the most enjoyable eating experience.
Serving Suggestions
I love piling these candies in a big, colorful bowl right in the center of the table during a casual get-together. They are the perfect snackable, hands-on treat that encourages people to graze and guess what’s inside. A cold glass of milk or a hot cup of coffee is the perfect pairing.
For gifting, I stack a few squares in a clear cellophane bag tied with a ribbon. They look charmingly rustic and homemade. I love giving them as a “Pantry Clean-Out Special” gift with a fun label listing some of the ingredients—it always gets a laugh and is genuinely appreciated.
On a personal level, I wrap individual squares in parchment paper and keep them in the fridge for a quick energy boost. They’re my go-to for hiking snacks, lunchbox treats, or a 3 p.m. desk snack. They’re sturdy, satisfying, and feel like a real treat.
Variations & Customizations
The beauty of this recipe is that it’s infinitely customizable. For a holiday version, use red and green M&M’s, festive sprinkles, and broken-up candy canes as part of your mix-ins. For a “Trail Mix” version, lean heavy on oats, nuts, dried fruit, and maybe even a few chocolate-covered espresso beans.
If you want a different flavor base, you can swap the chocolate chips for butterscotch or white chocolate chips. You could also add a tablespoon of peanut butter to the caramel as it melts, or a sprinkle of sea salt over the top before chilling for a salted caramel effect.
For a gluten-free batch, ensure all your mix-ins are certified gluten-free (like certain cereals, nuts, coconut, and chocolate chips). The base recipe is naturally gluten-free. For a nut-free version, use seeds like sunflower or pumpkin seeds, and stick to cereals, pretzels, and coconut.
How to Store, Freeze & Reheat
Storing these is easy. Once cut, I layer them between sheets of parchment paper in an airtight container. They keep perfectly in the refrigerator for up to 2 weeks. The cool temperature keeps them firm and the textures crisp. They can sit at room temperature for a day for a party, but for longer storage, the fridge is best.
They freeze exceptionally well. Place the squares on a parchment-lined tray to freeze solid, then transfer to a freezer bag. They will keep for up to 3 months. They are delicious eaten frozen (like a chewy, crunchy ice cream bar!) or you can thaw them in the fridge for an hour.
There is no need to reheat Ragtag Candies. If they have softened, simply pop them in the fridge for 15 minutes to firm up. They are meant to be eaten cool or at room temperature. Microwaving will melt the chocolate and create a mess.
Conclusion
Ragtag Candies are more than a recipe; they are a philosophy. They celebrate creativity, resourcefulness, and the simple joy of mixing sweet and salty, crunchy and chewy. They remind me that the best things don’t have to be perfect—they just have to be made with a spirit of fun. I hope this recipe inspires you to open your pantry, embrace the bits and bobs, and create something uniquely and deliciously your own. Now, go see what treasures you have hiding in those half-empty bags—it’s time for some delicious, ragtag magic.