
Once you have that creamy mixture, it’s time to fold in the dry ingredients. Sprinkle the flour, baking powder, and salt over the wet ingredients, then gently mix until just combined. I find that over-mixing can lead to a denser cake, so I take it slow and be cautious. If you’re feeling a bit indulgent, this is the perfect moment to stir in some chocolate chips or chopped nuts for an extra treat.
Now, pop that delightful mug into the microwave and cook it on high for about 1 minute and 30 seconds. Since microwave wattages can vary, I recommend checking it at the one-minute mark. I like watching it rise in the microwave, a little bit like magic! It’s done when the cake is puffy and a toothpick inserted into the center comes out clean.
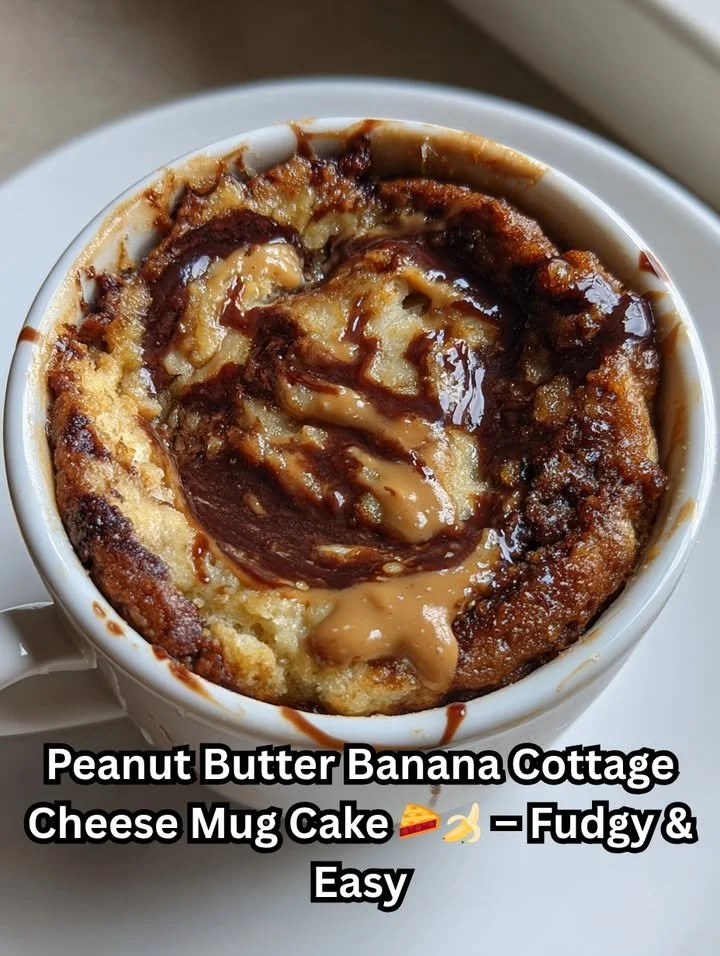
Let it cool for a minute or two, and voilà, your Peanut Butter Banana Cottage Cheese Mug Cake is ready to be devoured! If you’d like, you can even top it with a dollop of extra peanut butter or a drizzle of honey for a refined finishing touch.
Pro Tips for Best Results
I’ve tested this recipe a few different ways, and one standout tip is to ensure your ingredients are at room temperature, especially the cottage cheese. This simple step helps everything blend together smoothly, yielding a fabulous texture. I also recommend mashing the banana well; tiny chunks can lead to uneven texture.
Another great tip is that if you want a richer flavor, try using a natural peanut butter with no added sugar. The creaminess adds an incredible depth that you won’t find in standard brands. Trust me, it’s worth the little extra effort!
Finally, don’t skip out on the toppings. Personally, I love adding some chopped walnuts and a sprinkle of cinnamon on top after it’s cooked. It not only looks pretty but also takes the flavor profile to another level, making each bite even more delightful.
Common Mistakes to Avoid
One mistake I made the first time I tried this mug cake was not mashing the banana thoroughly. I ended up with small, chewy bits of banana in my cake, which was not the experience I was hoping for. Make sure your banana is very well mashed before adding it to the mix! (See the next page below to continue…)