
Now, let’s dive into the creamy filling! In a separate bowl, beat the softened cream cheese until smooth. Gradually add the powdered sugar and vanilla extract, mixing until well combined. Gently fold in the whipped cream until the mixture is light and fluffy. This step is where the magic happens—it transforms the filling into a light, airy delight that perfectly balances the crust! Spoon the cheesecake filling into each mini crust, filling them just to the top.
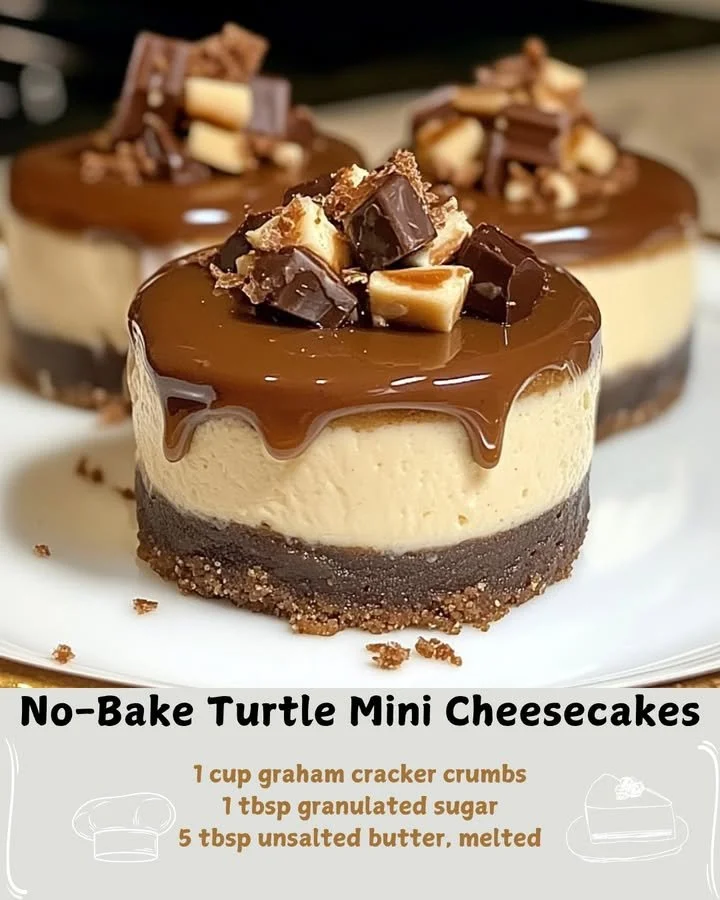
After you’ve filled all the cups, it’s time to chill! Cover the muffin tin with plastic wrap and place it in the refrigerator for at least 4 hours, or ideally overnight if you have the patience. This chilling time allows the flavors to meld beautifully. When you’re ready to serve, drizzle each cheesecake with caramel and chocolate sauce, and sprinkle with chopped pecans for that classic turtle flavor.
Pro Tips for Best Results
I tested this three ways, and let me tell you—the chilling time makes all the difference! If you can resist the urge to dig in too soon, those extra hours in the fridge will yield a creamier texture and more harmonious flavors. I also found that using room-temperature cream cheese is crucial; it blends better and ensures you have a lump-free filling.
Another tip I learned is to whip the cream just until soft peaks form. Over-whipping can create a dense filling, which isn’t what you want in a cheesecake. I also love using a piping bag (or even a resealable plastic bag with the corner cut off) to fill the crusts neatly. It gives a professional look—plus, it’s fun!
Lastly, don’t shy away from customizing your toppings. I’ve even experimented with a sprinkle of sea salt on top of the caramel—heavenly! The savory-sweet contrast elevates the classic turtle flavors.
Common Mistakes to Avoid
One mistake I made on my first try was not packing the crust tightly enough. This resulted in crumbly bases that didn’t hold up well when serving. Make sure to press that crust down firmly; you want it to be sturdy enough to support the creamy filling. (See the next page below to continue…)