
Next, I gradually fold the whipped cream into the peanut butter mixture, being careful not to deflate it too much. This step is important for keeping our pie light and airy. I use a rubber spatula and gently fold until just combined. Now comes the fun part: I pour this luscious filling into the pre-made graham cracker crust. It looks so tempting already!
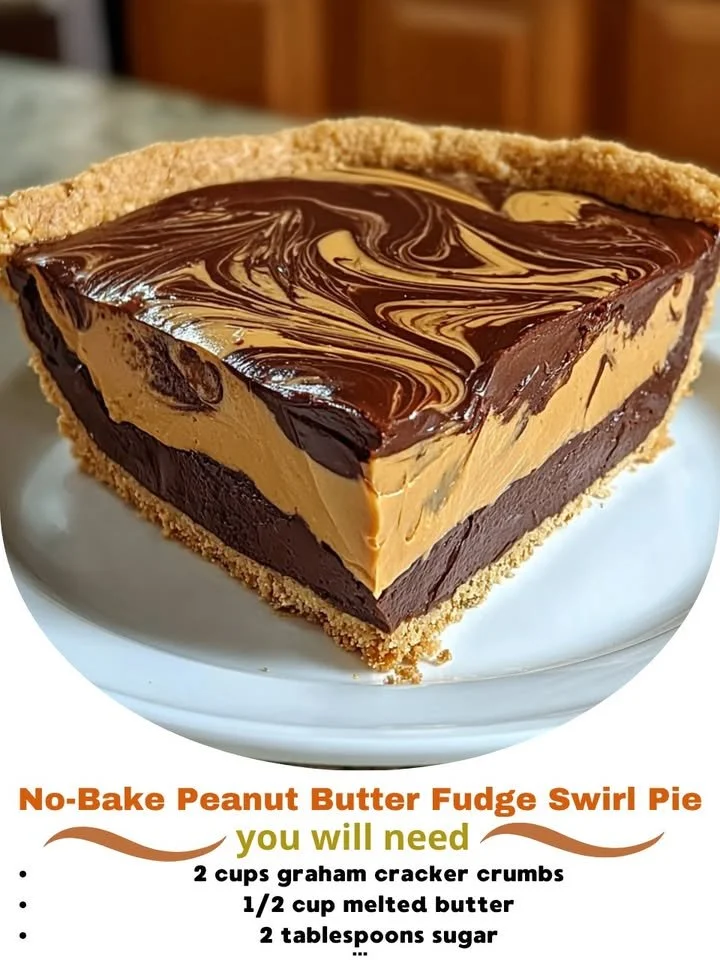
But wait, I’m not done yet! Before it goes into the fridge, I drizzle some chocolate syrup on top and use a toothpick or a skewer to create swirls. I love watching the chocolate mix with the peanut butter – it’s a work of art! After all that sweet goodness, I place the pie in the refrigerator and let it chill for about 4 hours. It’s tough waiting, but trust me, the result is worth it.
Pro Tips for Best Results
When making this pie, I highly recommend using creamy peanut butter rather than crunchy. I tested it with crunchy peanut butter, and while it still tasted great, the texture just wasn’t as smooth and creamy as I wanted it to be. You want that luscious, velvety feel!
Also, make sure your heavy cream is really cold before whipping it. I find that chilling the bowl and the beaters for about 10-15 minutes before I start helps the cream whip up better. I’ve had less-than-stellar results when I skipped this step, and trust me, nobody wants a sad, deflated pie!
Lastly, if you’re in a pinch for time, you can skip the chocolate syrup swirling altogether, but honestly, taking the extra couple of minutes to do that really elevates the presentation. It looks beautiful on the plate, and I believe we eat with our eyes first!
Common Mistakes to Avoid
One mistake I made the first time I tried this recipe was not having enough whipped cream. I thought I could just eyeball it, but I ended up with a denser filling than I wanted. The whipped cream is essential to achieving that light texture. So please, measure it out! (See the next page below to continue…)