
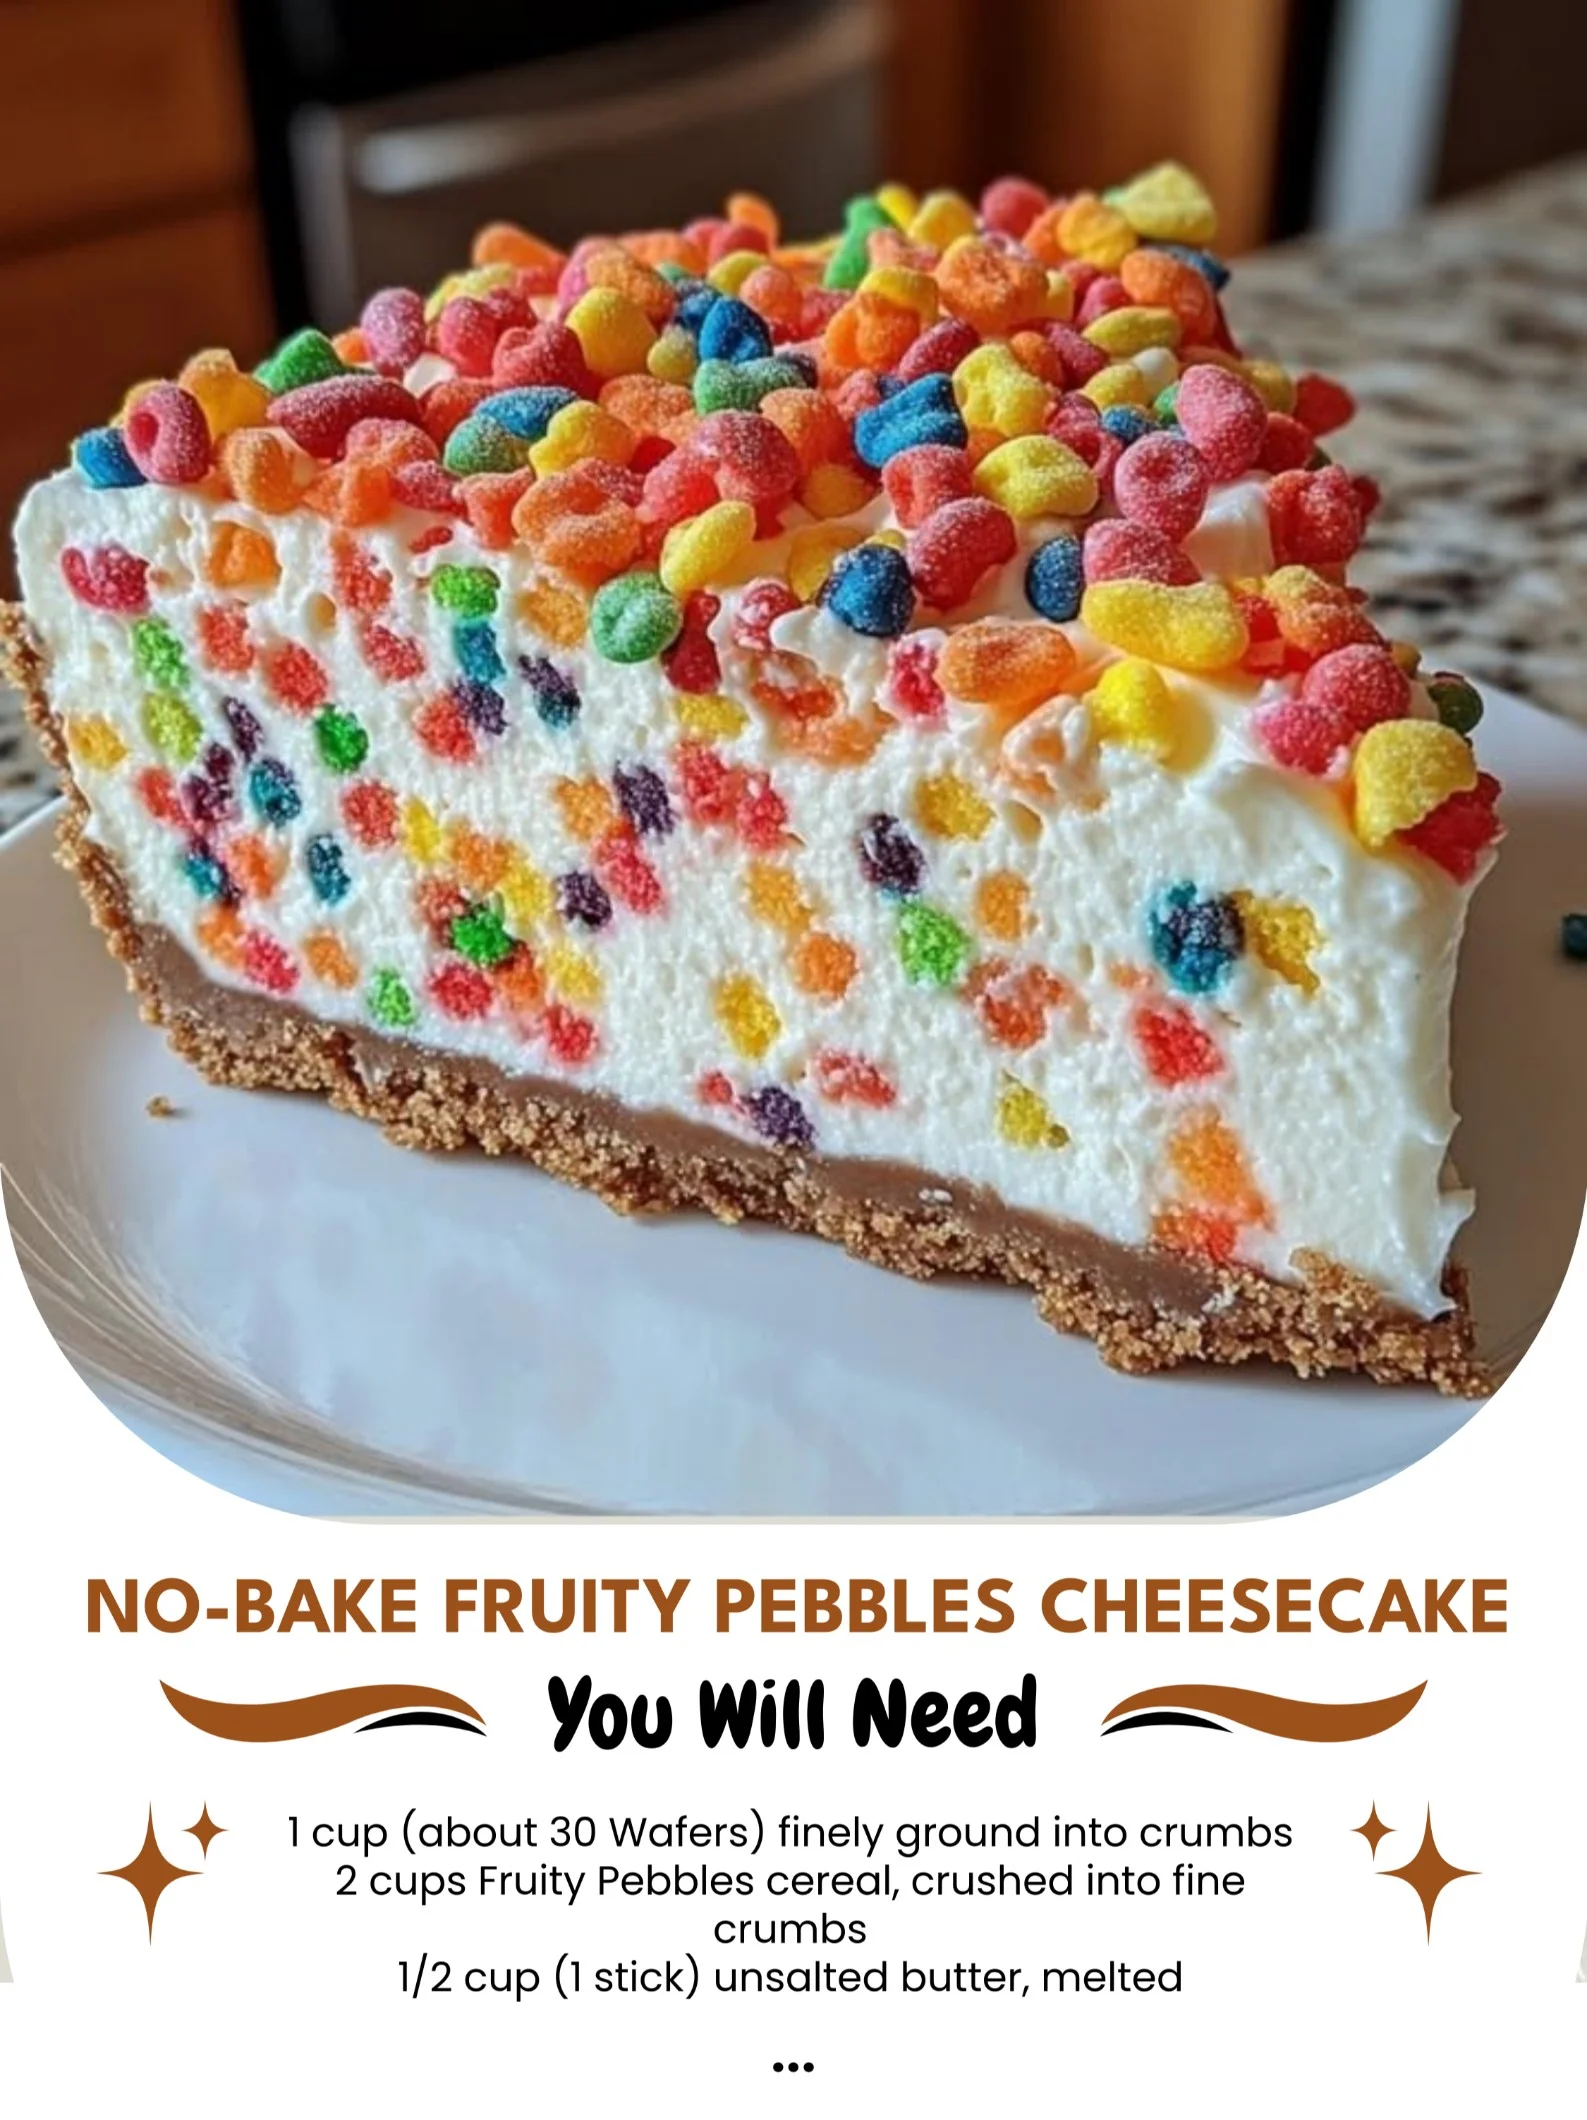
I can’t tell you how much joy it brings me to whip up a dessert that’s as cheerful as it is delicious. Today, I’m excited to share my recipe for No-Bake Fruity Pebbles Cheesecake! This colorful treat not only looks like it jumped out of a cartoon, but it also packs a delightful punch of flavor with every bite. Perfect for summer gatherings, birthday parties, or just a fun night in, it’s a dessert that will bring a smile to anyone’s face, including mine!
Why You’ll Love This Recipe
This No-Bake Fruity Pebbles Cheesecake is not only incredibly easy to put together, but it’s also a fantastic way to enjoy the nostalgic taste of those beloved cereal treats in a creamy, dreamy form. The layers of cheesecake are smooth and luscious, while the Fruity Pebbles add a wonderful crunch and brightness. Trust me, you’ll find yourself reaching for seconds (and maybe thirds!) before you even realize it. It’s a delightful balance that keeps everyone coming back for more. (See the ingredients in the next page below…)
Ingredients
– 1 cup fruity pebbles, plus more for garnish
– 1 ½ cups graham cracker crumbs
– ½ cup unsalted butter, melted
– 2 packages (8 oz each) cream cheese, softened
– 1 cup powdered sugar
– 1 tsp vanilla extract
– 1 cup heavy whipping cream
– ½ cup sour cream
Equipment Needed
– Mixing bowls
– Electric mixer or whisk
– 9-inch springform pan
– Rubber spatula
– Measuring cups and spoons
Step-by-Step Instructions
To start off, I first prepped my springform pan by greasing it lightly, just to ensure the cheesecake would slide right out once it was set. In a mixing bowl, I combined the graham cracker crumbs, melted butter, and about a cup of Fruity Pebbles to create a colorful crust. I pressed it firmly into the bottom of the pan, feeling so satisfied as it transformed from crumbs to a crumbly crust. The smell of buttery sweetness wafted through my kitchen as I finished. To set this base, I popped it into the fridge while I moved on to the cheesecake filling. (See the next page below to continue steps…)
Next, I grabbed another mixing bowl and whipped together the softened cream cheese and powdered sugar until it was beautifully smooth and creamy. A splash of vanilla extract added a lovely aroma that filled my kitchen, making it feel like home. After that, I folded in the sour cream, which made the mixture even richer. But hold on—there’s one more step! In another bowl, I whipped the heavy cream until it formed stiff peaks, which took some elbow grease but was so worth it. Gently folding the whipped cream into my cream cheese mixture created the fluffiness we all crave in cheesecake!
Now, it was time to bring everything together. I carefully mixed in the remaining Fruity Pebbles, which added vibrant color and fun crunch to the creamy cheesecake. I poured this dreamy filling over the prepared crust, smoothing it out with a spatula. With excitement buzzing through me, I added a few extra Fruity Pebbles on top for good measure before transferring the whole pan back to the fridge for at least four hours (or overnight, if you can wait). Watching it chill, I found it almost poetic how something so delightful was quietly transforming into dessert magic!
Pro Tips for Best Results
I always make sure to use room-temperature cream cheese for a smoother filling. The first time I made this cheesecake, I forgot to let it sit out, and it turned out lumpy—definitely not the texture I was aiming for! So be sure to plan ahead and let your cream cheese warm up a bit before mixing.
Also, don’t rush the folding-in process with the whipped cream. Trust me, combining it gently is key to maintaining all that delightful fluffiness. My first attempt wasn’t as airy because I was too eager to mix. Take your time, and you’ll notice a huge difference in the final texture!
Finally, if your cheesecake seems a bit too runny when you first pour it into the pan, try chilling it a bit longer before serving. It will firm up more as it sets, giving you that perfect slice you’ll be proud to present!
Common Mistakes to Avoid
One mistake I made early on was not sampling the filling before chilling. It’s so important to taste and adjust the sweetness, especially if you’re a fan of desserts on the sweeter side. I’ve learned that a little extra powdered sugar can go a long way in achieving that perfect balance! Also, be wary of over-mixing; it can lead to a dense texture rather than the light, airy cheesecake we’re after. (See the next page below to continue…)
Another common pitfall is serving it too soon. I know how tempting it is to dig in right away, but this cheesecake truly benefits from that setting time in the fridge. The flavors meld beautifully, and you’ll end up with a more cohesive dessert that’s much more enjoyable.
Lastly, don’t skimp on the toppings! I once thought I didn’t need an extra sprinkle of Fruity Pebbles before serving, but trust me, it adds just the right finishing touch. It’s all about that visual appeal and crunch that makes every bite exciting!
Serving Suggestions
When it comes to serving my No-Bake Fruity Pebbles Cheesecake, I love pairing it with fresh fruit like strawberries or blueberries. The tartness of summer berries balances out the sweetness of the cheesecake beautifully. Plus, the vibrant colors make for a stunning presentation!
I also enjoy adding a drizzle of chocolate sauce on top for a decadent touch. The combination of chocolate and fruity flavors is just heavenly! If you want to keep it light, a dollop of whipped cream right before serving is also a delightful option.
Lastly, consider making mini versions of this cheesecake in cupcake liners. They’re perfect for parties and look adorable with their bright colors and toppings. Plus, they make for easy grabbing, which is always a hit at gatherings!
Variations & Customizations
If you’re feeling adventurous, there are endless opportunities for customization with this cheesecake. For instance, you could replace Fruity Pebbles with any other cereal you love, like Cocoa Pebbles for a chocolaty twist or even Cinnamon Toast Crunch for a cinnamon-sugar vibe.
Additionally, you could infuse different flavors into the cheesecake itself. A splash of almond or orange extract would give your filling a delightful zing that pairs wonderfully with the colorful crunch on top.
If you want to keep it lighter, substituting Greek yogurt for sour cream can add a tangy twist while keeping the texture creamy. There are so many ways to make this recipe yours!
How to Store, Freeze & Reheat
This No-Bake Fruity Pebbles Cheesecake stores beautifully in the fridge. Just keep it in an airtight container, and it will last for about 4 to 5 days—if it lasts that long!
If you find yourself with leftovers, you can freeze slices for later enjoyment. Just wrap each slice tightly in plastic wrap, followed by aluminum foil, to prevent any freezer burn. When you’re ready to indulge again, simply let it thaw in the fridge overnight.
Reheating isn’t really necessary, since it’s a no-bake dessert, but if you feel like warming things up, a quick minute in the microwave can soften the cheesecake slightly, adding a new dimension of enjoyment!
Conclusion
I hope this No-Bake Fruity Pebbles Cheesecake brings as much joy to your kitchen as it has to mine! It’s not only a delicious dessert but also a blast of nostalgia that’s perfect for any occasion. I can’t wait for you to try it out—happy baking (or chilling!) and enjoy every colorful bite!