
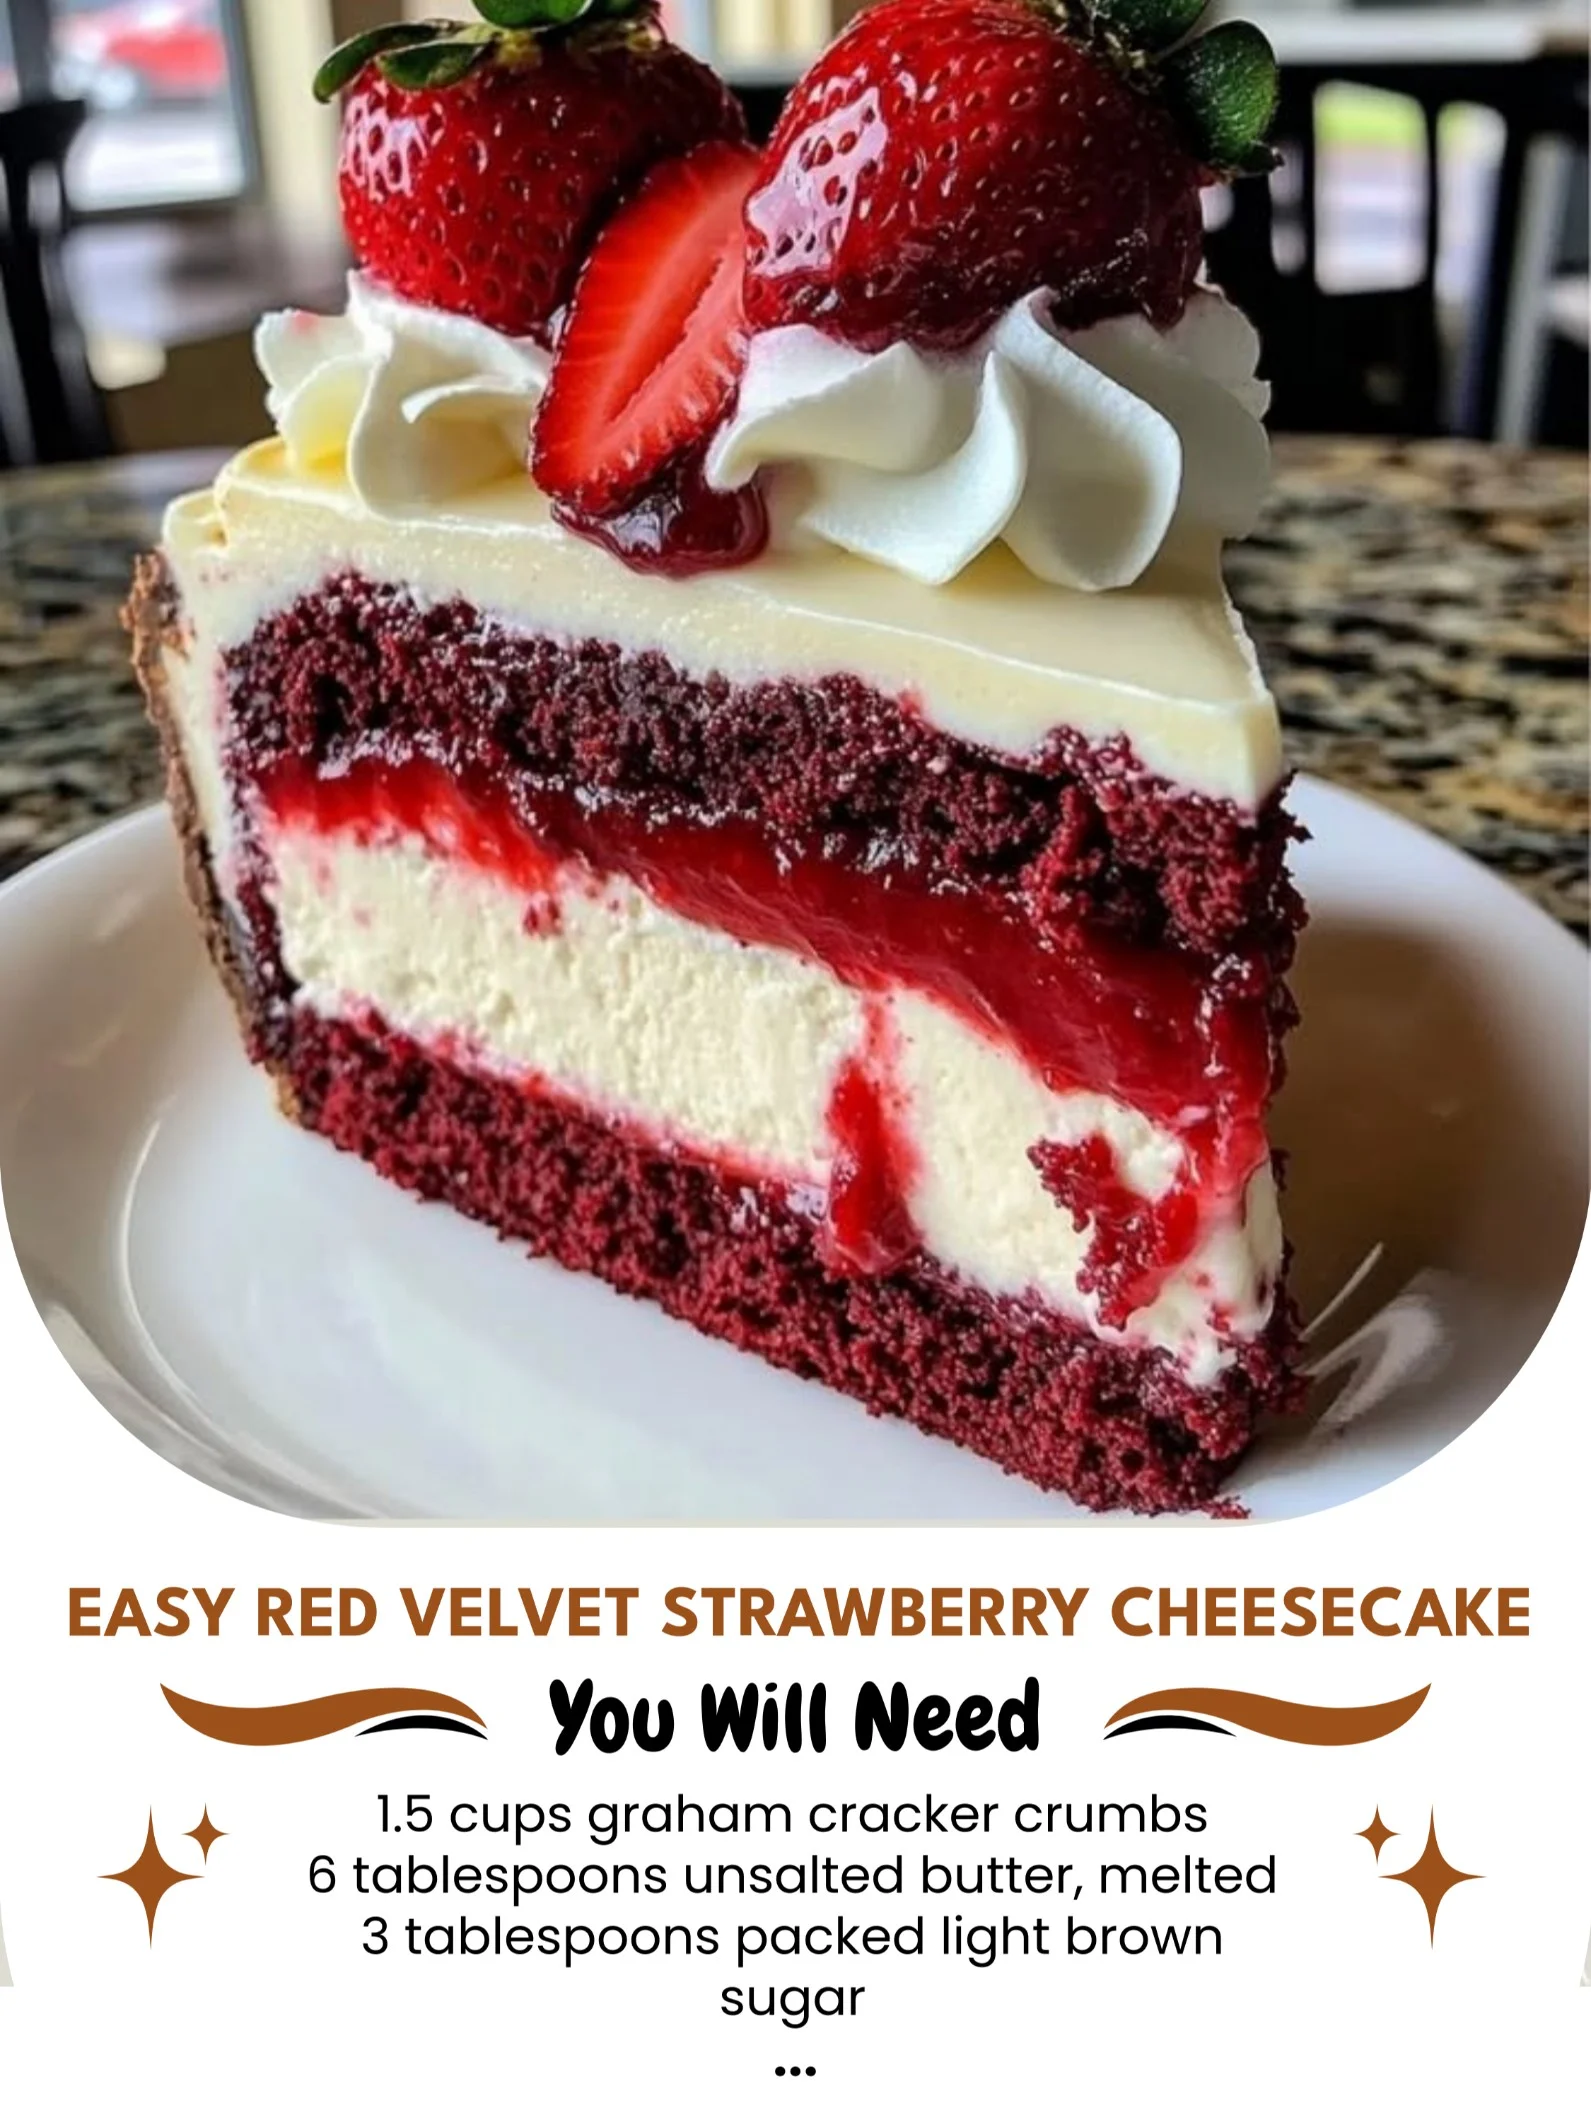
I’m thrilled to share one of my all-time favorite desserts with you: Easy Red Velvet Strawberry Cheesecake. There’s something so delightful about the combination of rich red velvet cake, creamy cheesecake, and fresh strawberries. It’s like a celebration in every bite! Whether you’re baking for a special occasion or just treating yourself (because you deserve it), this recipe will surely impress.
Why You’ll Love This Recipe
What I absolutely adore about this recipe is how simple it is to whip up, yet it looks so stunning when finished. The vibrant red color paired with the luscious strawberries creates a beautiful presentation that never fails to wow my guests. Plus, the layers of flavors really come together in a way that makes it hard to resist. You won’t believe how easy it is to create this decadent masterpiece in your own home! (See the ingredients in the next page below…)
Ingredients
– 1 ½ cups all-purpose flour
– 1 cup granulated sugar
– 1 teaspoon baking powder
– ½ teaspoon baking soda
– ½ teaspoon salt
– 1 teaspoon cocoa powder
– 1 cup vegetable oil
– 1 egg
– 1 cup buttermilk
– 1 teaspoon vanilla extract
– 1 tablespoon red food coloring
– 8 oz cream cheese, softened
– 1 cup powdered sugar
– 1 teaspoon vanilla extract (for cheesecake)
– 2 cups fresh strawberries, sliced
– Whipped cream (for garnishing)
Equipment Needed
– Mixing bowls
– Electric mixer
– Measuring cups and spoons
– Baking pan (9-inch round)
– Parchment paper
– Spatula
– Serving platter
Step-by-Step Instructions
To get started, I preheat my oven to 350°F (about 175°C). Meanwhile, in a large mixing bowl, I combine my dry ingredients: the flour, sugar, baking powder, baking soda, salt, and cocoa powder. It’s essential to mix them well to ensure an even distribution of flavors. In a separate bowl, I whisk together the vegetable oil, egg, buttermilk, and vanilla extract, then stir in the red food coloring until it’s beautifully vibrant. Once I’m done, I gradually add the wet mixture to the dry ingredients, mixing just until combined. You want to be careful not to overmix the batter! (See the next page below to continue steps…)
Next, I prep my baking pan by greasing it and lining the bottom with parchment paper. This makes it easier to remove the cake once it’s baked. I pour in the red velvet batter, spreading it evenly, and pop it into the oven for about 25-30 minutes. While that’s baking, the aroma of chocolaty goodness fills my kitchen, and I just can’t help but smile! In the meantime, I prepare the cheesecake layer by beating the softened cream cheese in a bowl, adding the powdered sugar and vanilla extract until it’s smooth and creamy. It’s so satisfying to see the transformation!
Once the red velvet cake is baked and cool to the touch, I carefully remove it from the pan and set it on a platter. Using a spatula, I gently spread the cheesecake mixture on top of the cake. Then, I layer it with fresh sliced strawberries—I love how the bright red and green colors contrast beautifully! Finally, I finish it off with a dollop of whipped cream for that perfect touch of decadence.
Pro Tips for Best Results
I tested this recipe three different ways to nail the texture just right. For a denser cheesecake layer, I found that using full-fat cream cheese makes a significant difference. If you prefer a lighter texture, try using a mixture of cream cheese and Greek yogurt; it works wonderfully! Also, I suggest chilling the cheesecake layer for about an hour before serving to allow the flavors to meld beautifully.
When mixing the red velvet batter, I discovered that not overmixing is crucial for achieving that fluffy texture. I typically mix until just combined, and it keeps the cake light and airy. Don’t skip the parchment paper lining in your baking pan; it makes a world of difference in getting clean slices and preventing sticking!
Lastly, I always slice my strawberries right before serving. This keeps them fresh and bright, adding that perfect burst of flavor without losing their texture. If you prepare them too early, they can get mushy, and that’s just not what we want for our gorgeous dessert!
Common Mistakes to Avoid
One common mistake I made during my first attempt was confusing the measurements while mixing the dry ingredients. It’s essential to double-check the quantities, especially for the baking powder and soda, as too much can lead to a funky texture and taste. Always measure accurately for the best results! (See the next page below to continue…)
Another mistake I see several home bakers make is not letting the red velvet cake cool completely before adding the cheesecake layer. I’ve learned that a warm cake can melt the cheesecake, resulting in a gooey mess that may not hold its shape. So, patience is key!
Additionally, forgetting to incorporate the food coloring can result in a more brownish cake than the vibrant red we all love. It’s a step that can be easily overlooked, especially if you’re in a hurry, but don’t skip it—it’s the star of the show!
Lastly, I’ve had friends use frozen strawberries instead of fresh ones. While they’re convenient, the texture and sweetness just don’t compare. Fresh strawberries give a life to this cheesecake that you simply can’t replicate, so I highly recommend using them!
Serving Suggestions
When it comes to serving this Easy Red Velvet Strawberry Cheesecake, I absolutely love pairing it with a warm cup of coffee or a chilled glass of sweet tea. The combination is divine, and they perfectly complement the rich flavors of the cheesecake. You can also add a scoop of vanilla ice cream on the side for an extra indulgent touch—who can resist that?
Presentation-wise, I like to slice the cheesecake with a hot knife. This ensures clean cuts and makes for beautiful slices on the plate. I drizzle some chocolate sauce or a berry compote over the top just before serving for a pop of color and extra flavor.
If you’re hosting a get-together, don’t forget to leave a little room for everyone to marvel at the dessert before serving it up! It’s such a fun and dramatic way to end a meal, and trust me, your guests will be snapping pictures left and right!
Variations & Customizations
I’ve played around with this recipe a bit and found that you can swap out the strawberries for a different fruit if you’re in the mood for a little experimentation. Fresh raspberries or blueberries also work great, adding their unique tanginess and flavor profiles.
For a more festive version, I sometimes throw in some crushed nuts for a delightful crunch. Walnuts or pecans can elevate the texture and taste, and they pair wonderfully with cheesecake. Just sprinkle some on top or fold them into the cheesecake mixture!
If you’re feeling adventurous, you can even try adding a layer of chocolate ganache atop the cheesecake layer before adding the strawberries. This not only amps up the richness but also gives an extra layer of flavor that takes it over the top!
How to Store, Freeze & Reheat
Storing any leftover Easy Red Velvet Strawberry Cheesecake is a breeze. I usually cover it tightly with plastic wrap and store it in the refrigerator for up to three days. It rarely lasts that long in my house, but it’s good to know!
If you want to prepare this ahead of time, you can freeze the cheesecake too! I recommend slicing it first and then wrapping each slice individually in plastic wrap. This way, you can easily grab a slice when the craving hits! It can last in the freezer for up to three months.
When you want to enjoy a slice that’s been frozen, just transfer it to the fridge and let it thaw overnight. If you want to speed up the process, you can set it out on the counter for an hour or two—just make sure not to leave it out too long, as the strawberries need to stay fresh!
Conclusion
I hope you find as much joy in making and sharing this Easy Red Velvet Strawberry Cheesecake as I do. It’s a delightful treat that never fails to please and brings a smile to the faces of everyone who tries it. Happy baking, and may your kitchen be filled with love and sweet aromas!