
Another error to steer clear of is over-mixing the whipped cream. It’s an easy trap to fall into, especially when you’re excited to see that fluffy texture, but overdoing it can turn your cream into butter! I always stop mixing as soon as I see those stiff peaks forming.
Lastly, be careful with the chocolate syrup. It can be tempting to go wild, but a little goes a long way. Too much syrup can overpower the lovely flavors of the pie. Instead, I like to drizzle just enough to enhance the pie without stealing the show.
Serving Suggestions
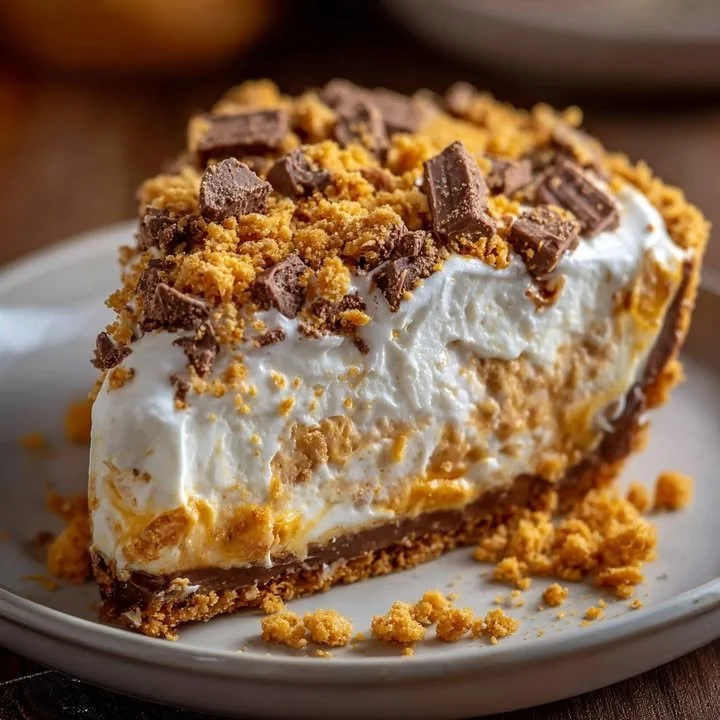
When it comes to serving my No-Bake Butterfinger Pie, I love to keep things simple. A slice of pie alongside a scoop of vanilla ice cream creates this beautiful harmony of flavors. The cold creaminess of the ice cream complements the richness of the pie perfectly. I often hear people raving about how the two textures work together so well!
Another idea is to pair it with fresh fruit, such as strawberries or raspberries. The tartness from the fruit balances out the sweetness of the pie, making each bite a delightful experience. Plus, the vibrant colors add an appealing touch!
Lastly, you could offer a coffee or espresso on the side for those who enjoy a little caffeine with dessert. The deep flavor of coffee pairs wonderfully with the creamy, chocolatey pie, making it a hit with everyone at the table.
Variations & Customizations
If you’re looking to mix things up a bit, you could swap out the Butterfinger bars for your favorite candy! Snickers, M&Ms, or Reese’s pieces would work beautifully. Just think about what flavors you enjoy and go for it—there are no hard and fast rules in my kitchen!
For a decadent twist, you could drizzle some caramel sauce over the pie in addition to the chocolate syrup. The sweet, buttery flavor of caramel plays wonderfully with the chocolate and candy crunch, creating a luxurious treat. I’ve tried this more than once, and it’s always a crowd-pleaser!
Lastly, if you want to make this pie a bit lighter, you can use low-fat cream cheese and whipped topping. While it may change the texture slightly, you still get the rich, delicious flavor without the extra calories. I love that this recipe can be enjoyed in various forms, whether you go full indulgence or lighter options.
How to Store, Freeze & Reheat
Storing your No-Bake Butterfinger Pie is a breeze! Just keep it covered in the fridge, and it should last for about 3 to 4 days. If you’re anything like me, it won’t last long anyway because it’s just too delicious to resist!
If you want to make this pie ahead of time, you can freeze it. Wrap it tightly in plastic wrap, then aluminum foil to prevent any freezer burn. It can be frozen for up to a month. When you’re ready to enjoy it, simply transfer it to the fridge to thaw for a few hours or overnight.
Reheating isn’t necessary for this pie since it’s served cold, but if you have leftovers, just slice what you need and return the rest to the fridge. The only challenge is keeping it around long enough to see those leftovers!
Conclusion
I hope you enjoy making this No-Bake Butterfinger Pie as much as I do! It’s my go-to recipe when I want something delicious without spending too much time in the kitchen. Whether you share it with family, friends, or keep it all to yourself for those moments when you need a sweet treat (no judgment here!), it’s sure to be a hit. Happy baking—you’ve got this!