
Once the cake is completely cool to the touch, it’s time to serve. I don’t frost it in the traditional sense. Instead, I spread the entire container of thawed whipped topping over the coconut layer. It creates a beautiful, snowy white contrast to the dark chocolate and brown coconut underneath. For a final touch, I’ll drizzle a little chocolate syrup over the top or sprinkle on some chocolate shavings. Then, I cut it into squares right in the pan. The layers are just stunning, and the first bite—cold, creamy topping, chewy coconut, and ultra-moist chocolate cake—is pure bliss.
Pro Tips for Best Results
My number one tip is all about timing: you must poke the holes and add the milk while the cake is fresh out of the oven and still very hot. I tested this on a warm cake and a completely cool cake. The warm cake acts like a sponge, eagerly soaking up every drop of milk deep into its core. A cooled cake will only absorb the milk on the surface, leaving you with a soggy top layer and a dry bottom. Trust me, don’t let it cool first.
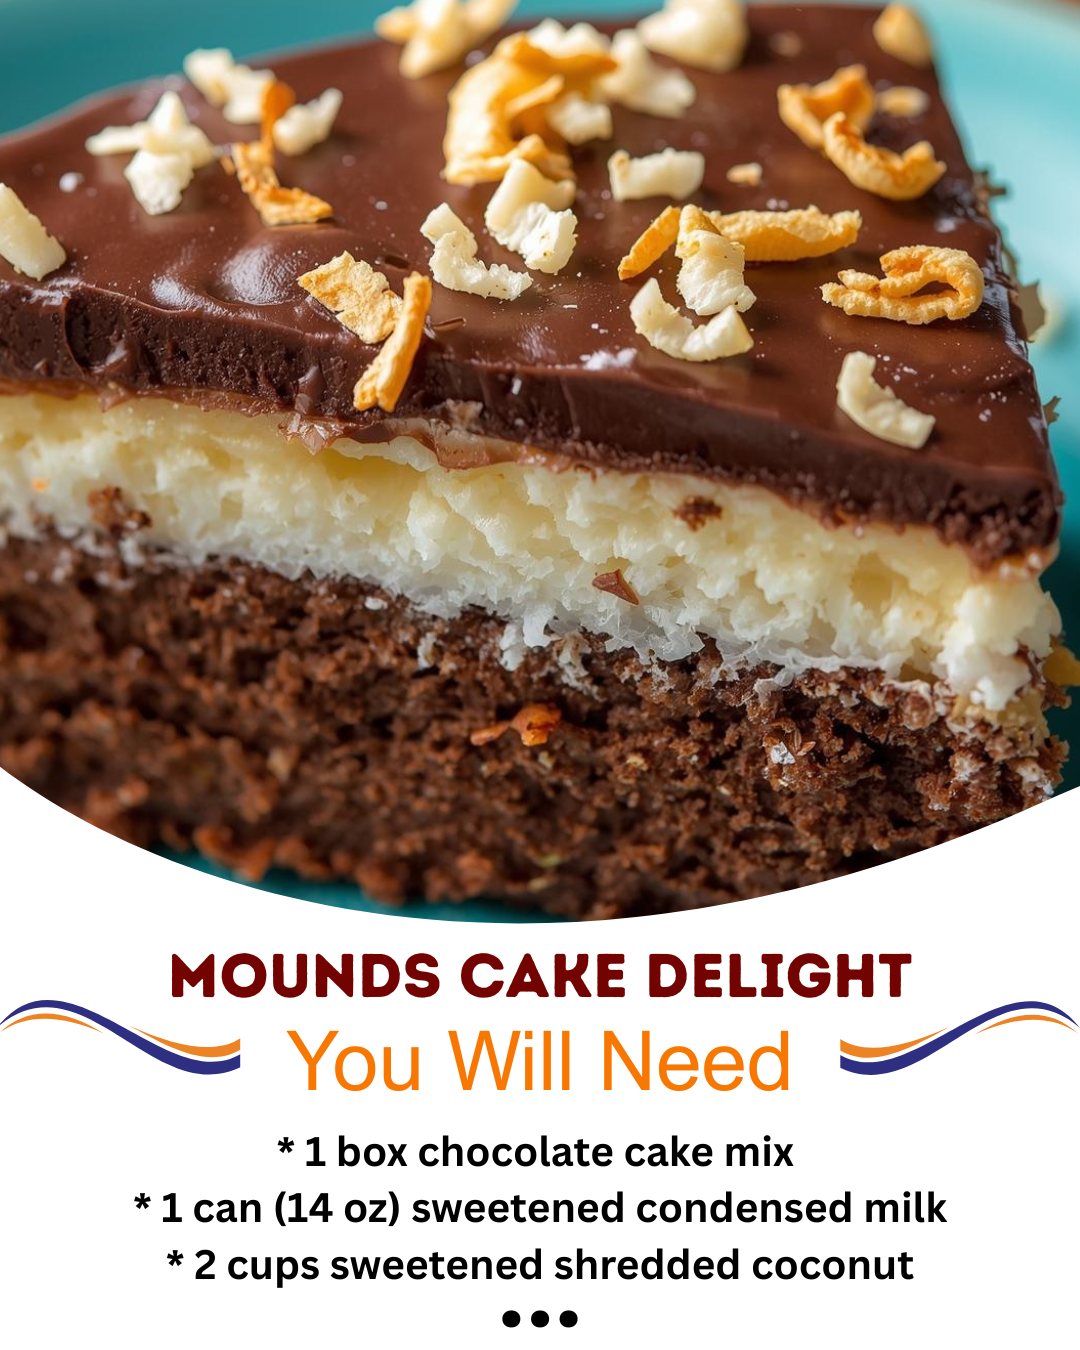
Toasting the coconut before sprinkling it on is a game-changer for flavor. I spread the sweetened shredded coconut on a baking sheet and toast it in a 350°F oven for 5-7 minutes, stirring once, until it’s fragrant and golden in spots. This deepens the coconut flavor immensely, adding a nutty, toasty complexity that takes the cake from great to absolutely extraordinary. It adds just five minutes to your prep but makes a world of difference.
For the cleanest slices, use a sharp, thin-bladed knife and clean it with hot water between each cut. The layers—whipped topping, sticky coconut, and tender cake—can be delicate. A hot knife glides through the whipped topping and coconut without dragging and tearing. This little trick ensures every piece you serve looks as neat and beautiful as it did in the pan.
Common Mistakes to Avoid
The first time I made a poke cake, I used a fork to make the holes. The tines were too thin and close together, creating tiny holes that closed up almost immediately, preventing the milk from soaking in properly. Now, I always use the round end of a wooden spoon handle or a thick chopstick. You want holes that are wide enough to act as little wells, channeling the sweetened condensed milk deep into the heart of the cake.(See the next page below to continue…)