
Common Mistakes to Avoid
One common mistake I see is not letting the cheesecake come to room temperature before putting it in the fridge to cool. This is so important! If you skip this step, the moisture can make the filling watery, which we want to avoid. I learned this the hard way in my early baking attempts, and trust me, it’s not pretty!
Another thing to keep an eye out for is overbaking. Every oven is different, and I found that baking times can vary. Start checking your cheesecake bars around the 40-minute mark. They should still have a slight jiggle in the center when you pull them out; that’s how you know they’re perfect! Once they’ve cooled, they’ll firm up as they chill in the fridge.
Lastly, don’t rush the chilling process! I know it’s hard to resist, but allowing your bars to sit in the refrigerator for at least two hours is crucial. They need that time to set properly and develop all those amazing flavors you’ve created. I can’t tell you how many times I’ve been eager to dive in only to regret it later!
Serving Suggestions
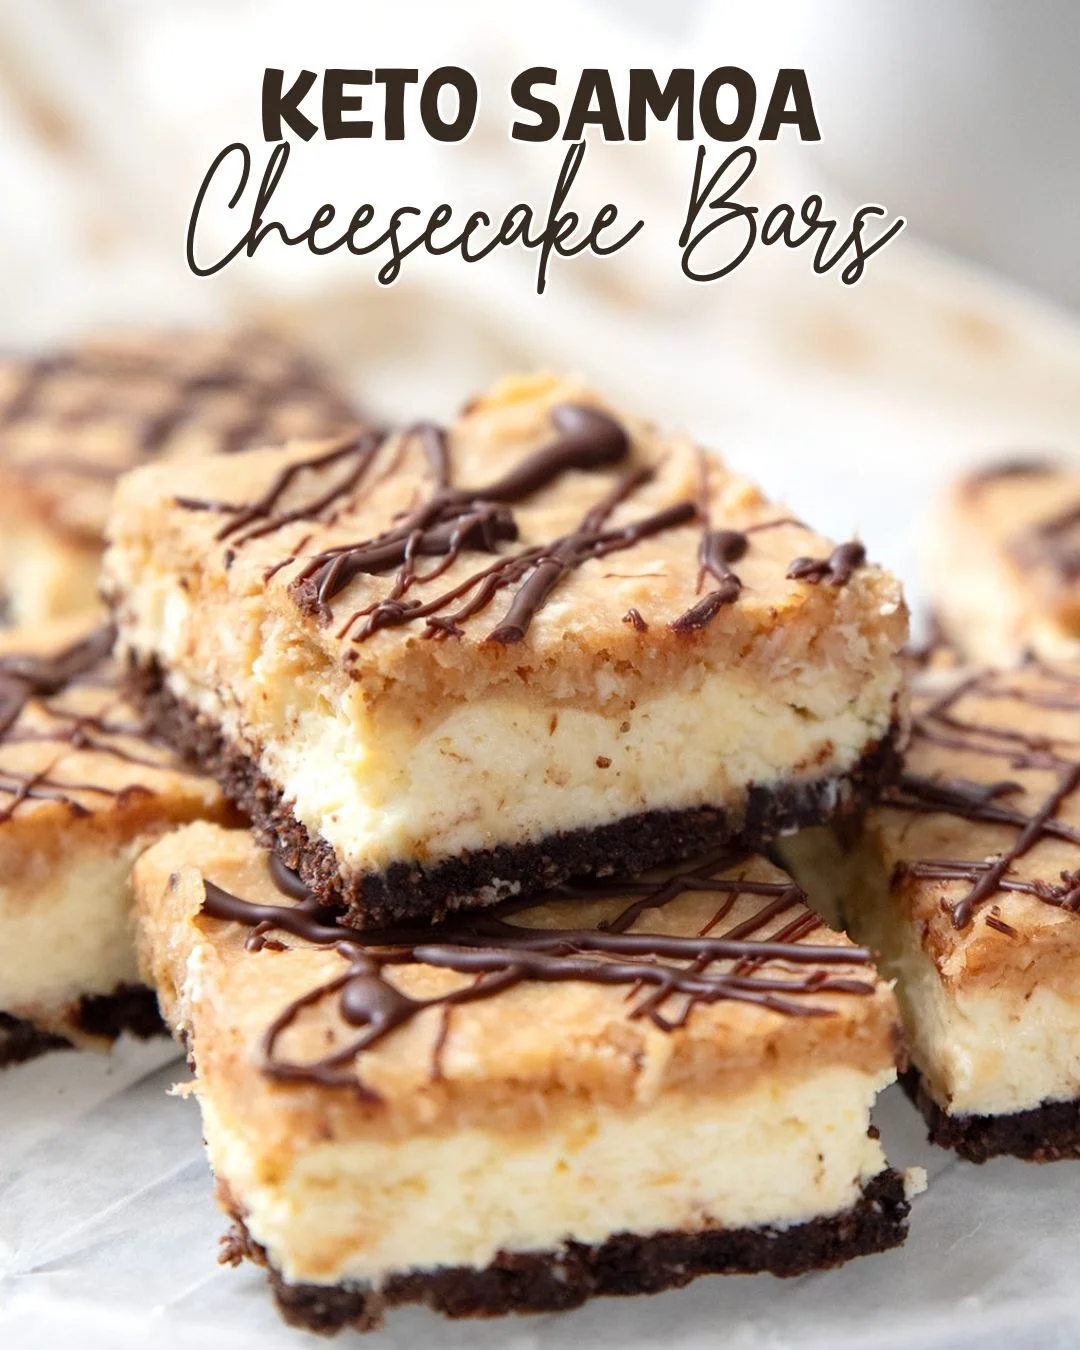
These Keto Samoa Cheesecake Bars are perfect on their own, but they also make a delightful addition to any gathering. I love serving them alongside a hot cup of coffee or tea, as the richness of the bars pairs beautifully with the warm beverage. You could even dust them lightly with some cocoa powder for an elegant touch.
For an even more indulgent experience, consider topping them with whipped cream or a dollop of coconut cream! The cream adds a light and airy contrast to the dense cheesecake, elevating the entire dessert. If you’re feeling extra fancy, garnish with a sprinkle of toasted coconut flakes on top for that extra crunch.
If you’re hosting a get-together, you could create a dessert buffet that includes these bars alongside other keto-friendly treats. Believe me, your guests won’t even realize they’re enjoying something low-carb—they’ll be too busy raving about the flavors!
Variations & Customizations
While I absolutely adore this original recipe, there are endless opportunities for customization! If you’re a fan of nuts, try adding chopped pecans or walnuts to the crust for a delightful crunch. I once swapped out half the almond flour for crushed nuts, and it imparted a delightful flavor that my family couldn’t get enough of.
Another tasty twist is to infuse your cheesecake filling with different flavors. You could add a hint of almond extract or even some orange zest for an unexpected pop of freshness. This small change made my taste buds dance in delight, and I love sharing this variant with friends.
Lastly, for those who are extra health-conscious, you could swap the erythritol with monk fruit sweetener or stevia. Each option has its unique sweetness and flavor profile, so don’t hesitate to play around until you find your perfect match.
How to Store, Freeze & Reheat
These Keto Samoa Cheesecake Bars can be stored in the refrigerator for up to a week, which is great because they’re perfect for meal prep! Just keep them in an airtight container to maintain freshness. You can enjoy a square here and there throughout the week, making it the perfect little low-carb treat.
If you’d like to make a big batch ahead of time, these bars freeze beautifully! Just wrap them tightly in plastic wrap and then in foil, and they can last for about three months in the freezer. When you’re ready to enjoy, simply thaw them in the fridge overnight, allowing the flavors to come back to life.
Reheating isn’t necessary unless you prefer warm cheesecake. In that case, I recommend popping them in the microwave for just a few seconds—enough to take the chill off—but be careful not to overheat them, as this could change the texture.
Conclusion
I hope you’re as excited to make these Keto Samoa Cheesecake Bars as I was! They’re not just a delicious dessert; they’re a cozy indulgence that never fails to brightens my day. Each bite is a delightful combination of creamy and crunchy, making it hard to believe they’re low-carb. So grab your ingredients and get baking—you won’t regret it! Happy indulging!