
Once the filling is ready, it’s time to prepare the dough for the rolls. In a mixing bowl, I combine the almond flour, baking powder, and garlic powder, mixing them well. Then, I add the egg and stir until a dough forms. Don’t be surprised if it feels a little sticky; that’s perfectly normal! I sprinkle a small amount of almond flour onto my work surface and pinch off pieces of the dough, rolling them out into small rectangles. Placing a generous scoop of the cheesy beef mixture onto each rectangle, I fold the dough over and seal the edges tightly.
Next, I place the filled rolls seam-side down on a lined baking sheet, encouraging them to hold their shape during baking. I top each roll with the remaining mozzarella cheese and pop the baking sheet into a preheated oven at 350°F (175°C). The smell of the cheese melting and the dough becoming golden brown is just out of this world! I bake them for about 20-25 minutes until they get that perfect color and texture.
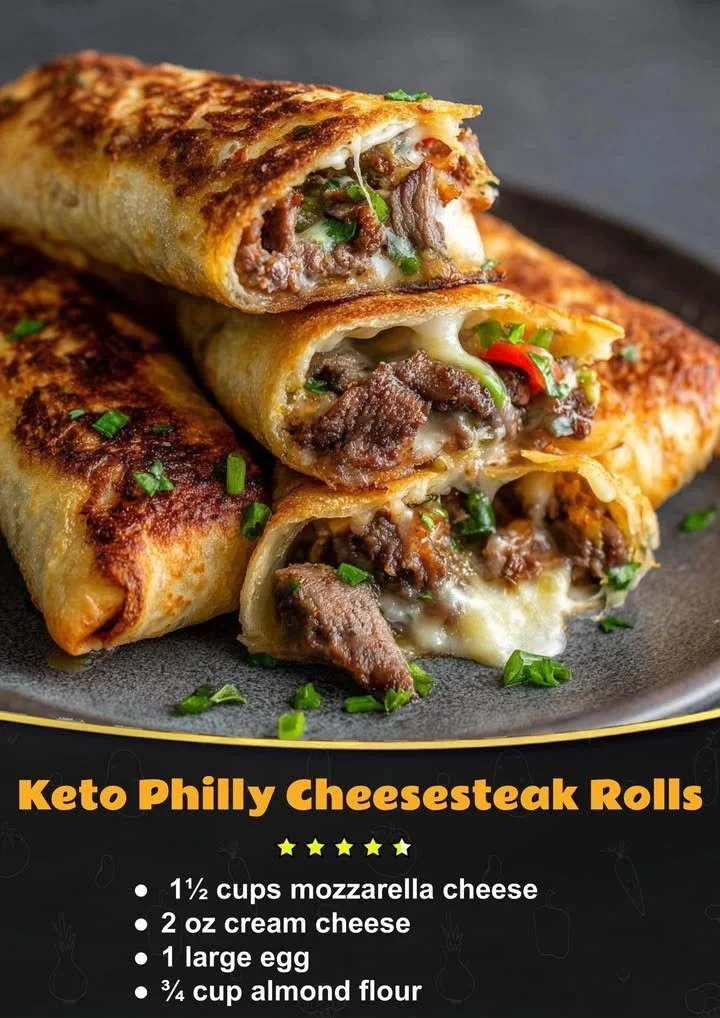
Once they’re out of the oven, I let them cool for a few minutes (if I can resist!) before garnishing with a sprinkle of fresh parsley. These rolls are fantastic served warm, and I often find myself making a double batch to share with friends and family—you’ll want extras for sure!
Pro Tips for Best Results
I tested this recipe three ways to find the perfect balance of flavors and textures. The first time, I used different meats, but ribeye really sealed the deal for me; it adds such tenderness and that rich, beefy flavor that’s key to a classic Philly cheesesteak. Next, I experimented with various cheeses, and while cheddar is great, nothing compares to the gooeyness of mozzarella in these rolls!
Another tip: make sure you allow the filled rolls to cool slightly before serving. I learned this the hard way when I bit into one too soon and lost half the filling! A few minutes to rest not only helps the flavors meld but keeps your fingers from getting burned. Trust me, the wait is worth it!
Oh, and don’t skip out on the fresh parsley garnish! It adds that perfect touch of freshness and a pop of color. Plus, it makes these rolls look even more inviting when you serve them up—everyone will be asking for the recipe!
Common Mistakes to Avoid
One common mistake I made when I first started making these rolls was using too much filling. It’s tempting to load them up, but if you overfill, they won’t seal properly and will leak out while baking. You’ll want just the right amount to keep them neat and tidy! Just a hefty scoop will do the trick.
Another error I encountered was not baking them long enough. I was so excited to try them that the first batch came out a bit doughy in the middle, rather than fluffy and golden. I learned that allowing them to bake until they are perfectly golden is key to achieving that delightful texture I crave.
Lastly, ensure you let the rolls cool and set on the baking sheet for a few minutes before transferring them. I rushed this once and ended up with some of the rolls tearing apart. So, give them a little breather on the baking sheet, and they’ll hold up beautifully!
(See the next page below to continue…)