
Next, in another bowl, beat together the softened butter and sweetener until fluffy and light in color. This step is crucial as it adds air into the batter, which results in a nice rise in the pound cake. I usually use my electric mixer for this because it saves time and effort. Once that’s done, add the eggs one at a time, mixing well after each addition, followed by the vanilla extract. Now you can gradually incorporate the dry ingredient mixture and the almond milk, alternating between the two until everything is nicely combined.
Pour the batter into your prepared loaf pan, making sure to smooth the top with a spatula. I often take a moment to admire how rich and thick the batter looks at this stage. It’s almost too tempting to resist! Bake in the preheated oven for about 45-55 minutes or until a toothpick inserted into the center comes out clean. The aroma that fills my kitchen while it bakes is just heavenly!
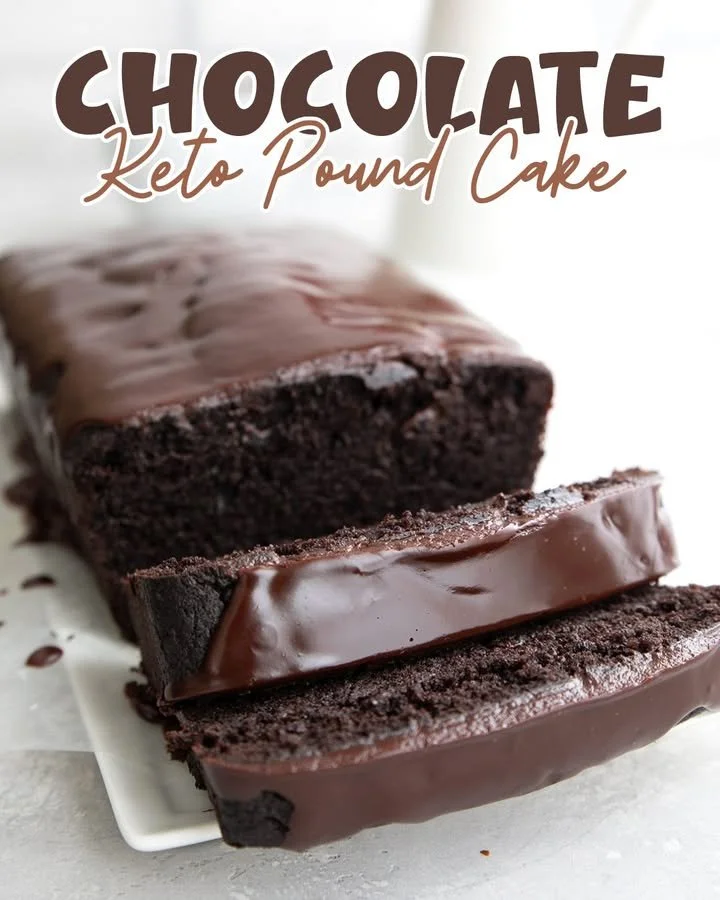
Finally, once you take the cake out of the oven, let it cool in the pan for about 10 minutes before transferring it to a wire rack to cool completely. Trust me, the wait is worth it as that first slice reveals a perfectly dense, chocolatey center.
Pro Tips for Best Results
I’ve baked this cake several times, and I’ve learned that using room temperature ingredients makes a world of difference. I like to take my eggs and butter out of the fridge a bit before I start mixing. It helps create a smoother batter and makes the cake lighter in texture, which is just what you want in a pound cake.
Another tip I swear by is to measure my almond flour carefully. It’s really easy to pack it too tightly, which can lead to a denser cake. I fluff it up first, then spoon it into the measuring cup and level it off for an accurate measurement.
Finally, don’t skip the cooling step. I know it’s tempting to slice into the cake right away, but letting it cool completely allows the flavors to meld beautifully. Plus, I find the texture improves when it’s allowed to rest!
Common Mistakes to Avoid
One of the most common mistakes I made when starting out was not checking the oven temperature. Ovens can be tricky, and having it set too high can lead to burnt edges and a raw center. I always recommend investing in an oven thermometer. It has saved me many a pound cake!
Another pitfall is using a non-stick spray that contains flour. I learned the hard way that it can interfere with the keto nature of the cake. Instead, I always coat my pan with a generous amount of butter or a keto-approved spray that doesn’t contain any added ingredients.
Additionally, be careful not to overmix the batter. I’m guilty of this as well! Mixing too much can lead to a tougher texture, which we definitely want to avoid. Just stir it until everything is combined and then stop — it’s okay if there are a few lumps!
Finally, keep an eye on the baking time. Every oven is different, and I’ve had some cakes come out perfectly at 50 minutes, while others took a full hour. Always start checking at the lower end of the time range!
Serving Suggestions
This Keto Chocolate Pound Cake is delicious all on its own, but I love serving it with a dollop of whipped cream for an extra touch of indulgence. I often whip up some heavy cream with a splash of vanilla extract and a sprinkle of keto-friendly sweetener. It transforms the cake into a dessert worthy of any occasion!
For a little bit of flair, I sometimes sprinkle some cocoa nibs or crushed nuts on top to add texture and a hint of crunch. It not only looks pretty but also adds a lovely contrast to the soft cake.
And let’s not forget about pairing! A slice of this cake goes wonderfully with a warm cup of coffee or tea. I enjoy making it a little afternoon ritual, savoring both the flavors of the cake and my drink as I take a moment to relax.
Variations & Customizations
I love experimenting in the kitchen, and this recipe is no exception! Sometimes I add a tablespoon of instant coffee granules to the dry ingredients to enhance the chocolate flavor. Trust me; it gives it an extra depth that’s simply intoxicating!
Another variation I enjoy is incorporating sugar-free chocolate chips into the batter. They melt beautifully and add little bursts of chocolate that take each bite over the top. You could even use white chocolate chips if you’re feeling adventurous!
Lastly, if you’re a fan of nutty flavors, consider adding some chopped walnuts or pecans to the batter for an extra crunch. It introduces a whole new texture and makes each slice a little surprise!
How to Store, Freeze & Reheat
To store any leftover cake (if there is any!), I recommend wrapping it tightly in plastic wrap and placing it in an airtight container. It keeps well for about 4-5 days at room temperature. Just make sure it’s completely cool before wrapping it up to avoid condensation.
If you find yourself with more cake than you can eat, don’t fret — it freezes beautifully! I slice the cake first and then wrap each piece in plastic wrap before placing them in a freezer bag. It stays fresh for up to three months. Whenever I need a quick treat, I just pull a slice out of the freezer and let it thaw at room temperature.
Reheating is a breeze too! I like to pop a slice in the microwave for about 15-20 seconds for that fresh-from-the-oven taste. Sometimes I even toss it in the toaster for a crispy edge that reminds me of those delicious bakery treats.
Conclusion
As I wrap up this post, I can’t help but smile thinking about the moments I’ve enjoyed with my Keto Chocolate Pound Cake. Whether it’s celebrating a special occasion or simply treating myself to something sweet, it never disappoints. I hope you try this recipe and create your own happy memories in the kitchen! Happy baking!