
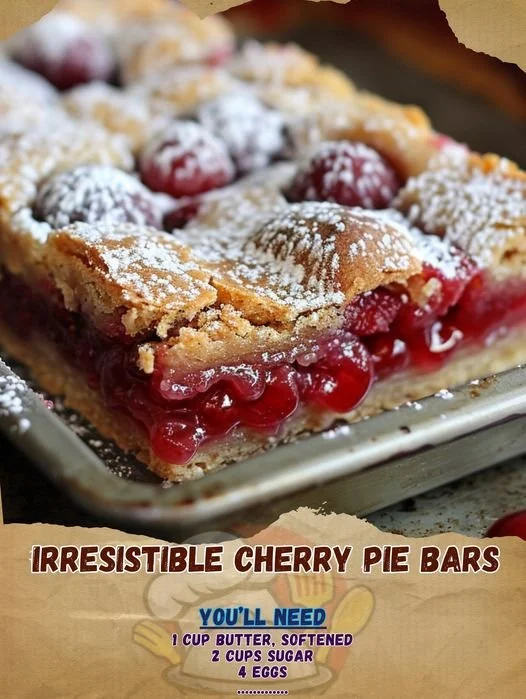
Now, reserve about one cup of the dough for the topping. Spread the remaining dough evenly in the bottom of the prepared pan, gently pressing it down to create a smooth base. Next, I pour the cherry pie filling over the crust, making sure to evenly distribute it. I love watching the dark red cherries glisten as they sit atop the buttery base. Finally, crumble the reserved dough over the cherry filling to create a topping. It doesn’t have to be perfect; rustic is beautiful too!
Once my creation is complete, I slide the pan into the oven and bake for about 30-35 minutes, or until the crust is golden brown. The lovely scent of cherry and buttery goodness wafts through my home, making my mouth water in anticipation. After it pulls out of the oven, I wait for the bars to cool in the pan for about an hour before lifting them out and cutting them into squares. The first slice always feels like an achievement, and I’m excited to share these delightful bars with my family!
Pro Tips for Best Results
When I first started making cherry pie bars, I tested this three ways: fresh cherries, frozen cherries, and canned cherry filling. Surprisingly, I found that canned cherry filling gave the best results in terms of flavor and consistency; it’s thick and sweet, just like a good filling should be! But don’t hesitate to use fresh or frozen if that’s what you have—they will always be delicious!
Another little tip I stumbled upon was the importance of letting them cool completely before slicing. When they’re warm, the filling can be a bit runny, and while there’s nothing wrong with a messy piece of pie, I love a nice, clean cut. Giving them an hour to cool allows the filling to set just right.
Lastly, I recommend using an offset spatula for serving. It makes lifting out those squares so much easier, and it reduces the chances of ripping apart the delicate crust. I’ve made that mistake too many times, and trust me, it’s heartbreaking to mess up a beautiful bar!
Common Mistakes to Avoid
One common mistake I made in my early attempts was misjudging the baking time. It’s critical to keep an eye on them during the last few minutes, as ovens can vary slightly in temperature. What starts as a perfectly golden crust can quickly turn to overdone if you aren’t paying attention! I learned the hard way—countdown alerts on my phone are now my best baking buddy!
Another error is not pressing the crust well enough in the pan. If you don’t pack it down firmly, the base will crumble apart when you cut the bars. I now take that extra moment to really press, ensuring the crust holds together fabulously.
Also, I’ve learned that cutting them while they’re still warm makes it way easier to lose that lovely shape. I know the smell is tempting, but waiting pays off! To keep things neat, I often run a knife around the edges before lifting them out.
(See the next page below to continue…)