How to Assemble and Bake This Cheesecake
Step 1: Preheat your oven to 350°F (175°C) and line a 9‑inch springform pan with parchment paper, allowing extra overhang for easy removal.
Step 2: Pour the Greek yogurt into a large mixing bowl. The thick yogurt should spread slowly across the bottom of the bowl.
Step 3: Crack the three eggs directly over the yogurt, keeping the yolks intact. This helps the batter stay glossy.
Step 4: Add the honey and vanilla extract. The honey will drizzle through the yogurt, creating tiny ribbons before mixing.
Step 5: Whisk vigorously for about 30 seconds, or until the mixture is completely smooth and no lumps remain. The batter should look glossy and slightly thick.
Step 6: Transfer the batter into the prepared pan, smoothing the top with a spatula. The batter will settle into an even layer.
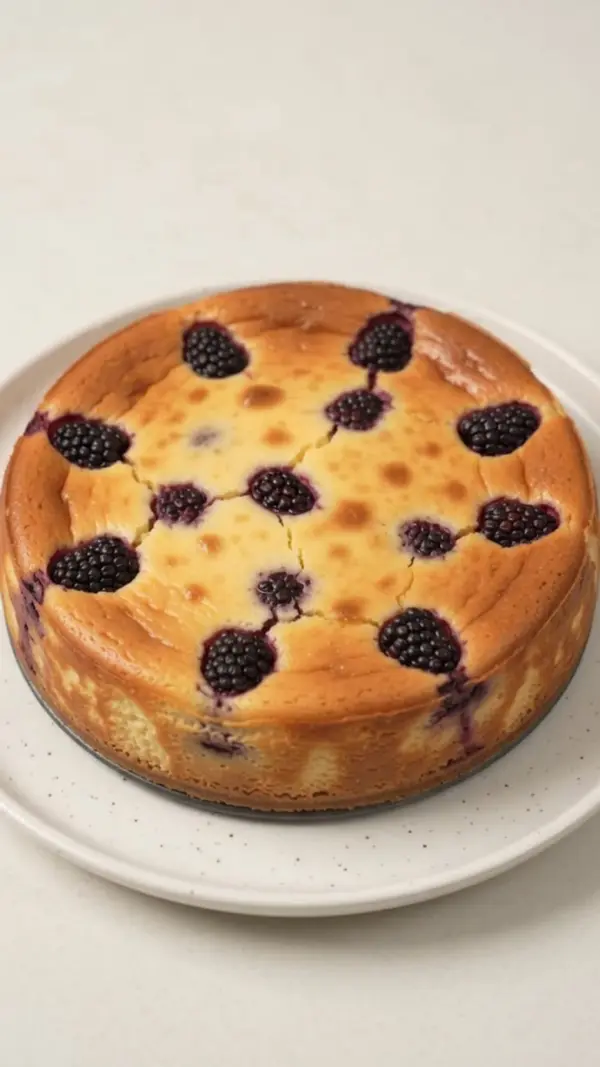
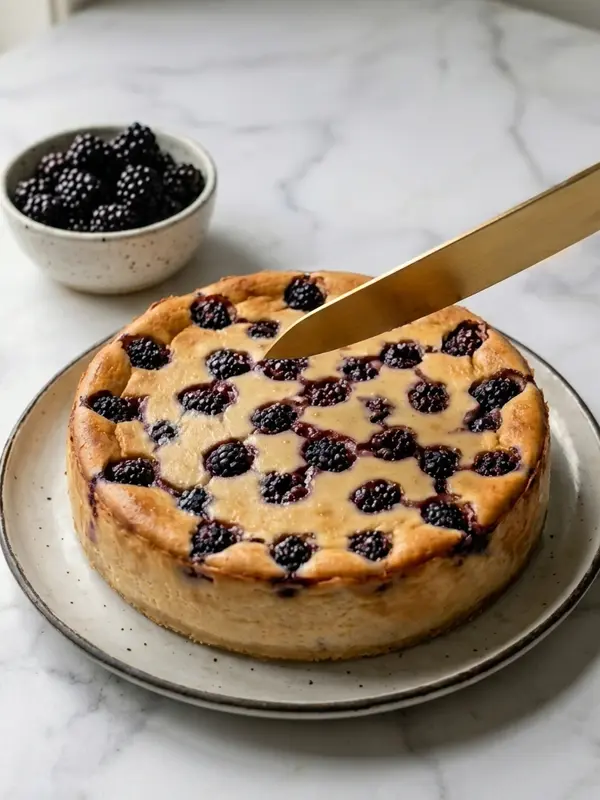
Step 7: Scatter the fresh blackberries evenly across the surface. Press them gently so they sink just a little into the batter.
Step 8: Place the pan in the preheated oven and bake for 45 minutes. The edges will set while the center remains slightly wobbly.
Step 9: Remove the pan and let it cool on a wire rack for 10 minutes. This short rest helps the cheesecake firm up without overcooking.
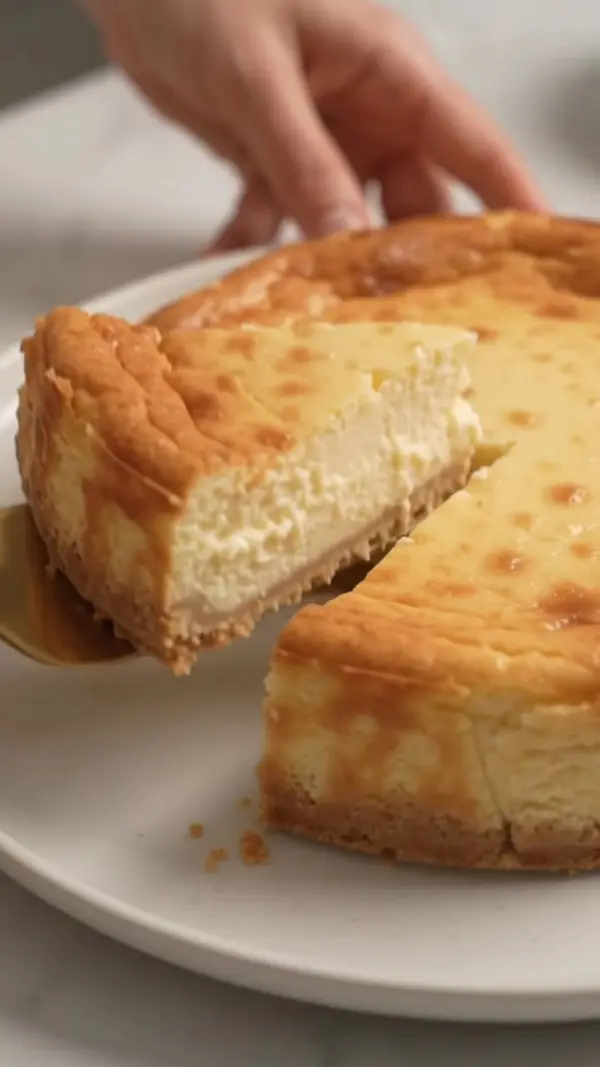
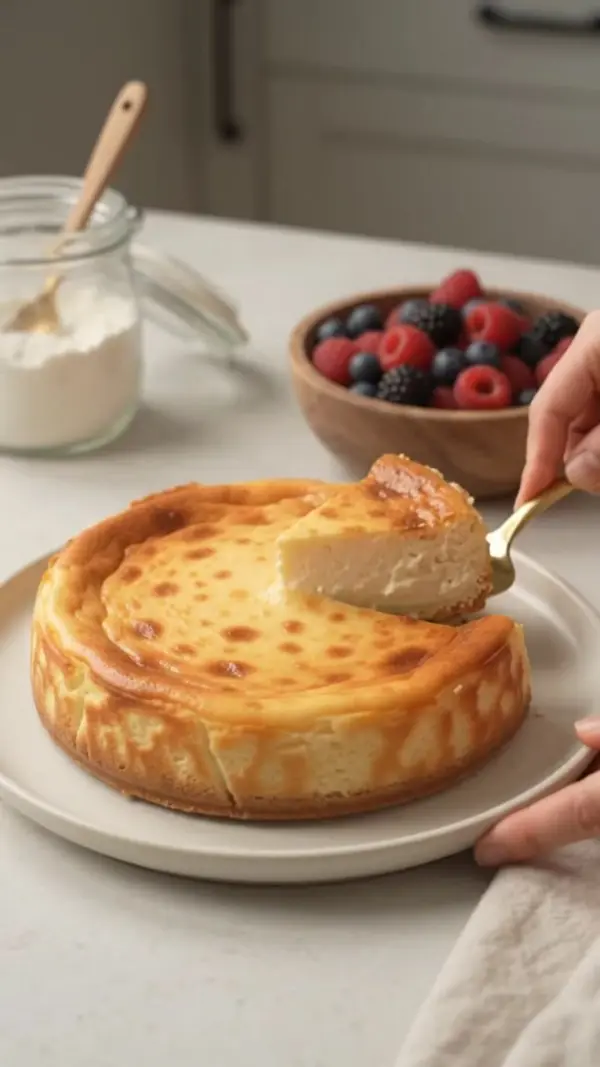
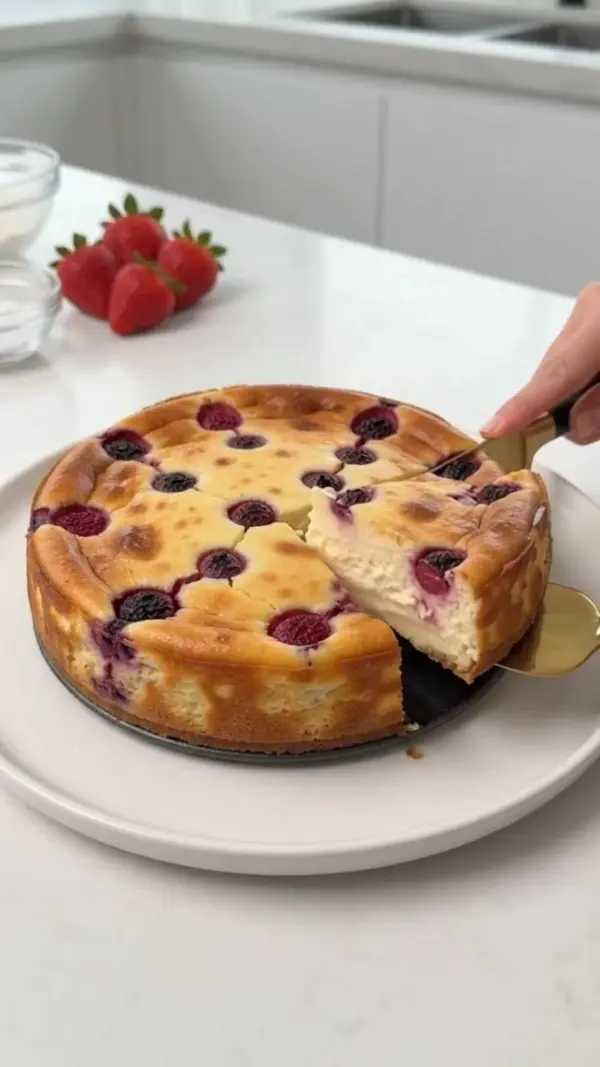
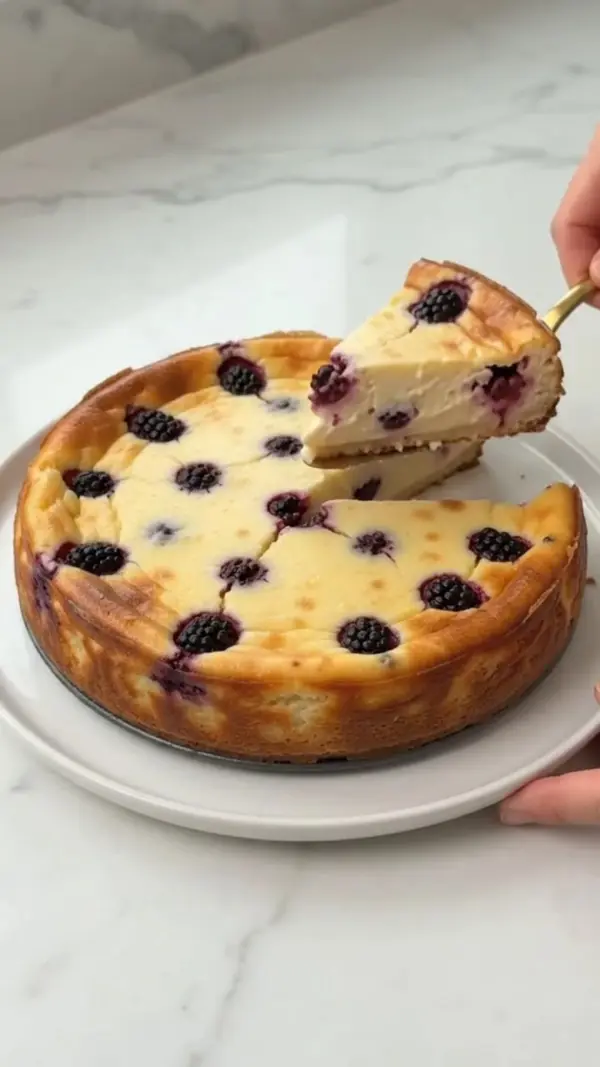
Step 10: Transfer the cheesecake onto a serving plate, cut a wedge slice, and serve while slightly warm for the best flavor contrast.
Common Mistakes and How to Fix Them
Over‑mixing the batter can incorporate too much air, leading to cracks. Mix just until smooth and stop.
Baking too long dries the crumb, making it crumbly. Stick to the 45‑minute bake and watch the edges.
Using cold eggs creates a grainy texture. Allow eggs to sit at room temperature for 15 minutes before whisking.
Skipping parchment paper makes the cake stick to the pan, causing breakage when unmolding. Always line the pan.
Adding frozen berries without drying releases excess water, sogging the top. Thaw and pat dry thoroughly.
Opening the oven door early drops temperature and can cause the center to sink. Keep the door closed until the timer ends.
Swaps and Variations That Still Work
Maple syrup can replace honey for a deeper amber flavor; use the same 60 ml amount.
Mixed berries (raspberries, blueberries) add color and a slightly different tartness. Keep the total weight at 150 g.
Almond extract (½ tsp) can be added with vanilla for a nutty undertone, but reduce vanilla to 5 ml to avoid overpowering.
Coconut yogurt works for a dairy‑free version; choose a plain, full‑fat style to maintain creaminess.
Keeping It Fresh
After cooling, cover the cheesecake loosely with plastic wrap and refrigerate. It stays creamy for up to three days. For longer storage, slice and wrap individual portions in foil, then freeze for up to a month. Thaw frozen slices in the refrigerator overnight; a quick microwave burst (10 seconds) restores a slightly warm texture.
Simple Ways to Plate the Cheesecake
Serve each slice on a small dessert plate with a drizzle of extra honey and a few whole blackberries for garnish. Pair with a cup of black tea or a glass of chilled sparkling water for a light finish. The cheesecake also works well as a brunch centerpiece alongside fresh fruit.
Honey Blackberry Cheesecake Questions
How do I prevent the cheesecake from cracking?
Cracks usually appear from over‑mixing or overheating. Whisk just until smooth and bake only the prescribed 45 minutes at 350°F (175°C). Let the cake cool gradually on a rack before slicing.
Can I use a different pan size?
A 9‑inch springform pan gives the right thickness. Using a larger pan will make the cake too thin and may dry out; a smaller pan will be too thick and may not set properly in the short bake time.
Is it possible to make this cheesecake ahead of time?
Yes. After it cools, wrap it tightly and refrigerate. The texture improves after a few hours as the flavors meld. It can also be frozen for up to a month, then thawed in the fridge.
What if I don’t have vanilla extract?
You can omit it, but the flavor will lose some depth. Substitute with an equal amount of almond extract or a splash of bourbon for a different aromatic note.
How many servings does this recipe yield?
A standard 9‑inch springform pan cut into eight wedges provides eight servings. Adjust portion size according to your event; the cake holds up well even when cut into larger slices.