Method for Perfect Pancakes
Step 1: Step 1: Heat a non‑stick skillet over medium heat for about 2 minutes. The surface should shimmer but not smoke; this temperature lets the batter set without burning.
Step 2: Step 2: Place 1 cup rolled oats in a blender. Blend for 30 seconds, or until the oats resemble a fine powder. This step creates oat flour, which is the base of the batter.
Step 3: Step 3: Add the peeled banana, 2 eggs, 1/2 cup milk, 2 tablespoons honey, and 1 teaspoon baking powder to the blender. The banana should break apart quickly; the eggs provide structure, and the honey adds a glossy sweetness.
Step 4: Step 4: Blend the mixture for another 45 seconds, or until the batter is smooth and pourable. Scrape the sides halfway through to ensure no oat clumps remain.
Step 5: Step 5: Lightly coat the hot skillet with a thin layer of oil or butter. Pour about ¼ cup of batter for each pancake; the batter should sizzle softly as it hits the pan.
Step 6: Step 6: Cook until bubbles appear on the surface and the edges look set, roughly 2 minutes. This visual cue tells you the pancake is ready to flip without breaking.
Step 7: Step 7: Flip the pancake with a spatula and cook the other side for another 1‑2 minutes, until golden brown. The second side cooks faster because the batter is already set.
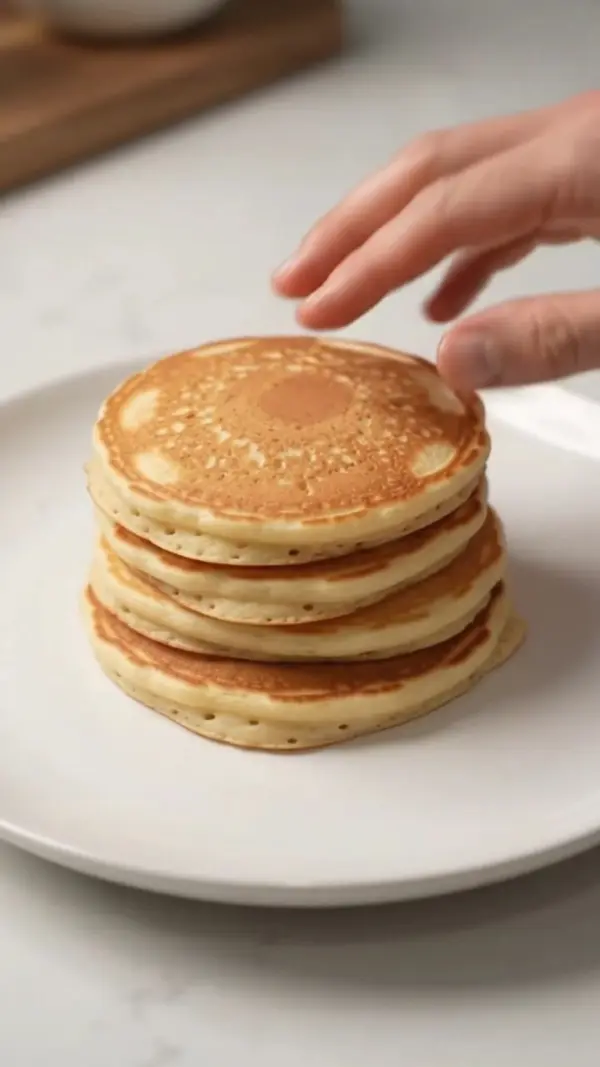
Step 8: Step 8: Transfer the cooked pancake to a plate and repeat with remaining batter, keeping the skillet on low heat to stay warm.
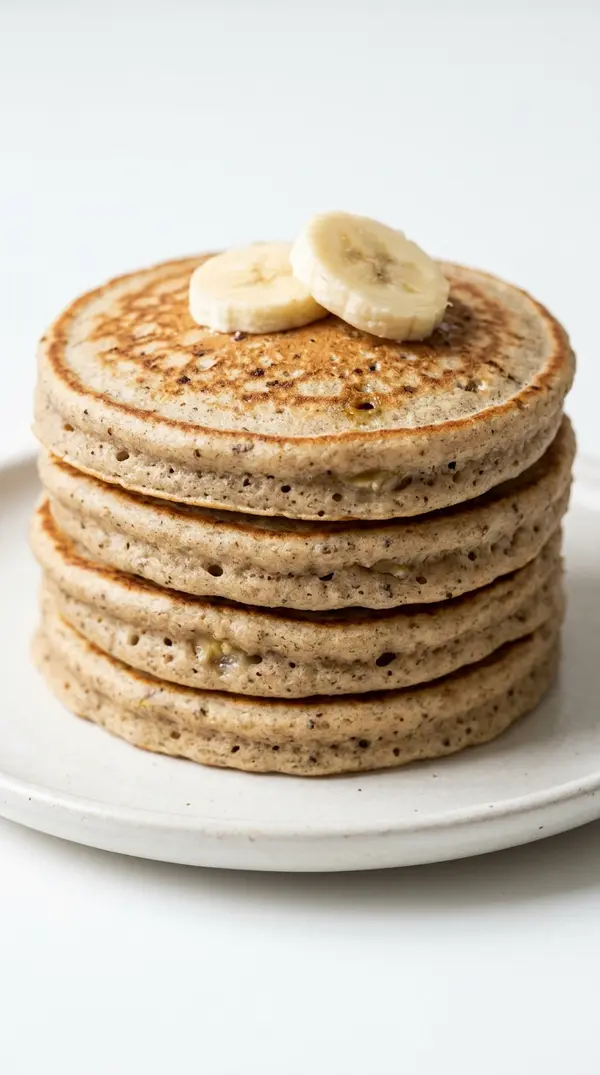
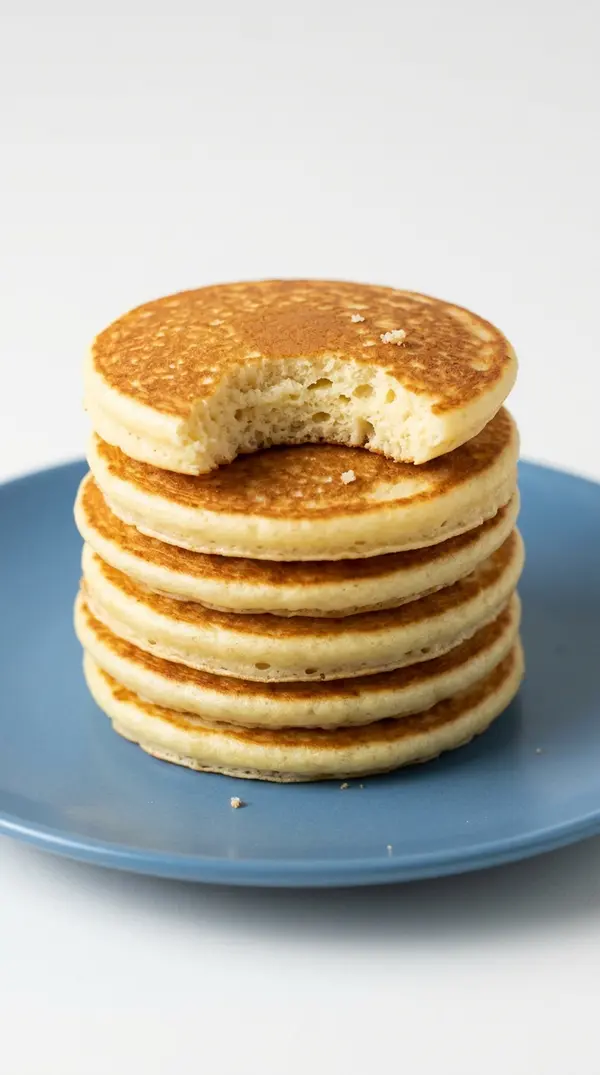
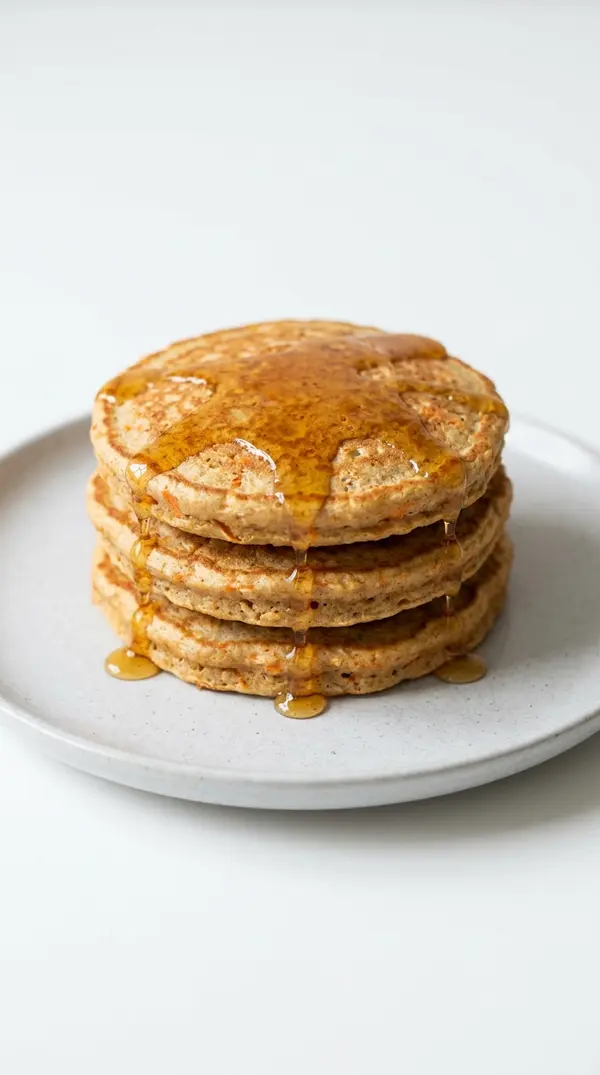
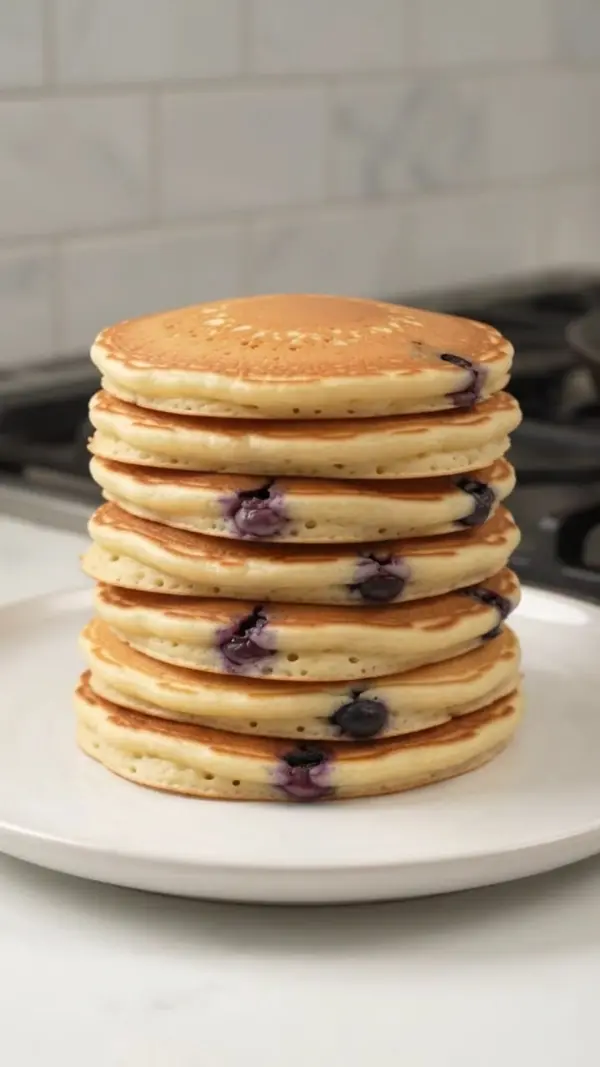
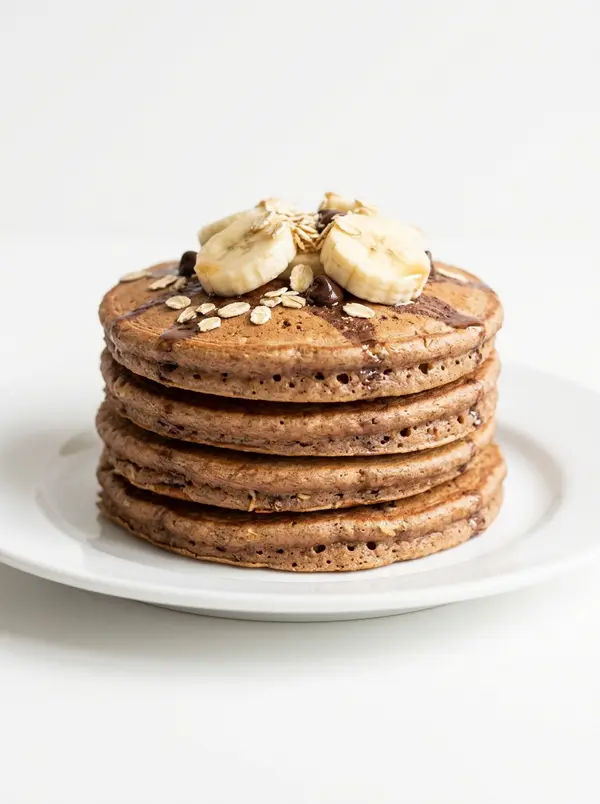
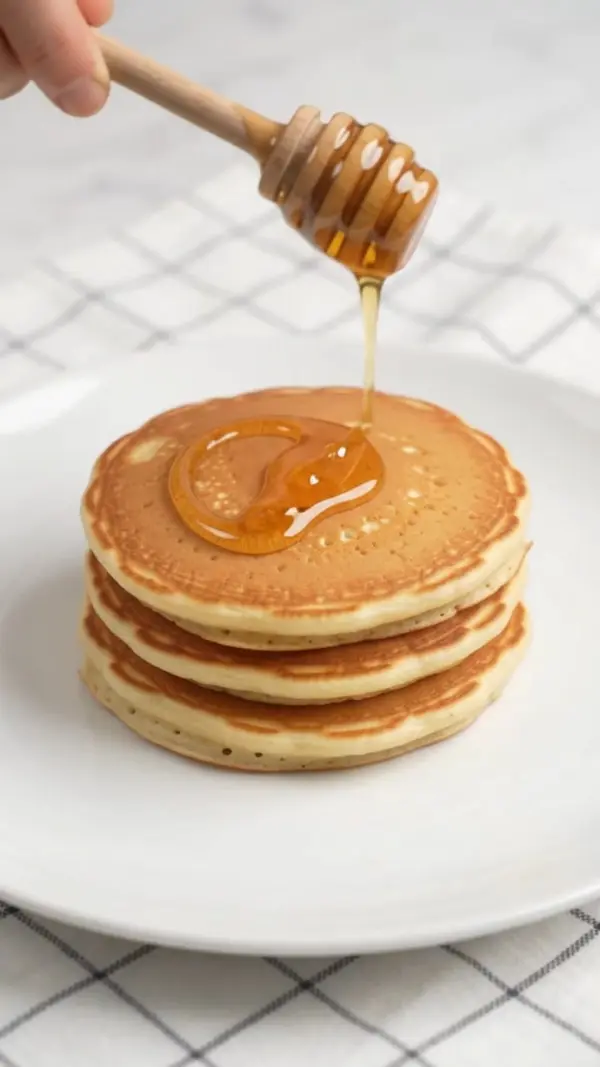
Step 9: Step 9: Stack the finished pancakes, drizzle with a little extra honey, and cut a slice to reveal the tender interior. Serve immediately while the top is still steaming.
Avoiding Soggy Pancakes and How to Fix Them
Batter too thick: If the blend feels pasty, add a splash of milk (1‑2 tbsp) and re‑blend; a thinner batter spreads evenly and yields a uniform crust.
Pancakes stick to pan: Ensure the skillet is properly pre‑heated and lightly oiled; a non‑stick surface prevents tearing when flipping.
Flat pancakes: Forgetting the baking powder results in dense pancakes; always measure the teaspoon level and incorporate it with the other wet ingredients.
Burnt edges: Cooking on high heat causes scorching; keep the skillet at medium and adjust down if the butter browns too quickly.
Uneven bubbles: Over‑mixing creates air pockets that burst unevenly; blend just until smooth, then stop.
Soggy centers: Overcrowding the pan traps steam; give each pancake space to breathe for a crisp edge and fluffy middle.
Banana‑Honey Substitutes That Keep Flavor
Gluten‑free oats: Use certified gluten‑free rolled oats to keep the recipe safe for gluten sensitivities without changing texture.
Plant‑based protein: Replace the eggs with ½ cup unsweetened applesauce; the batter stays moist, though the rise will be slightly less pronounced.
Flavor boost: Add ½ teaspoon vanilla extract or a pinch of ground nutmeg to the blender for a subtle aromatic twist.
Crunchy topping: Sprinkle chopped walnuts or toasted coconut on the pancakes just before serving for added texture.
Storing Pancakes for a Fresh Morning Bite
Store any leftover pancakes in an airtight container in the refrigerator for up to 3 days. Reheat in a toaster oven or a dry skillet for 1‑2 minutes per side; the surface will regain its golden crispness. For longer storage, freeze pancakes on a parchment sheet, then transfer to a zip‑top bag; they thaw quickly in the microwave and finish with a brief skillet warm‑up.
Topping Combos to Elevate Your Pancake Stack
Serve the stack with an extra drizzle of honey and a dusting of cinnamon for a sweet finish. Pair with a dollop of Greek yogurt for a creamy contrast, or add fresh berries for a burst of acidity. A side of scrambled eggs balances the sweetness and makes the meal more filling.
Honey Banana Oat Pancakes Questions
How do I know when the batter is the right consistency?
The batter should flow easily from the blender but be thick enough to hold its shape when poured. If it spreads too thin, add a tablespoon of oats; if it’s clumpy, thin it with a little milk.
Can I use a regular flour instead of oats?
You can substitute 1 cup all‑purpose flour, but the pancakes will lose the nutty flavor and the extra fiber that oats provide. Adjust the liquid slightly, as flour absorbs less moisture than oat flour.
What’s the best pan size for cooking these pancakes?
A 10‑inch non‑stick skillet works well, allowing you to fit 2‑3 pancakes at a time without crowding. A larger pan can be used, but keep the heat moderate to avoid uneven cooking.
Is it okay to add extra sweeteners like maple syrup?
Yes, you can replace the honey with an equal amount of maple syrup. The flavor will shift toward a caramel note, and the batter may become a touch thinner, so you might need a splash more milk.
How far ahead can I prepare the batter?
Blend the oat flour and store it in an airtight container for up to 3 days. Add the banana, eggs, milk, honey, and baking powder just before cooking to keep the batter fresh and prevent the banana from oxidizing.