
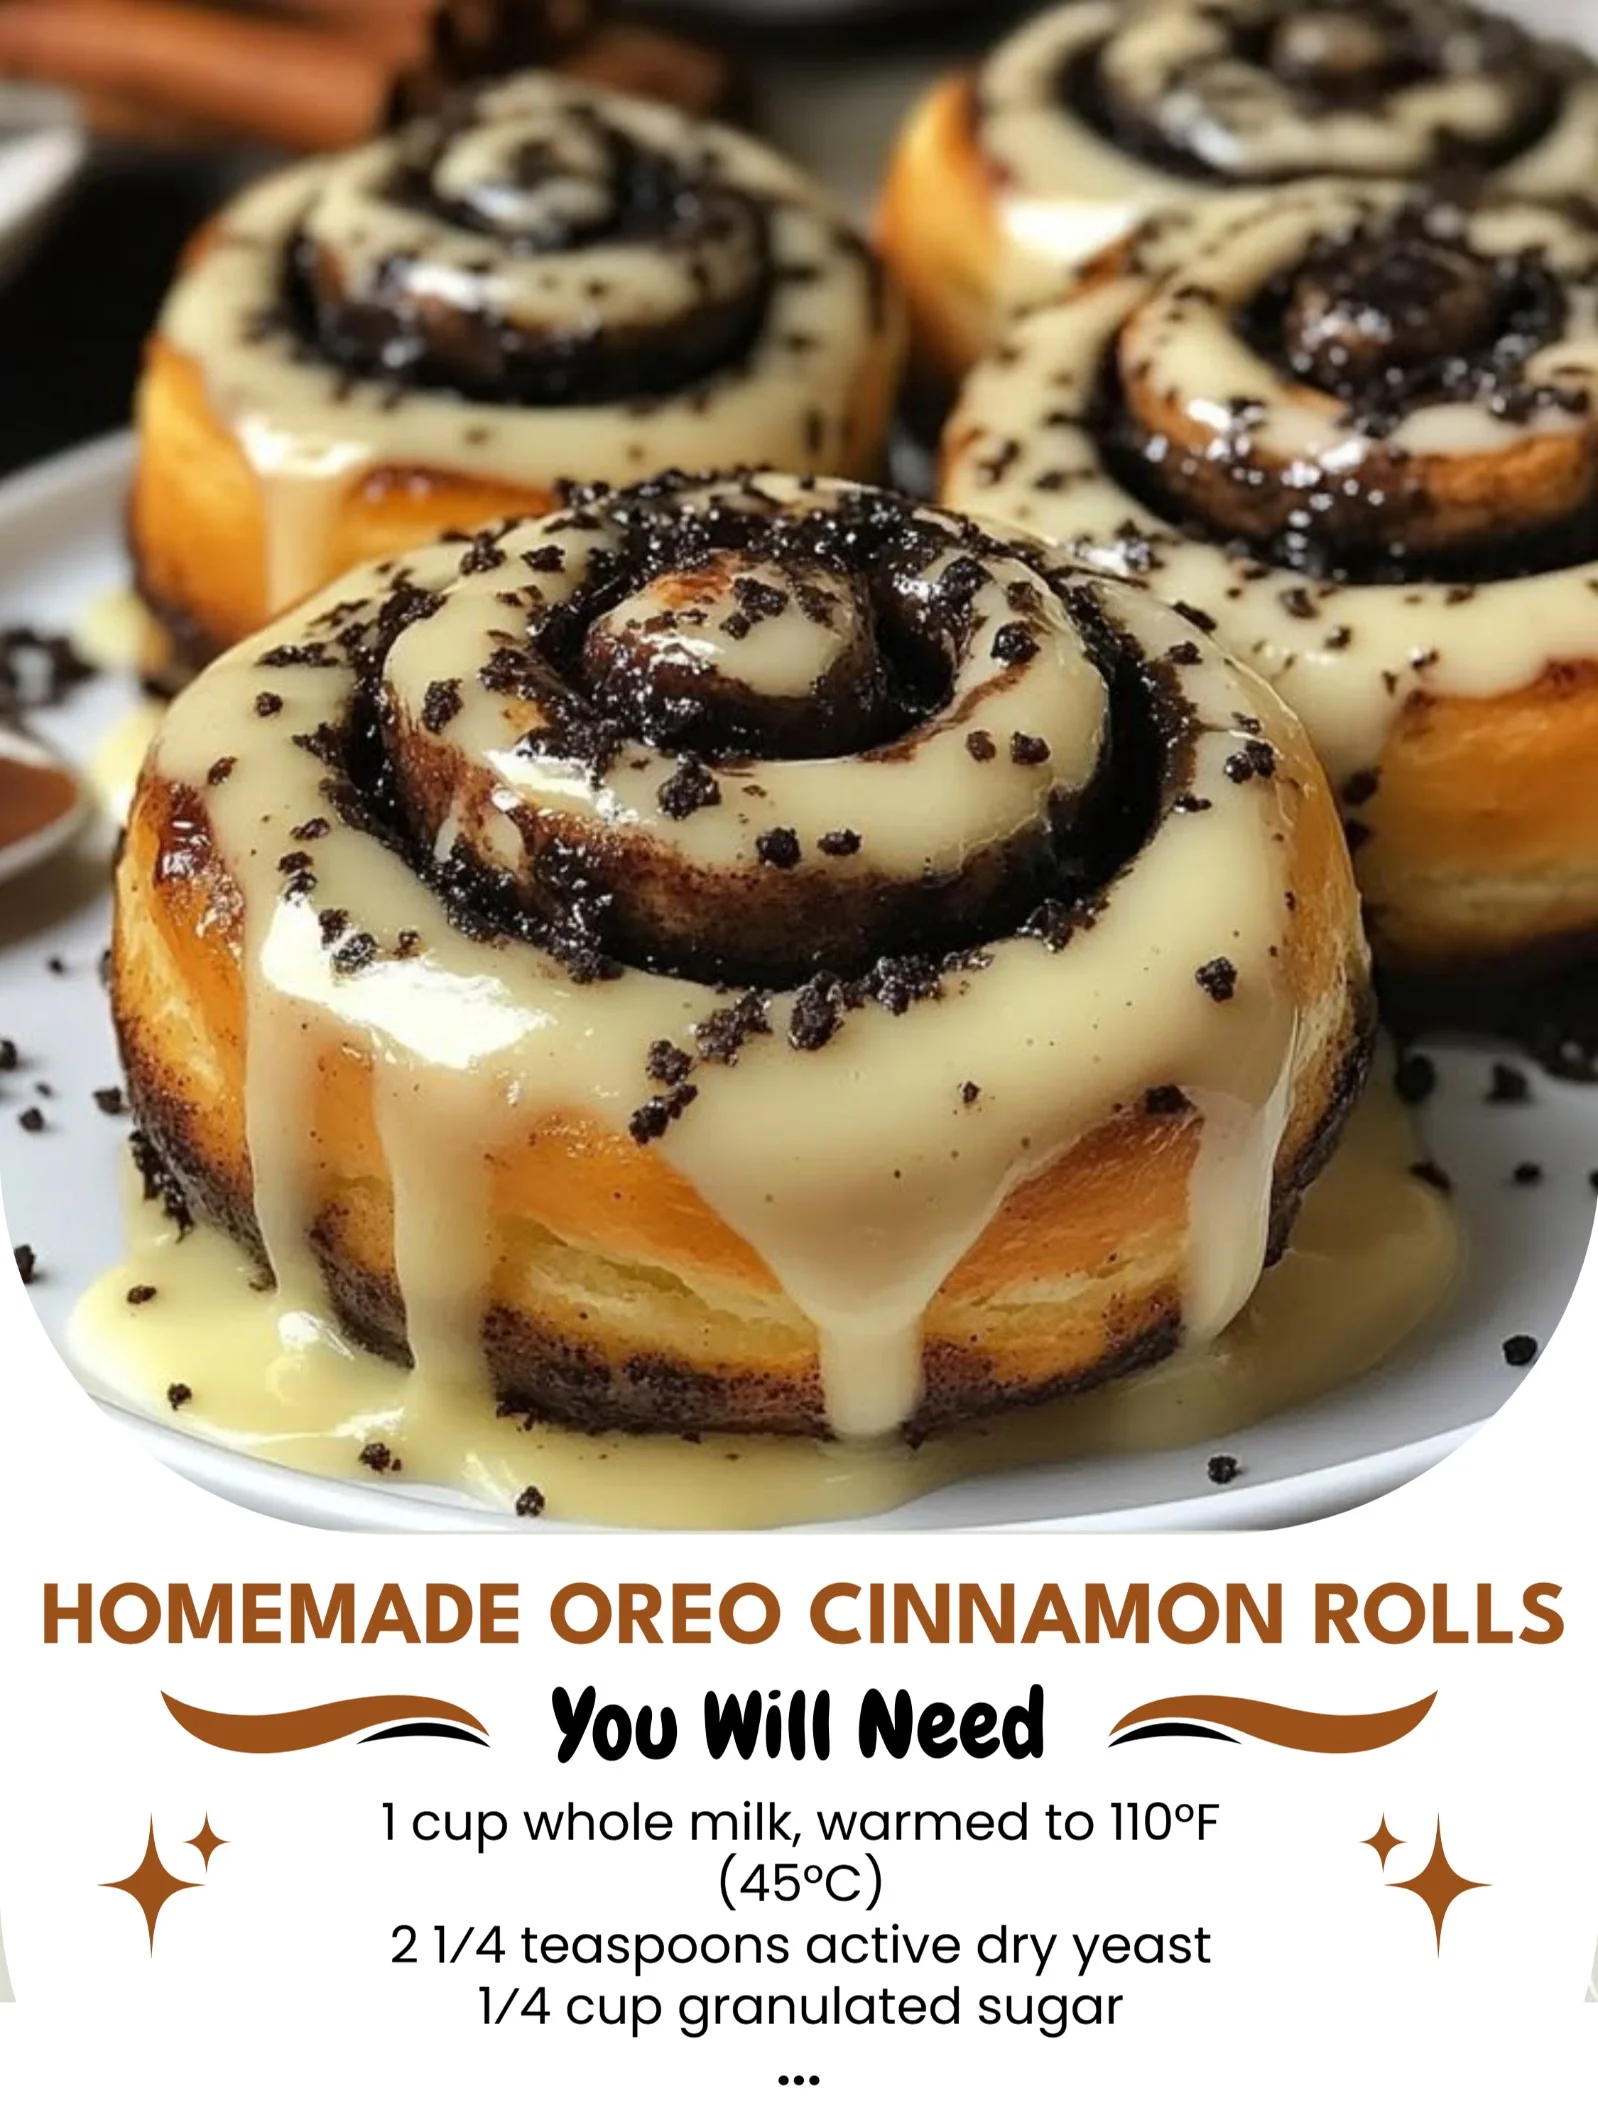
There’s something undeniably magical about waking up to the smell of freshly baked cinnamon rolls, but when you add Oreos into the mix, you elevate that magic to a whole new level. I recently decided to experiment in my kitchen and came up with what I believe is truly the best combination: homemade Oreo cinnamon rolls. The buttery, fluffy dough combined with rich cream and that distinctive Oreo flavor makes for a delightful breakfast or dessert that my family just can’t resist.
Why You’ll Love This Recipe
This recipe is perfect for anyone who loves a sweet treat that’s easy to make but feels special. Whether it’s a Sunday brunch with family or a surprise for a weekday morning, these cinnamon rolls have a way of bringing everyone together. As the rolls bake, the kitchen fills with an aroma so comforting that it feels like a warm hug. Plus, the surprise of Oreo bits inside each fluffy roll makes every bite a delightful experience. (See the ingredients in the next page below…)
Ingredients
– 4 cups all-purpose flour
– 1 packet (2 1/4 tsp) active dry yeast
– 1/2 cup granulated sugar
– 1/2 teaspoon salt
– 1 cup milk, warmed
– 1/4 cup unsalted butter, melted
– 2 large eggs
– 1 cup crushed Oreos (plus extra for topping)
– 1 tablespoon cinnamon
– 1/2 cup brown sugar
– 1/4 cup cream cheese, softened (for frosting)
– 1 cup powdered sugar
– 2 tablespoons milk (for frosting)
– 1/2 teaspoon vanilla extract
Equipment Needed
– Mixing bowls
– Stand mixer with dough hook (or a large mixing spoon)
– Rolling pin
– Baking dish (9×13)
– Measuring cups and spoons
– Rubber spatula
– Plastic wrap or clean kitchen towel
Step-by-Step Instructions
Let’s dive right into making these delectable cinnamon rolls! Start by activating your yeast. In a small bowl, combine the warm milk, sugar, and active dry yeast. Let it sit for about 5-10 minutes until it becomes foamy. In a large mixing bowl, combine the flour and salt. Then, add the yeast mixture, melted butter, and eggs to the flour. If you’re using a stand mixer, mix on low speed until a dough starts to form, then increase to medium speed for about 5-7 minutes. The dough should be smooth and elastic. (See the next page below to continue steps…)
Once your dough is ready, place it in a greased bowl, cover it with plastic wrap or a kitchen towel, and allow it to rise in a warm spot for about an hour or until it doubles in size. While the dough is rising, you can prepare the filling. In a separate bowl, combine the crushed Oreos, brown sugar, and cinnamon. This mixture will add an extra layer of flavor and texture to your rolls. When the dough is ready, punch it down to release the air and turn it onto a floured surface. Roll it out into a rectangle, about 1/4 inch thick.
Now comes the fun part! Spread the filling evenly over the rolled-out dough, leaving a small border around the edges. Gently roll the dough tightly into a log, starting from one long edge. Once rolled, slice it into even pieces about 1 inch thick. Place the rolls in a greased baking dish, and let them rise again for about 30 minutes. Preheat your oven to 350°F (175°C) while you wait.
After the cinnamon rolls have puffed up, pop them in the oven for about 25-30 minutes until they’re a golden brown. The smell that fills your kitchen will be absolutely heavenly! While the rolls are baking, mix the cream cheese frosting ingredients together until smooth. Once the rolls are out of the oven, drizzle the frosting on top while they are still warm. Feel free to crush a few more Oreos on top for the final touch!
Pro Tips for Best Results
I tested this recipe three ways before settling on my favorite method. The key to fluffy rolls is allowing them enough time to rise. If you’re in a hurry, try placing the dough in a warm oven (turned off) with a bowl of hot water. Just remember to keep an eye on them! For an even richer flavor, consider using buttermilk instead of regular milk in the dough.
Another tip is to be generous with the filling. I initially held back, thinking it was too much, but the rolls taste so much better when they’re loaded with those crushed Oreos and cinnamon sugar. Trust me on this one! Lastly, don’t skip the frosty layer—in my opinion, it’s what truly brings these rolls over the top.
Common Mistakes to Avoid
One mistake I often see is not checking the temperature of the milk. If it’s too hot, it can kill the yeast, and if it’s too cold, the yeast won’t activate. Always aim for a comfortable warmth, like that of your skin. Additionally, be sure to measure your flour correctly. Too much flour can lead to dense rolls, so using the spoon-and-level method is your best bet.
Another pitfall is putting the rolls too close together in the baking dish. While it may seem like a good idea for a gooey texture, if they’re crammed in, they don’t have the room to rise properly and can end up unevenly baked. And remember, patience is key with the rise times! Don’t rush it, or you’ll miss out on those fluffy, delightful outcomes. (See the next page below to continue…)
Serving Suggestions
When it comes to serving these delightful Oreo cinnamon rolls, I love to enjoy them warm, right out of the oven. You can serve them as is, or for a touch of extra indulgence, add a scoop of vanilla ice cream on the side. The cold ice cream contrasts beautifully with the warm rolls, creating a delightful experience with every bite.
I also like to pair them with a hot cup of coffee or a glass of cold milk—nothing quite like dunking your cinnamon roll in milk! If you’re serving them for a brunch gathering, consider adding some fresh berries or a yogurt parfait on the side to balance out the sweetness.
Another idea is to make these rolls into a fun breakfast board. You can arrange various toppings like extra crushed Oreos, fruits, whipped cream, or syrups for everyone to customize their rolls. It’s always a hit with family and friends!
Variations & Customizations
If you’re feeling adventurous, why not try adding some other mix-ins with your Oreos? I’ve experimented with a layer of peanut butter in the filling for a PB&J twist. Imagine sinking your teeth into that creamy peanut butter combined with the flavors of Oreo—pure bliss!
For a seasonal twist, you could add in some pumpkin puree and spice during the fall. Just adjust the filling a bit to include nutmeg and allspice for that warm, cozy flavor. You could even swap out the Oreo cookies for other flavored varieties—mint or birthday cake Oreos give a unique twist!
If you want a healthier version, consider adding in some whole wheat flour for the dough and using less sugar. You can still enjoy the sweetness of the Oreos without compromising on taste. There are plenty of ways to make this recipe your own!
How to Store, Freeze & Reheat
These delicious rolls are often best enjoyed fresh, but they also store well! If you have leftovers, let them cool completely and then store them in an airtight container at room temperature for up to 2 days. You can also refrigerate them for up to a week if you want to keep them fresher longer.
To freeze, wrap the rolls tightly in plastic wrap and then in aluminum foil or a freezer bag. They can be stored for up to 3 months. When you’re ready to enjoy, simply remove them from the freezer and let them thaw overnight in the refrigerator. You can reheat them in the microwave for a quick snack or pop them back in the oven at 350°F (175°C) for a few minutes until warm.
Reheating these rolls brings back that wonderful aroma, and the flavors seem to meld even more over time. It’s like having a little piece of home whenever you want!
Conclusion
I hope you’re as excited as I am to make these Homemade Oreo Cinnamon Rolls in your kitchen! They’re not just a treat; they’re a celebration of flavors that everyone will love. Whether you whip them up for a special occasion or just a cozy weekend morning, they’re sure to warm hearts and fill bellies. Happy baking, and enjoy the deliciousness!