
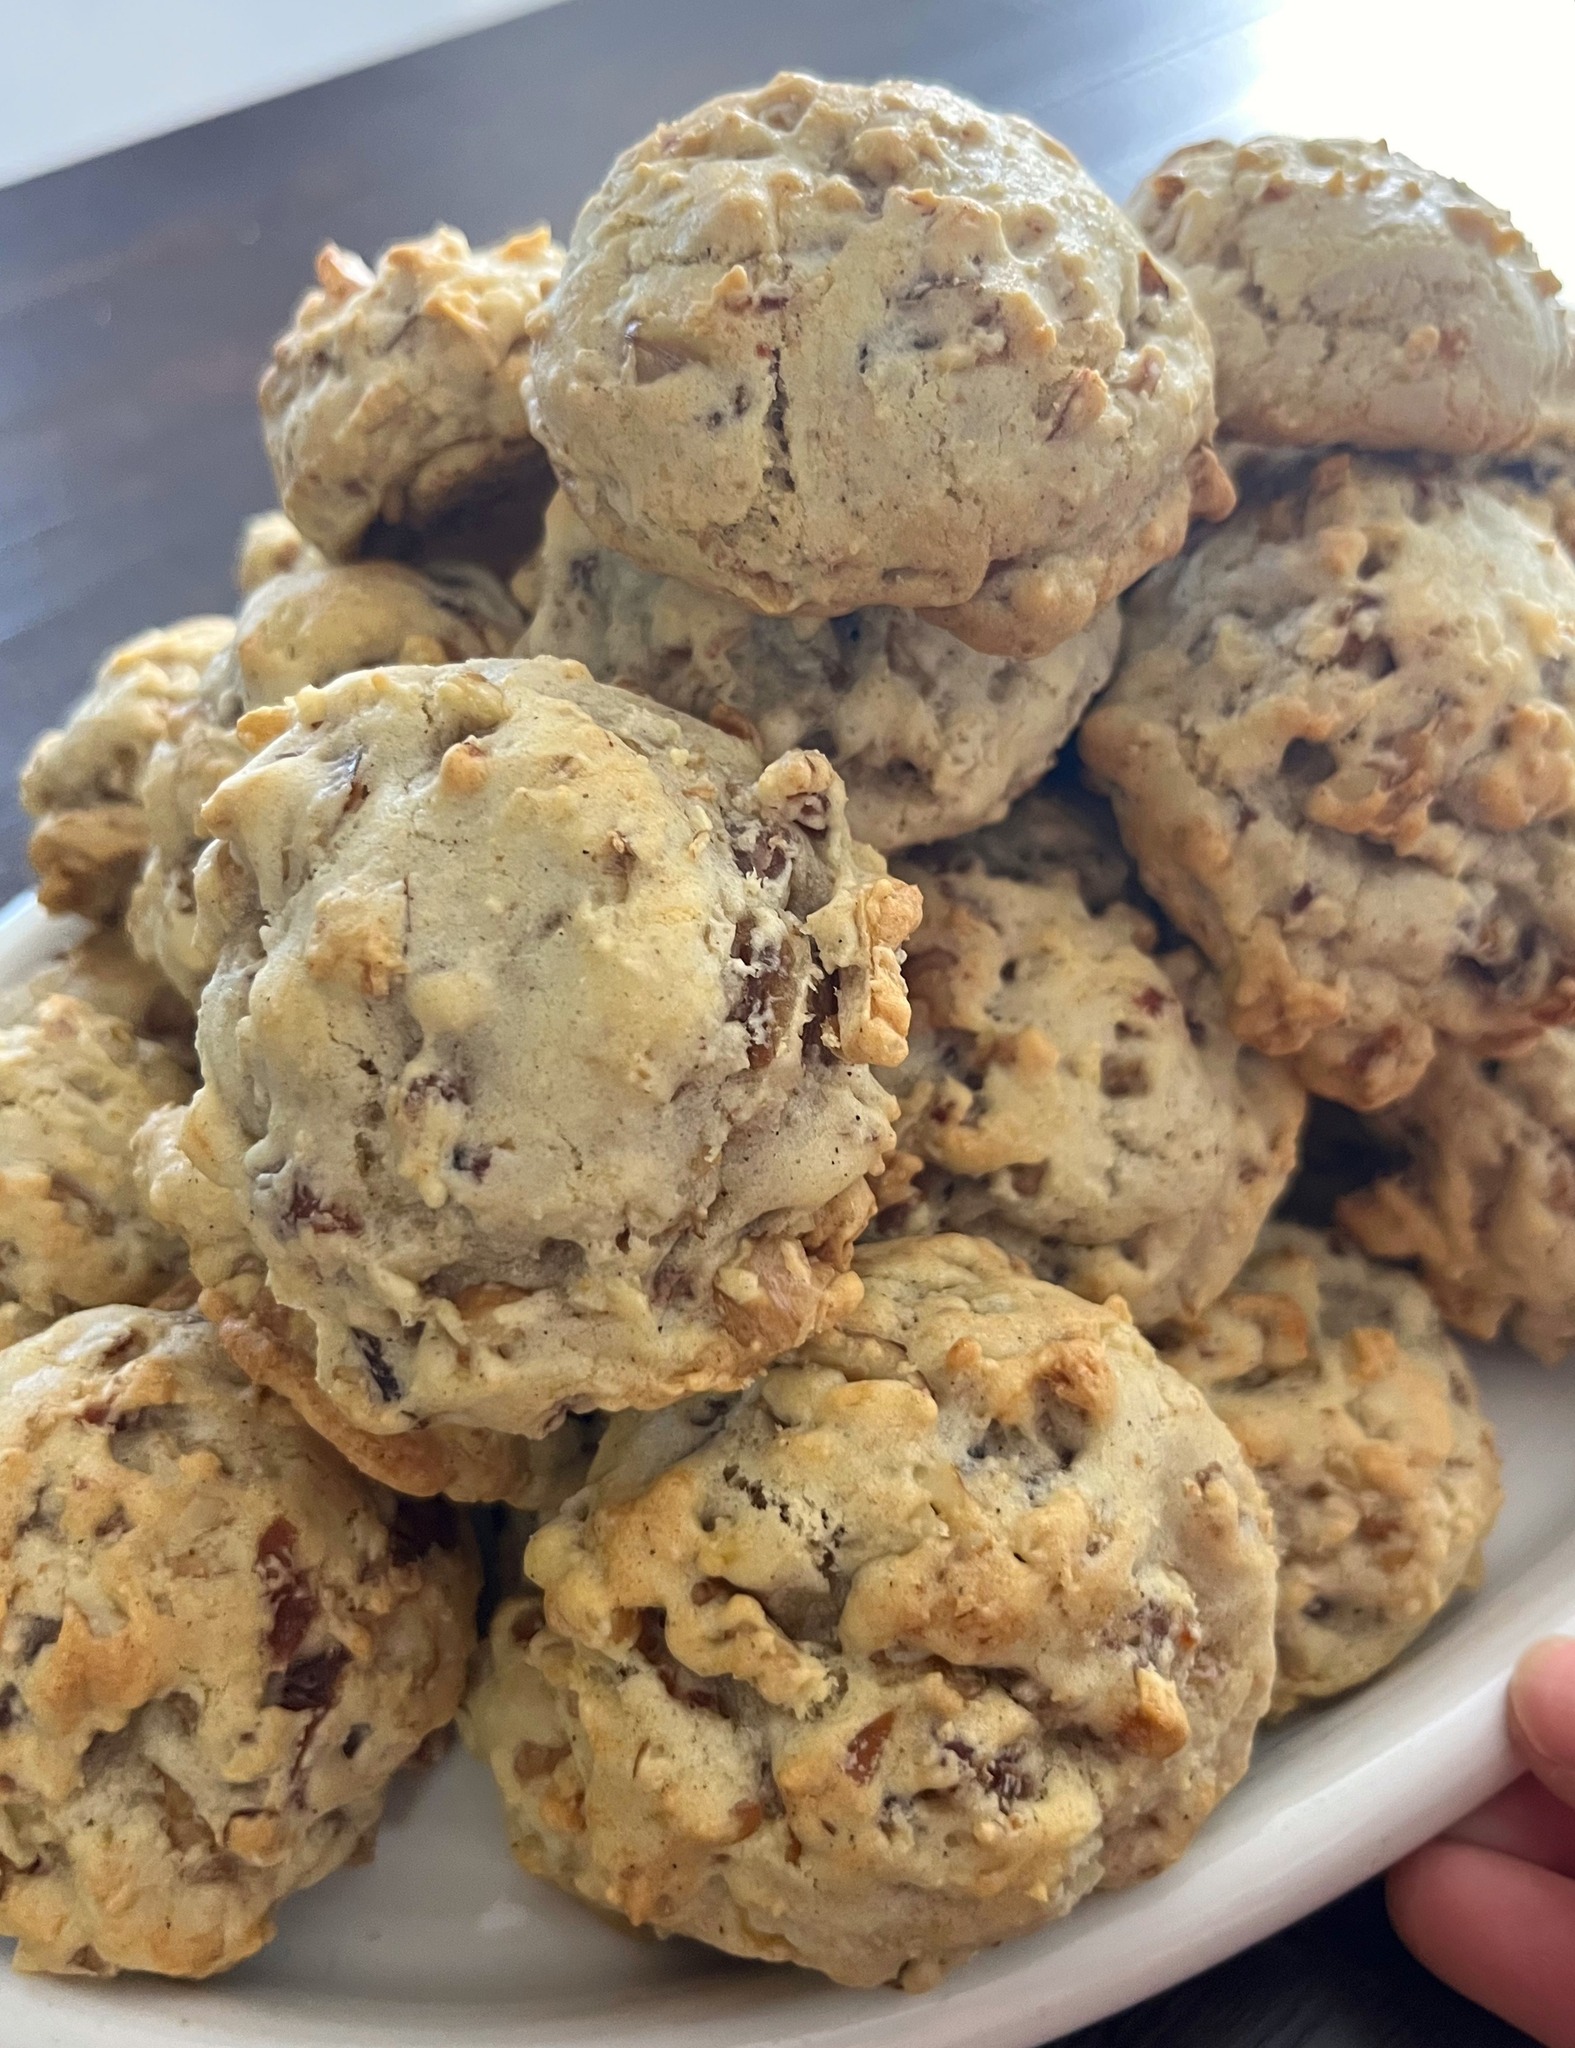
The moment I first pulled a tray of German Rocks from my oven, my kitchen was filled with a warm, nutty, and spicy aroma that felt like a hug from generations past. The scent of toasting pecans and walnuts mingled with the rich fragrance of brown sugar, cinnamon, and cloves, creating an atmosphere of pure, old-fashioned comfort. I remember the satisfying thunk of dropping the dense, chunky dough onto the baking sheet and the eager anticipation as they turned a beautiful golden brown. That first bite—crisp on the edges, chewy in the center, and packed with a confetti of fruits and nuts—was a delicious discovery. These weren’t just cookies; they were edible heirlooms, a sturdy and delightful treat that quickly became a cherished part of my holiday baking.
Why You’ll Love This Recipe
You are going to love this recipe because it yields a uniquely satisfying cookie that’s packed with texture and flavor in every single bite. Unlike delicate cut-out cookies, German Rocks are hearty, forgiving, and incredibly fun to make. From my experience, they are the perfect “kitchen sink” cookie—a wonderful way to use up bits of dried fruit and nuts from your pantry. They keep for weeks, making them ideal for holiday gifting or cookie platters, and their rustic, craggy appearance hides a complex, spiced sweetness that appeals to both kids and adults. They’re a no-fuss, high-reward baking project.
Ingredients
- 1 cup unsalted butter, softened
- 2 cups packed light brown sugar
- 3 large eggs
- 1 teaspoon pure vanilla extract
- 3 ½ cups all-purpose flour
- 1 teaspoon baking powder
- 1 teaspoon baking soda
- ½ teaspoon salt
- 2 teaspoons ground cinnamon
- ½ teaspoon ground cloves
- ½ teaspoon ground nutmeg
- 1 cup chopped pecans
- 1 cup chopped walnuts
- 1 cup raisins
- 1 cup chopped dates or dried cranberries
Let’s talk ingredients, because the mix-ins are where you can really make this recipe your own. The combination of pecans and walnuts gives a fantastic depth, but you can use all of one or the other if you prefer. The raisins are traditional, but I love the chewy sweetness of dates; dried cranberries or cherries add a lovely tartness. The spices are non-negotiable—cinnamon, cloves, and nutmeg create that signature warm, old-world flavor. Don’t skip the cloves; they provide a distinct, fragrant backbone that makes these cookies truly special. And be sure your butter is truly softened to room temperature for easy creaming.(See the next page below to continue…)
Equipment Needed
- Stand mixer or handheld electric mixer
- Large mixing bowls
- Measuring cups and spoons
- Baking sheets
- Parchment paper or silicone baking mats
- Wire cooling rack
Step-by-Step Instructions
My process always starts with the butter and sugar. In the bowl of my stand mixer, I cream together the softened butter and packed brown sugar on medium speed for a good 3-4 minutes. I don’t rush this step. The mixture should become light, fluffy, and pale in color. This creates the foundation for a cookie that’s crisp yet tender. Then, I add the eggs one at a time, beating well after each addition and scraping down the bowl. Finally, I beat in the vanilla extract. The smell at this stage is already sweet and promising.
While the butter and sugar are creaming, I whisk together my dry ingredients in a separate, large bowl. I combine the flour, baking powder, baking soda, salt, cinnamon, cloves, and nutmeg. Whisking ensures the leaveners and spices are evenly distributed throughout the flour, which prevents dense spots in the cookies. I give my chopped nuts and dried fruits a light dusting with a tablespoon of this flour mixture—this little trick helps prevent them from sinking to the bottom of the dough during baking.
Now, for the grand combination. With the mixer on low speed, I gradually add the flour and spice mixture to the creamed butter and eggs. I mix just until the flour disappears and a soft, somewhat stiff dough forms. It will be quite thick. Then, I turn off the mixer and use a sturdy wooden spoon or spatula to fold in the floured nuts and dried fruits. This requires a bit of elbow grease! I fold and press until every nut and raisin is evenly distributed throughout the dough. The dough is very thick and studded with goodies—this is exactly what you want.(See the next page below to continue…)
Finally, it’s time to shape and bake. I preheat my oven and line my baking sheets with parchment paper. Using a regular tablespoon or a medium cookie scoop, I drop mounds of dough (about 2 tablespoons each) onto the sheets, spacing them about 2 inches apart. I don’t bother flattening them; their rustic, craggy shape is part of their charm. I bake them one sheet at a time in the center of the oven. The smell as they bake is absolutely intoxicating—nutty, spicy, and sweet. They’re done when the edges are set and golden brown, but the centers still look slightly soft. I let them cool on the sheet for 5 minutes before transferring them to a wire rack to cool completely, where they firm up to the perfect texture.
Pro Tips for Best Results
I tested the mixing method three different ways: adding the fruit and nuts with the mixer, folding by hand, and kneading them in. Folding by hand with a spatula was the clear winner. Using the mixer can break the nuts and fruit into tiny pieces and overwork the dough. Gently folding by hand preserves the chunky texture we love and keeps the dough tender. It’s a little more work, but it’s worth it for the perfect bite.
Here’s what I learned the hard way about baking: one sheet at a time is best. My oven has hot spots, and when I tried baking two sheets at once, the bottom tray burned while the top one was underdone. Even with convection, crowding the oven affects airflow and baking. For perfectly even, golden cookies, bake in batches. It takes a bit longer, but the consistent results are worth the patience.
For the absolute best flavor, toast your nuts before chopping and adding them to the dough. I spread the pecan and walnut pieces on a baking sheet and toast them in a 350°F oven for 8-10 minutes, until fragrant. Let them cool completely before using. This simple step deepens their flavor dramatically and adds another layer of warmth and crunch to the finished cookies. Don’t skip it!
Common Mistakes to Avoid
My first batch spread into thin, flat puddles because my butter was too warm. I’d left it on the counter near the oven, and it was almost melted. Don’t do what I did! Your butter should be softened so a finger leaves an indent, but still cool to the touch and firm enough to hold its shape. If it’s oily or melting, pop it in the fridge for 10 minutes. Properly creamed, cool butter is key to a cookie that holds its lovely, craggy shape.(See the next page below to continue…)
Another common error is overmixing the dough once the flour is added. Gluten development is the enemy of a tender rock cookie. As soon as the last streak of flour disappears, stop mixing. When folding in the fruits and nuts, fold just until combined. Overworking the dough will make the cookies tough and dense instead of crisp-edged and chewy.
Don’t skip flouring your fruit and nuts. If you add them directly to the dough, they can absorb moisture and sink straight to the bottom during baking, leaving you with a bald top and a dense, fruity base. Tossing them in a spoonful of the measured flour creates a light barrier that helps them stay suspended throughout the cookie. It’s a small step with a big impact on the final texture.
Finally, avoid overbaking. These are dense cookies, and they will continue to set as they cool on the hot baking sheet. If you bake them until they look completely firm in the center, they’ll be hard as a rock once cooled (and not in a good way). Pull them when the edges are browned and the centers look just set, even if they seem a bit soft. They will firm up perfectly on the cooling rack.
Serving Suggestions
I love piling these cookies high on a vintage cake stand or a rustic wooden board. They look abundant and inviting, perfect for a holiday open house or coffee table. A pot of strong coffee, hot tea, or even a glass of cold milk is the ideal companion, as the drink cuts through the rich, spiced sweetness of the cookies.
For holiday gifting, German Rocks are fantastic travelers. I pack them in decorative tins or cellophane bags tied with a ribbon. They stay fresh for so long that they’re perfect for mailing to far-away family or giving to neighbors. I always include the recipe, too, because people always ask for it after trying one.
On a cozy night in, I sometimes warm a cookie for 10 seconds in the microwave and serve it with a small scoop of vanilla ice cream. The contrast of the warm, spiced cookie and the cold, creamy ice cream is absolute heaven and turns a simple cookie into a decadent dessert.
Variations & Customizations
This recipe is wonderfully adaptable. For a different spice profile, try adding ½ teaspoon of ground ginger or allspice. For a citrus twist, add the zest of one orange to the creamed butter and sugar. You can also replace ½ cup of the flour with whole wheat flour for a slightly heartier texture.
If you’re not a fan of raisins or dates, feel free to swap them out. Dried cranberries, chopped dried apricots, or even dried sour cherries work beautifully. For the nuts, try using hazelnuts, almonds, or macadamia nuts instead of or in addition to the walnuts and pecans. The mix-ins are your playground.
For a boozy kick, you can plump your raisins or other dried fruit by soaking them in ¼ cup of rum, brandy, or bourbon for 30 minutes before adding them to the dough. Drain any excess liquid and pat them dry before flouring and folding in. It adds a wonderful, grown-up depth of flavor.
How to Store, Freeze & Reheat
Storing these cookies is a breeze thanks to their low moisture content. Once completely cooled, I store them in an airtight container at room temperature. They will keep beautifully for up to 2 weeks, becoming even softer and more flavorful over the first few days. I place a piece of bread in the container to help maintain moisture if I want them extra chewy.
They freeze exceptionally well for long-term storage. I layer the cooled cookies between sheets of parchment paper in a freezer-safe bag or container. They will keep for up to 3 months. You can thaw them at room temperature for a few hours or pop a frozen cookie right into your lunchbox—it will be thawed by your coffee break.
“Reheating” isn’t usually necessary, but if you want to recapture that fresh-from-the-oven softness and aroma, you can warm individual cookies in a 300°F oven for 5 minutes or in the microwave for 8-10 seconds. Be careful not to overdo it, as they can become too soft or even burn in the microwave.
Conclusion
German Rocks are more than just a cookie; they’re a delicious, durable piece of baking history. They connect us to a time of resourcefulness and celebration, and making them fills the kitchen with the most welcoming, spiced aroma. I hope this recipe encourages you to try your hand at these hearty, delightful treats and that they find a cherished spot in your own family’s tradition. Now, go raid your pantry for those nuts and dried fruits—it’s time to bake up a batch of edible, wholesome joy.