
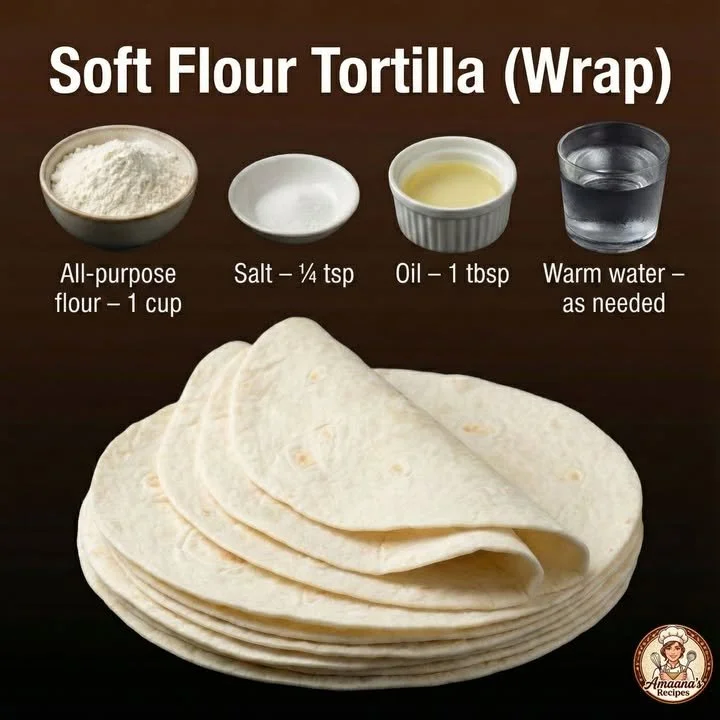
There’s something magical about making flour tortillas from scratch. The aroma of warm, toasty dough filling my kitchen never fails to bring a smile to my face. Whether I’m whipping up tacos for a busy weeknight dinner or preparing enchiladas for a special gathering, I love the simple pleasure of soft tortillas that embrace these flavorful dishes. Join me in my kitchen as we dive into the delightful process of making flour tortillas, a skill that is surprisingly easy to master!
Why You’ll Love This Recipe
This recipe for flour tortillas is not only straightforward, but it also yields soft, homestyle wraps that elevate any meal. With just a handful of ingredients, you can create tortillas that are fresher and tastier than anything you’d find in a store. They’ll be warm and soft, perfect for holding all your favorite fillings. The best part? You get to customize these to your liking! Trust me, once you make them from scratch, you’ll never want the store-bought ones again. (See the ingredients in the next page below…)
Ingredients
– 2 cups all-purpose flour
– 1/2 teaspoon salt
– 1/2 teaspoon baking powder
– 3 tablespoons vegetable oil or lard
– 3/4 cup warm water
Equipment Needed
– Mixing bowl
– Rolling pin
– Cast iron skillet or non-stick pan
– Clean kitchen towel or cloth
– Measuring cups and spoons
Step-by-Step Instructions
To start, combine the flour, salt, and baking powder in a mixing bowl. I like to whisk them together to ensure they’re well-blended. Then, add the vegetable oil or lard and mix it in with your fingers until you achieve a crumbly texture that resembles sand. Once that’s done, pour in the warm water gradually and mix until it forms a soft dough. You might feel tempted to add a bit more water if it seems too dry, but just trust the process! (See the next page below to continue steps…)
Once the dough comes together, turn it onto a floured surface and knead it for about 5 minutes until it becomes smooth and elastic. I love this part, as the dough transforms beneath my hands, becoming more pliable. Once kneaded, let the dough rest in a covered bowl for at least 30 minutes. This resting period makes a world of difference in achieving those soft tortillas. While the dough rests, I usually take a moment to clean up my workspace and let the anticipation build.
After 30 minutes, divide the dough into 8 equal-sized balls and cover them with a clean kitchen towel to keep them moist. Now comes the fun part: rolling them out! Dust your surface lightly with flour and start rolling each ball into a circle, making sure to keep it as thin as possible—almost paper-thin. Don’t stress too much if your circles aren’t perfect; they’ll still taste delicious!
Now, heat your cast iron skillet or non-stick pan over medium-high heat. Carefully toss your rolled tortilla onto the hot skillet and cook for about 30-45 seconds on each side until you see golden brown spots and it puffs up slightly—this should make your kitchen smell divine! Repeating this process with each tortilla, stack them on a plate and cover them with a towel to keep warm and soft.
Pro Tips for Best Results
I’ve made these tortillas several times, and I found that using lard creates a richer flavor than vegetable oil. However, if you prefer a plant-based option, vegetable shortening works just as well! Experimenting with different fats can really enhance the taste.
Additionally, using warm water in your dough is crucial! It helps the dough to become more pliable and easier to roll. You might not notice a difference at first glance, but trust me, the end result is worth it.
Lastly, if you have time, letting your rolled-out tortillas rest for just a couple of minutes before cooking helps them puff up beautifully when they hit the skillet. I learned this little trick from a friend, and it has made a noticeable difference in my tortillas!
Common Mistakes to Avoid
One mistake I’ve made in the past is adding too much flour while rolling out the tortillas. Sure, a little dusting is fine, but be cautious—too much flour can lead to dry tortillas. I’ve done it, and they ended up tasting more like cardboard than the soft wraps I intended.
Another thing to keep in mind is not rolling the dough thin enough. Trust me, you want it as thin as you can get it without tearing. A thicker tortilla will not puff as much when cooked and may result in a chewier, less enjoyable texture. If they tear a bit while rolling, no worries! Just patch them up and keep going.
Finally, don’t let them sit out uncovered for too long after cooking; they’ll dry out and become tough. Keep them wrapped up or tucked under a towel as you cook the others, so they stay warm and soft. (See the next page below to continue…)
Serving Suggestions
These homemade flour tortillas make a fantastic foundation for many dishes. I love using them for classic tacos filled with seasoned beef, fresh lettuce, diced tomatoes, and heaps of cheese. They’re also great for breakfast burritos packed with scrambled eggs, crispy bacon, and creamy avocado.
Another delicious option is to use them for a traditional quesadilla. Just add a layer of cheese and any fillings you like, fold the tortilla in half, and grill until the cheese melts and the tortilla is golden brown—pure comfort food!
And for those cozy evenings, I enjoy preparing enchiladas by filling the tortillas with shredded chicken or beef, smothering them with sauce, and baking them until bubbly. The flour tortillas hold everything together beautifully and absorb all those delicious flavors.
Variations & Customizations
Feeling adventurous? You can spice up your tortillas by adding seasonings to the dough. A teaspoon of garlic powder or dried herbs can wonderfully enhance the flavor. It’s a small touch, but it makes a big difference!
Another fun customization is to mix in a bit of whole wheat flour. I’ve done this and found that it gives the tortillas a lovely nutty flavor and a bit more texture. Just keep in mind that it might change the ratio of water slightly, so adjust as needed to keep the dough soft.
For a unique twist, try adding some finely grated cheese right into the dough. It not only adds flavor but gives a delightful cheesy pull when you eat the tortillas warm. It’s perfect for those times when I’m craving that extra cheesy goodness!
How to Store, Freeze & Reheat
After making a batch of these delicious tortillas, you might wonder about storage. Once cooled, I like to stack them with a piece of parchment paper between each one to prevent sticking. Then, I simply place them in a resealable plastic bag or an airtight container. They can be kept in the fridge for about a week.
If you want to make a larger batch, these tortillas freeze beautifully! Just wrap them in plastic wrap or foil, then place them in a freezer-safe bag. They’ll last for about 3 months in the freezer. Just remember to label the bag with the date—nothing like having a mystery meal in the freezer!
When it comes time to reheat, I usually pop them in a skillet for a few seconds on each side until warm. You can also microwave them for about 15-20 seconds, but keep an eye on them to avoid drying out. Either way, they’ll be delicious and ready for your favorite fillings in no time!
Conclusion
Making flour tortillas from scratch is an enjoyable and rewarding experience. They’re not just tasty; they’re a fantastic way to bring family and friends together around the table. I hope you try this recipe and experience the warmth and comfort they add to your meals. Trust me, once you take your first bite of a fresh, warm tortilla, you’ll understand why they have such a special place in my heart—and my kitchen! Happy cooking!