
Another common pitfall is under-mixing the filling. You want that creamy texture without any chunks. I used to think I was done when I couldn’t see any lumps, but sometimes those sneaky bits of cream cheese would sneak by. A good mix is essential!
Also, I recommend watching them closely while they bake. Each oven behaves differently, and while mine is usually accurate, I’ve had times when they were done sooner than anticipated. It’s always a good idea to use a toothpick to poke one in the center – if it comes out clean, they’re ready!
Serving Suggestions
Once they’re cool and drizzled, I love serving these danishes warm alongside a cup of coffee or tea. The pairing is just delightful! You can also add some fresh berries or sliced fruit on the side for a refreshing touch that brightens up the plate. It’s great to have a vibrant contrast next to those golden rolls.
These danishes would be perfect for brunch gatherings or family breakfasts too. I often make them when I have friends over or for holiday get-togethers. Their beautiful presentation makes them feel special, and everyone always ends up asking for the recipe!
Of course, if you want to elevate your serving game, try dusting them with a bit of powdered sugar or a sprinkle of cinnamon for added flair. I find it always draws attention, and who doesn’t love a little extra sweetness?
Variations & Customizations
I absolutely love how customizable these danishes can be! For an added flavor punch, consider mixing in some lemon zest or a splash of coconut extract into the cream cheese filling. It brings a tropical vibe that perfectly complements the Hawaiian rolls. You can experiment with fruit fillings as well; think warm blueberries or strawberries for a fun twist!
If you want to really make them your own, consider adding chocolate chips or nuts to the filling before baking. The surprise of melted chocolate or a nice crunch from the nuts changes everything and makes each bite so exciting!
For a more indulgent treat, why not drizzle some melted chocolate on top alongside the glaze? It creates a decadent dessert feel, perfect for special occasions or when you just want to treat yourself.
How to Store, Freeze & Reheat
If you happen to have any leftovers (which is rare in my kitchen!), you can store them in an airtight container in the fridge for up to three days. Just keep in mind that they’re best enjoyed fresh. If you want to freeze them, I recommend wrapping each danish individually in plastic wrap and then placing them in a freezer bag. They can last up to three months this way!
When you’re ready to eat, simply pull them from the freezer and let them thaw in the fridge overnight. Then, you can reheat them in the oven at a low temperature (around 300°F) for about 10-15 minutes. This will keep them soft and warm, just like when you first made them!
You can also pop them in the microwave for a quick reheat, but be careful not to overdo it, or you might end up with a chewy treat instead of a soft one. Just a few seconds should do the trick!
Conclusion
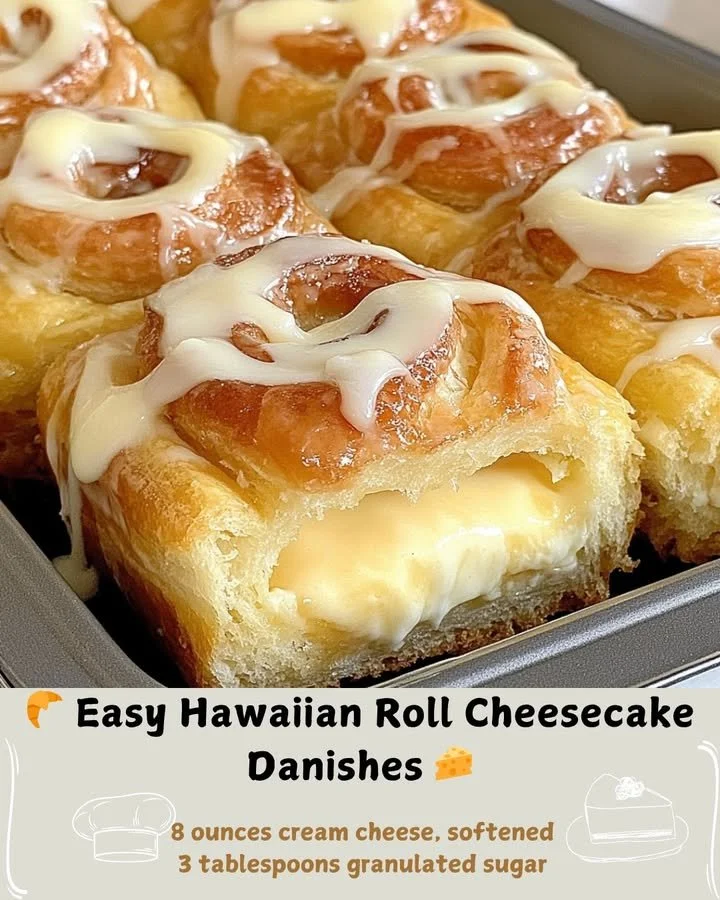
I can’t tell you how much joy these Easy Hawaiian Roll Cheesecake Danishes have brought to my kitchen and my heart! They’re not only easy to make, but they also infuse warmth and sweetness into any gathering. I hope you enjoy making them just as much as I do because nothing beats a cozy kitchen filled with delicious smells and the sounds of laughter. Happy baking, everyone!